Built a Custom PC for Under 100,000 Yen – Can Play Most Games and Run Docker
Thank you for your continued support.
This article contains advertisements that help fund our operations.
Table Of Contents
I built a custom PC for under 100,000 yen and documented the build. It can handle most games and even run Docker, so I hope this helps anyone looking to build a budget PC.

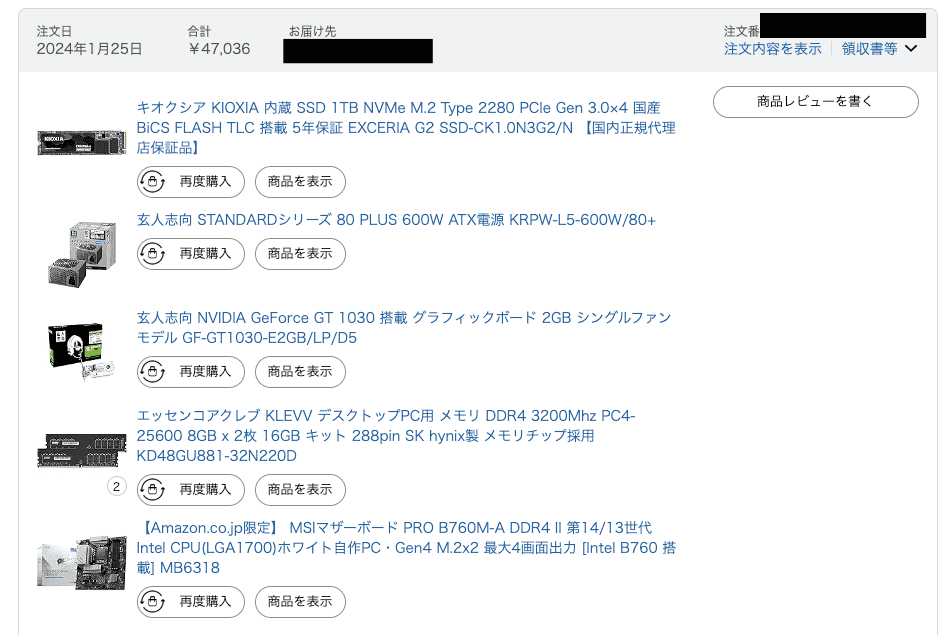
Parts List (as of January 2024)
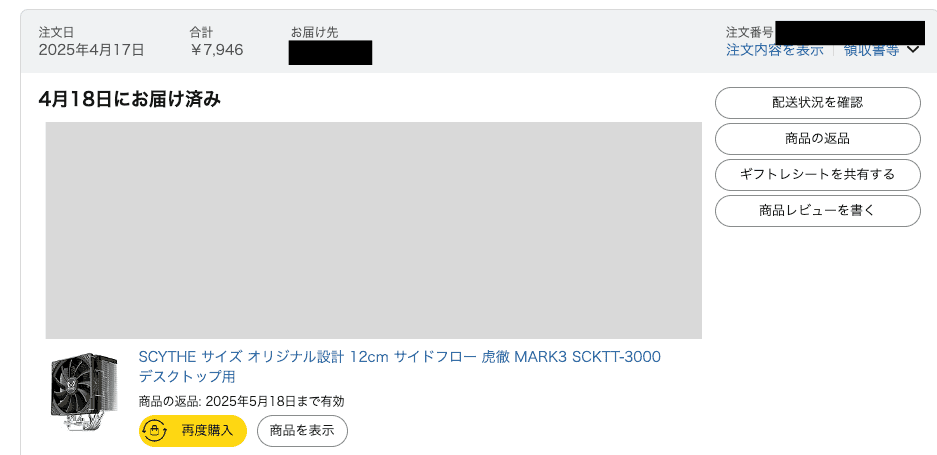
Only the CPU cooler was upgraded in 2025. Everything else was purchased in January 2024.
At the time, semiconductor supply was unstable and parts were more expensive, so this same setup might be about 10,000 yen cheaper now.
| Part | Product Name | Price (Yen) | Purchase Source (Link) |
|---|---|---|---|
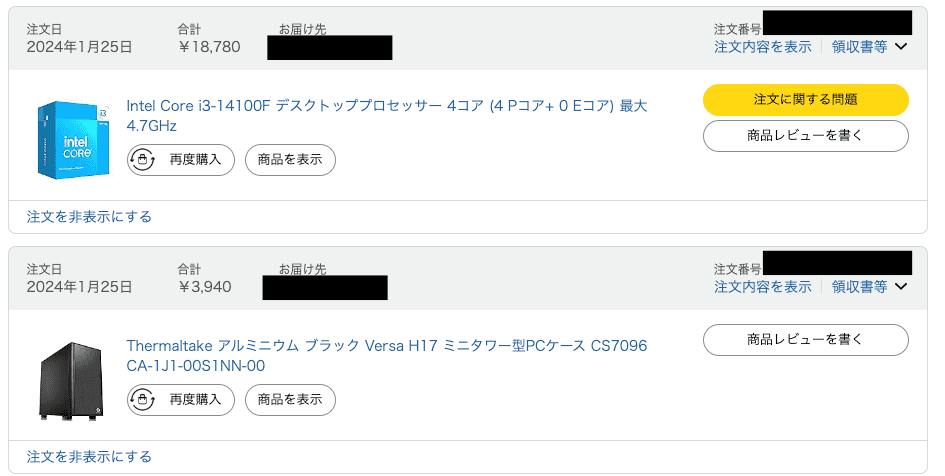
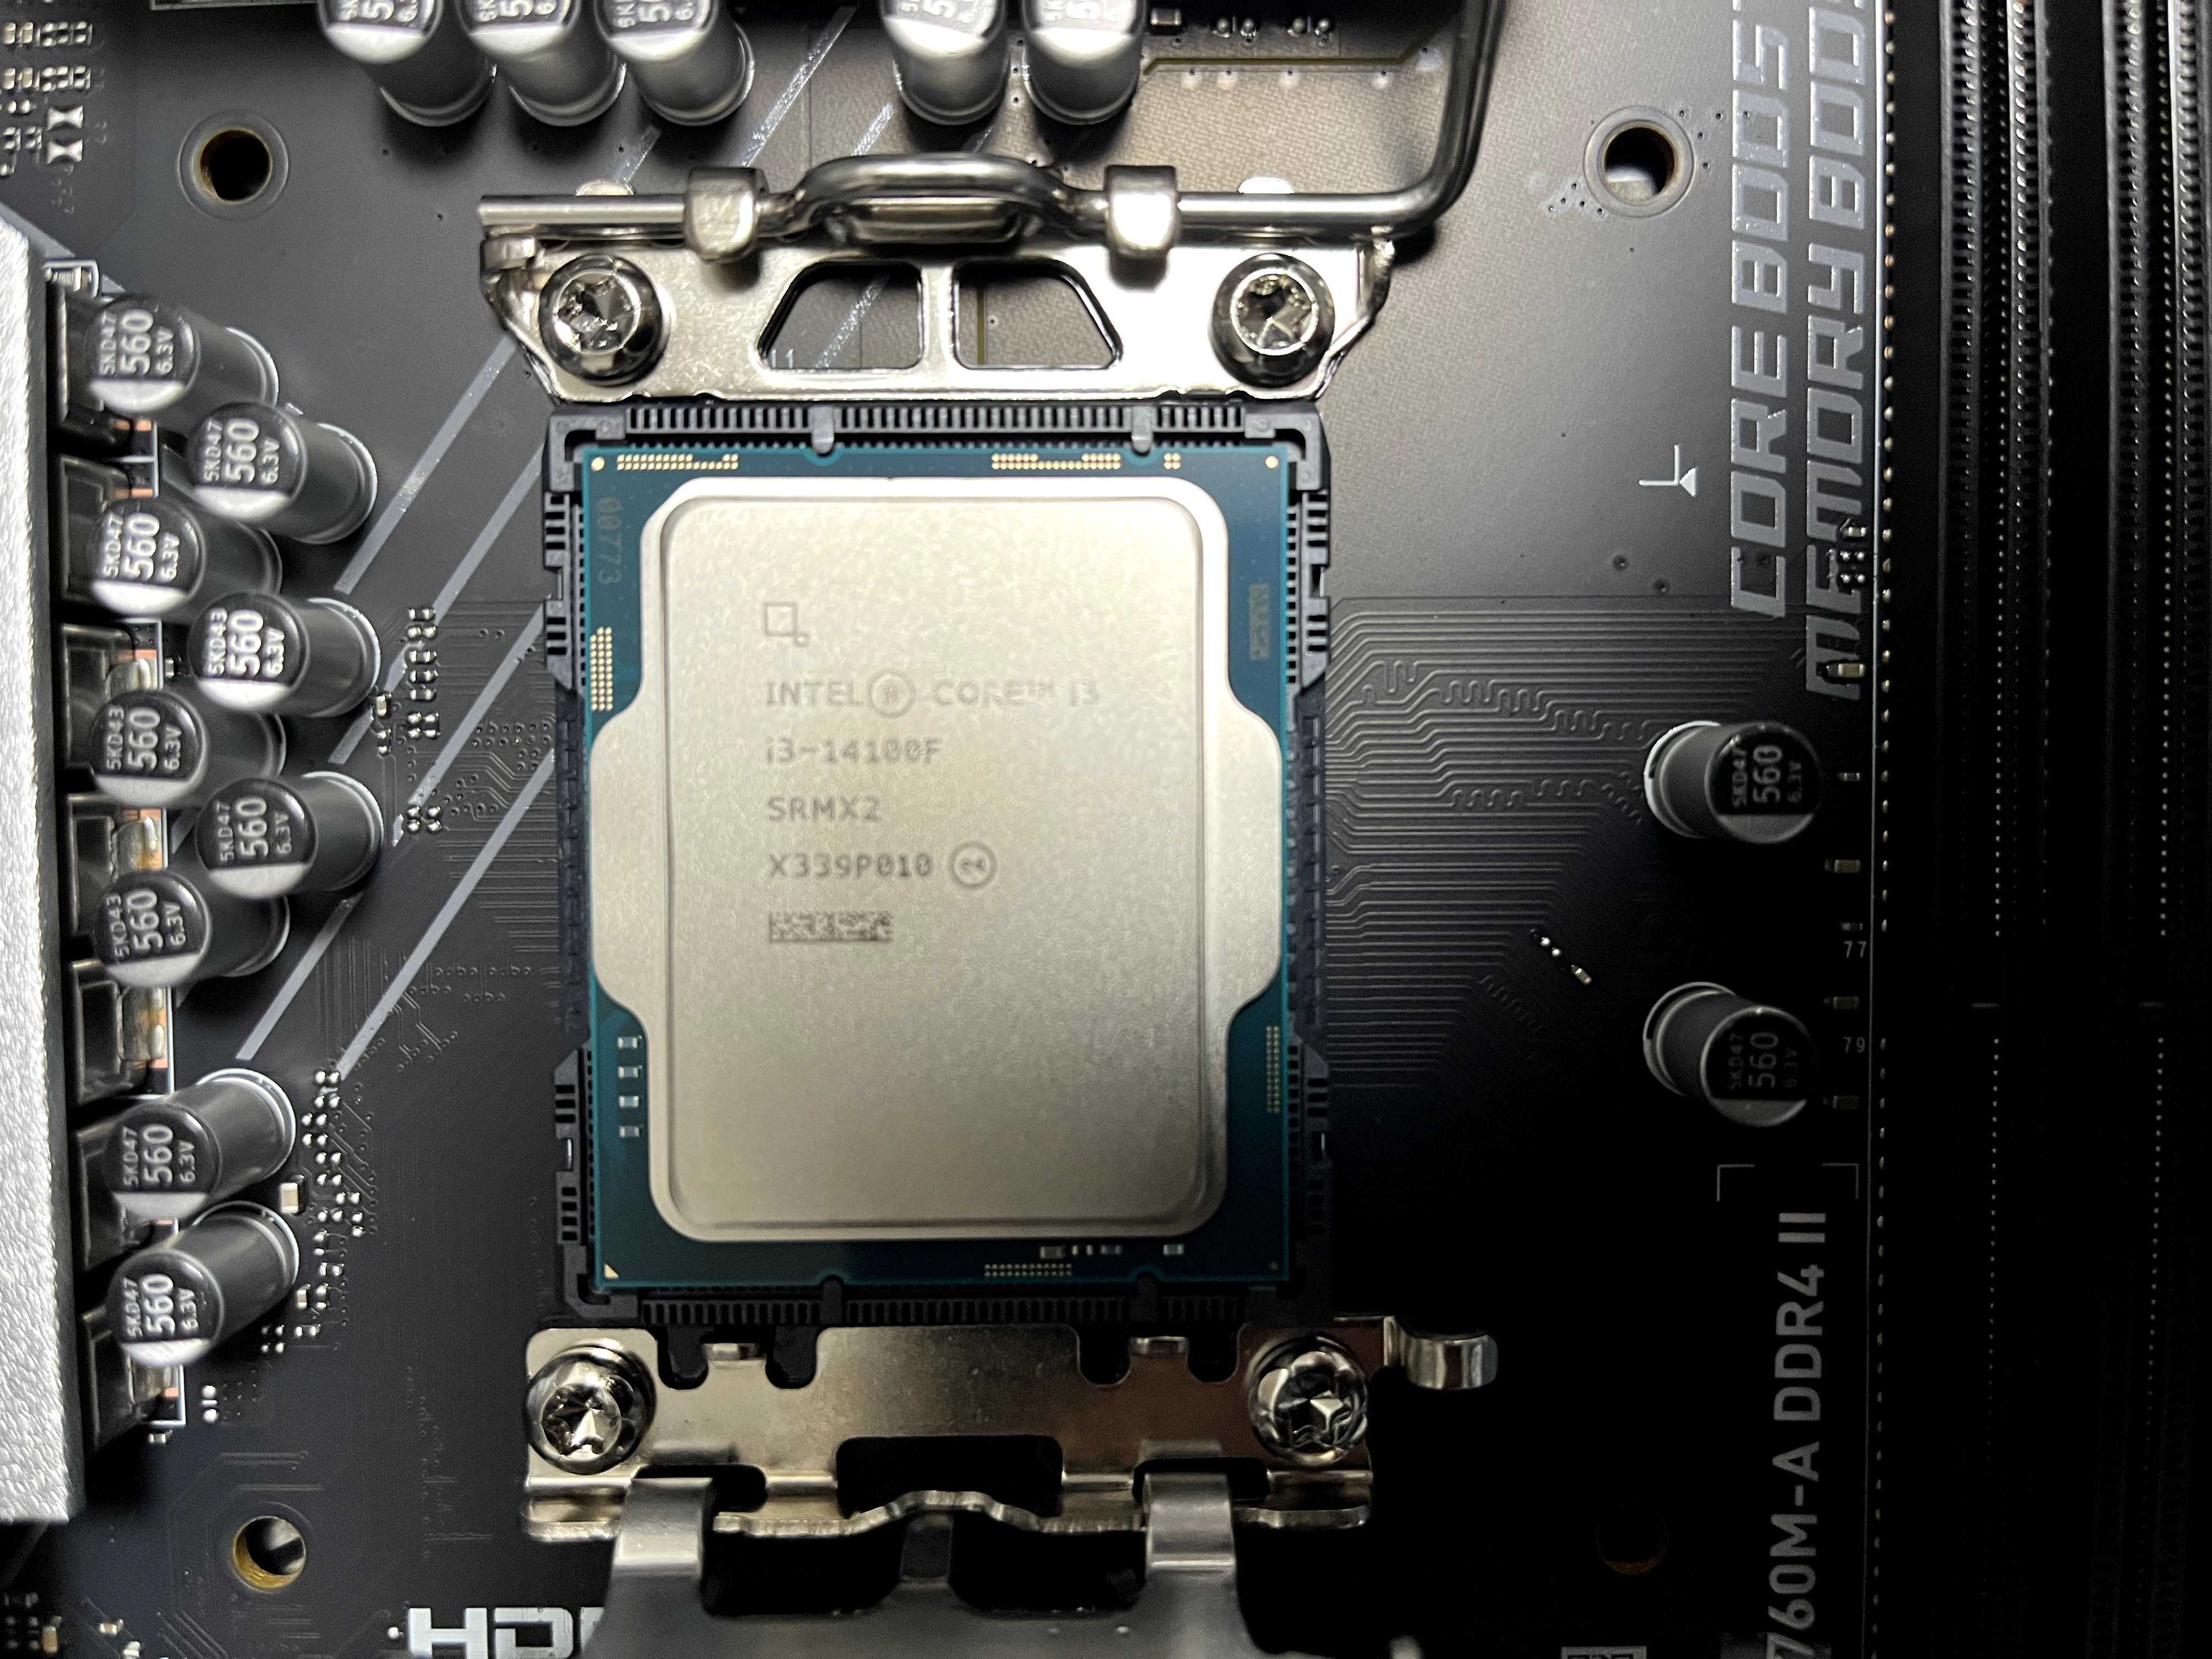
| CPU | Intel Core i3-14100F | 18,780 | Amazon |
| CPU Cooler | Kotetsu MARK3 | 3,300 | Amazon |
| GPU | GTX1660 Ti | 15,000 | Mercari |
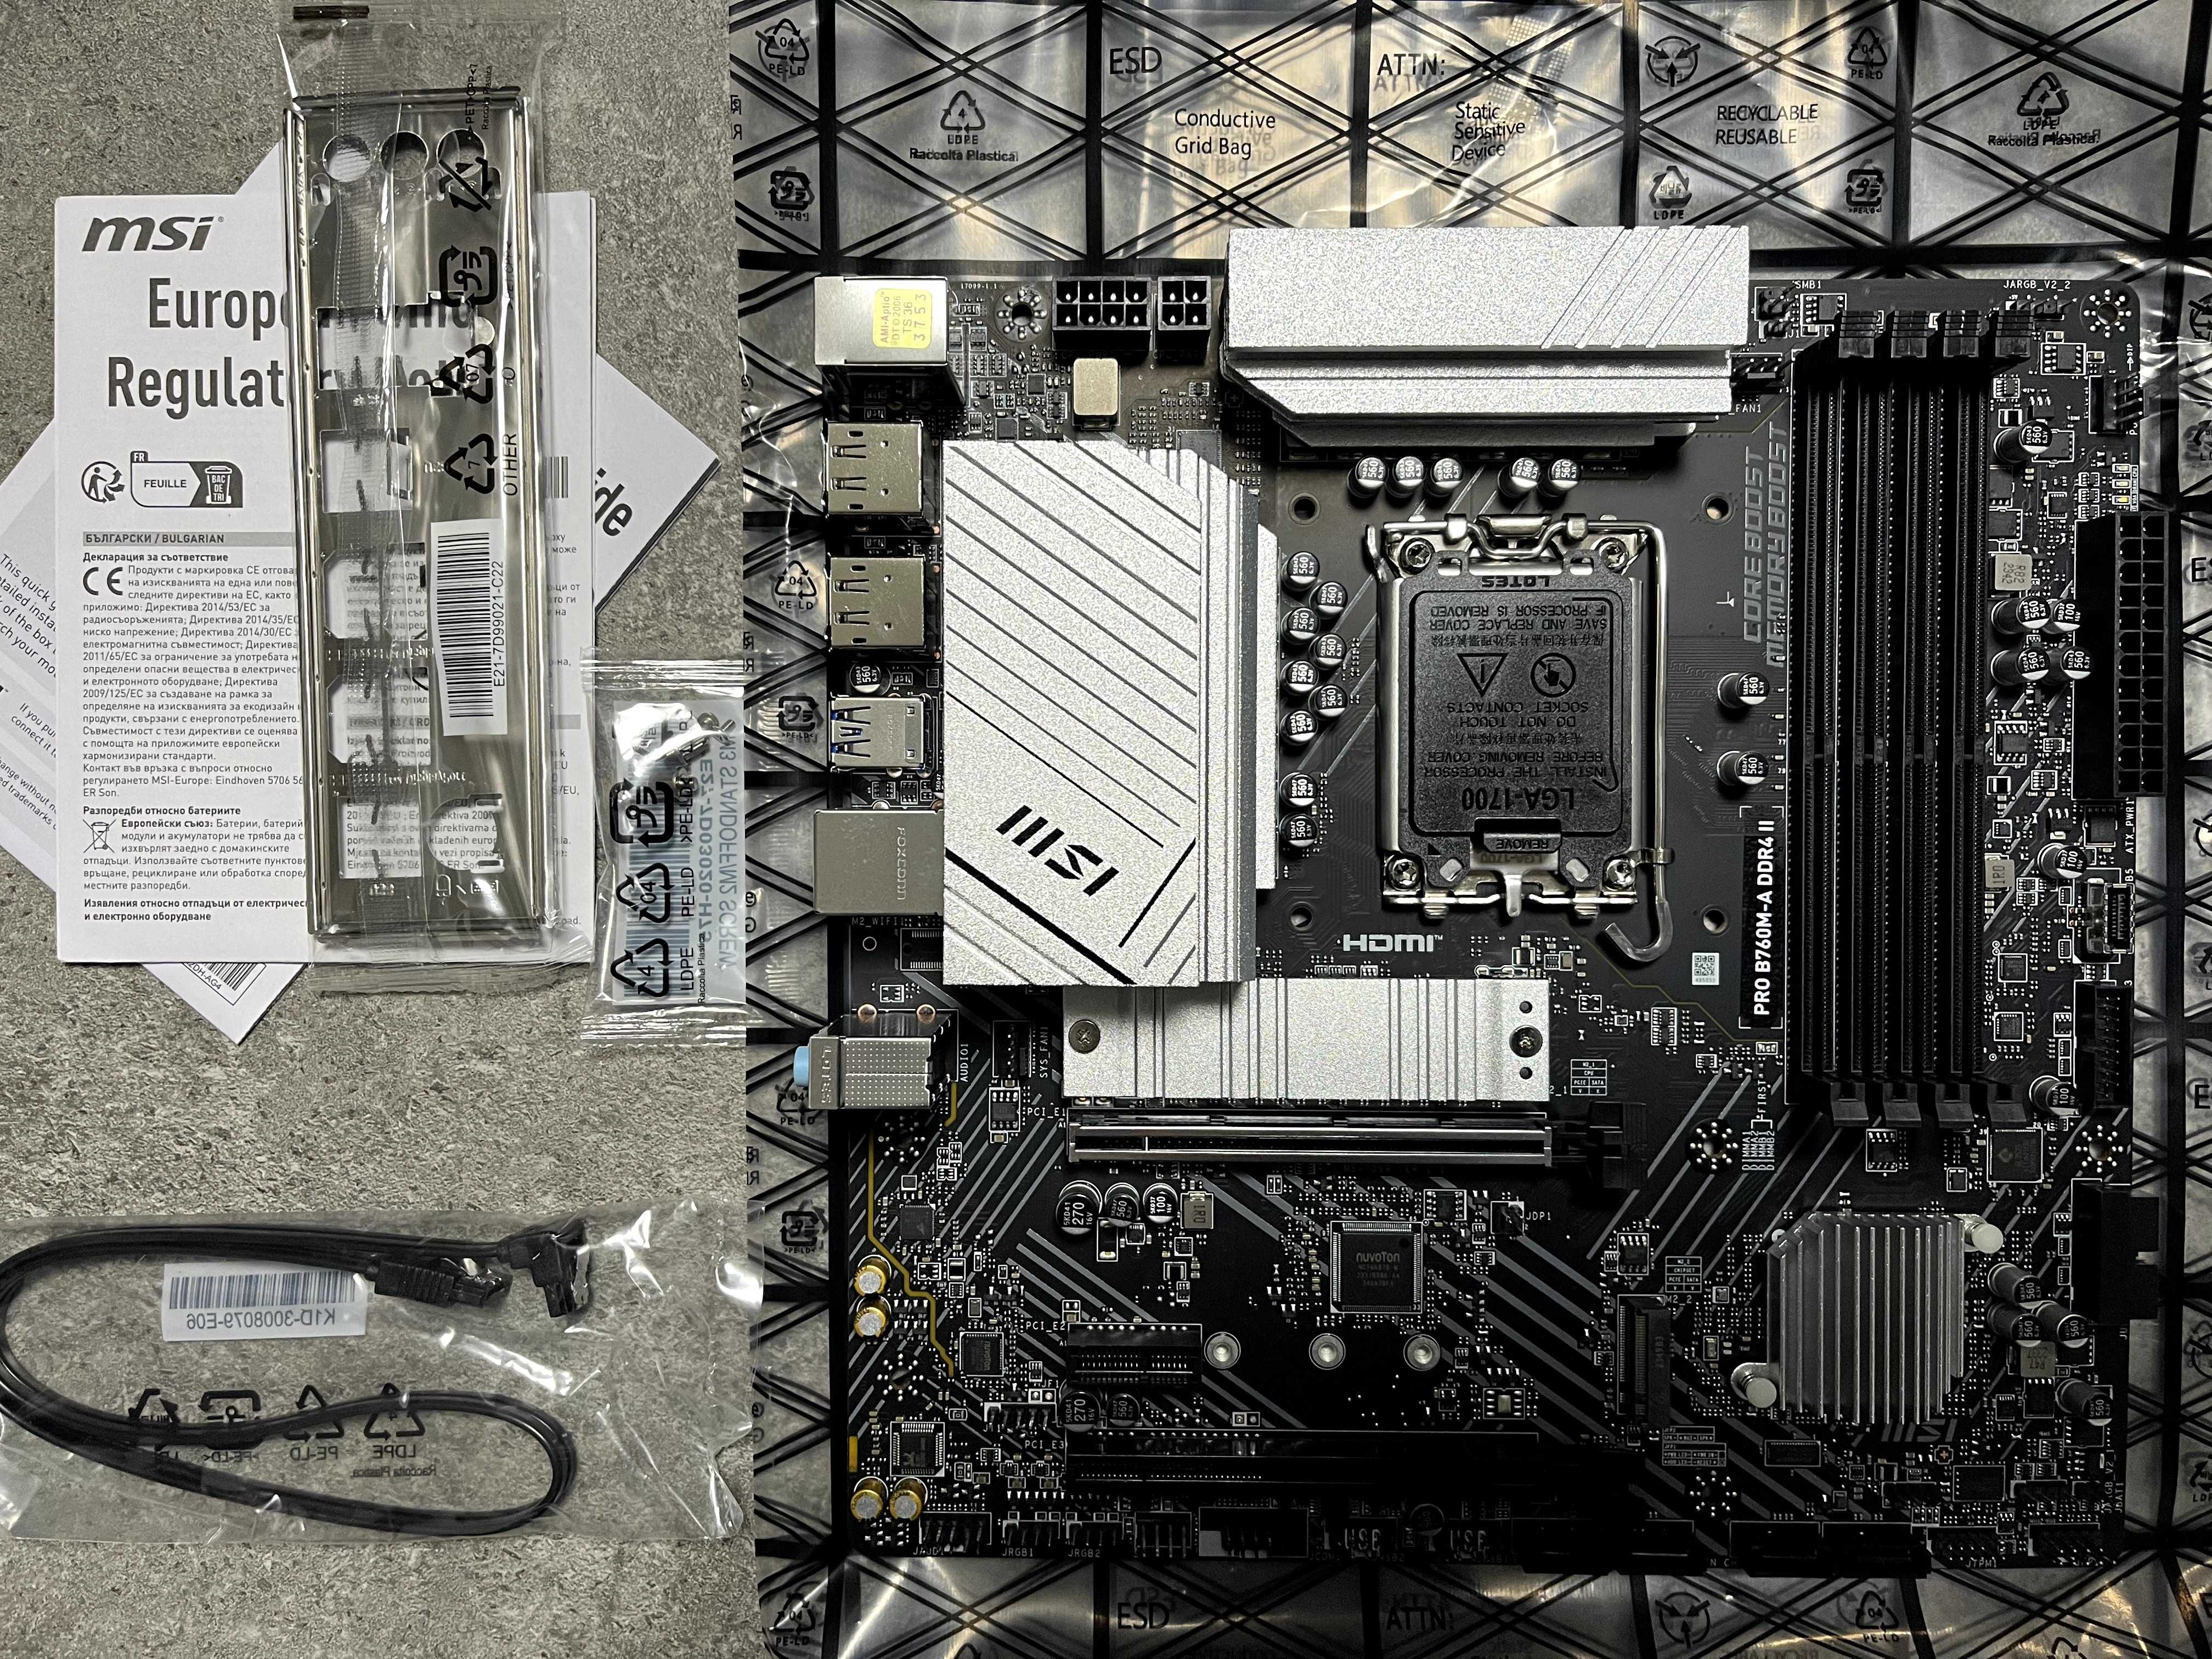
| Motherboard | MSI PRO B760M-A DDR4 II | 13,880 | Amazon |
| Memory | KLEVV DDR4-3200 32GB (8GB×4) | 9,360 | Amazon |
| Storage | KIOXIA NVMe SSD 1TB | 7,280 | Amazon |
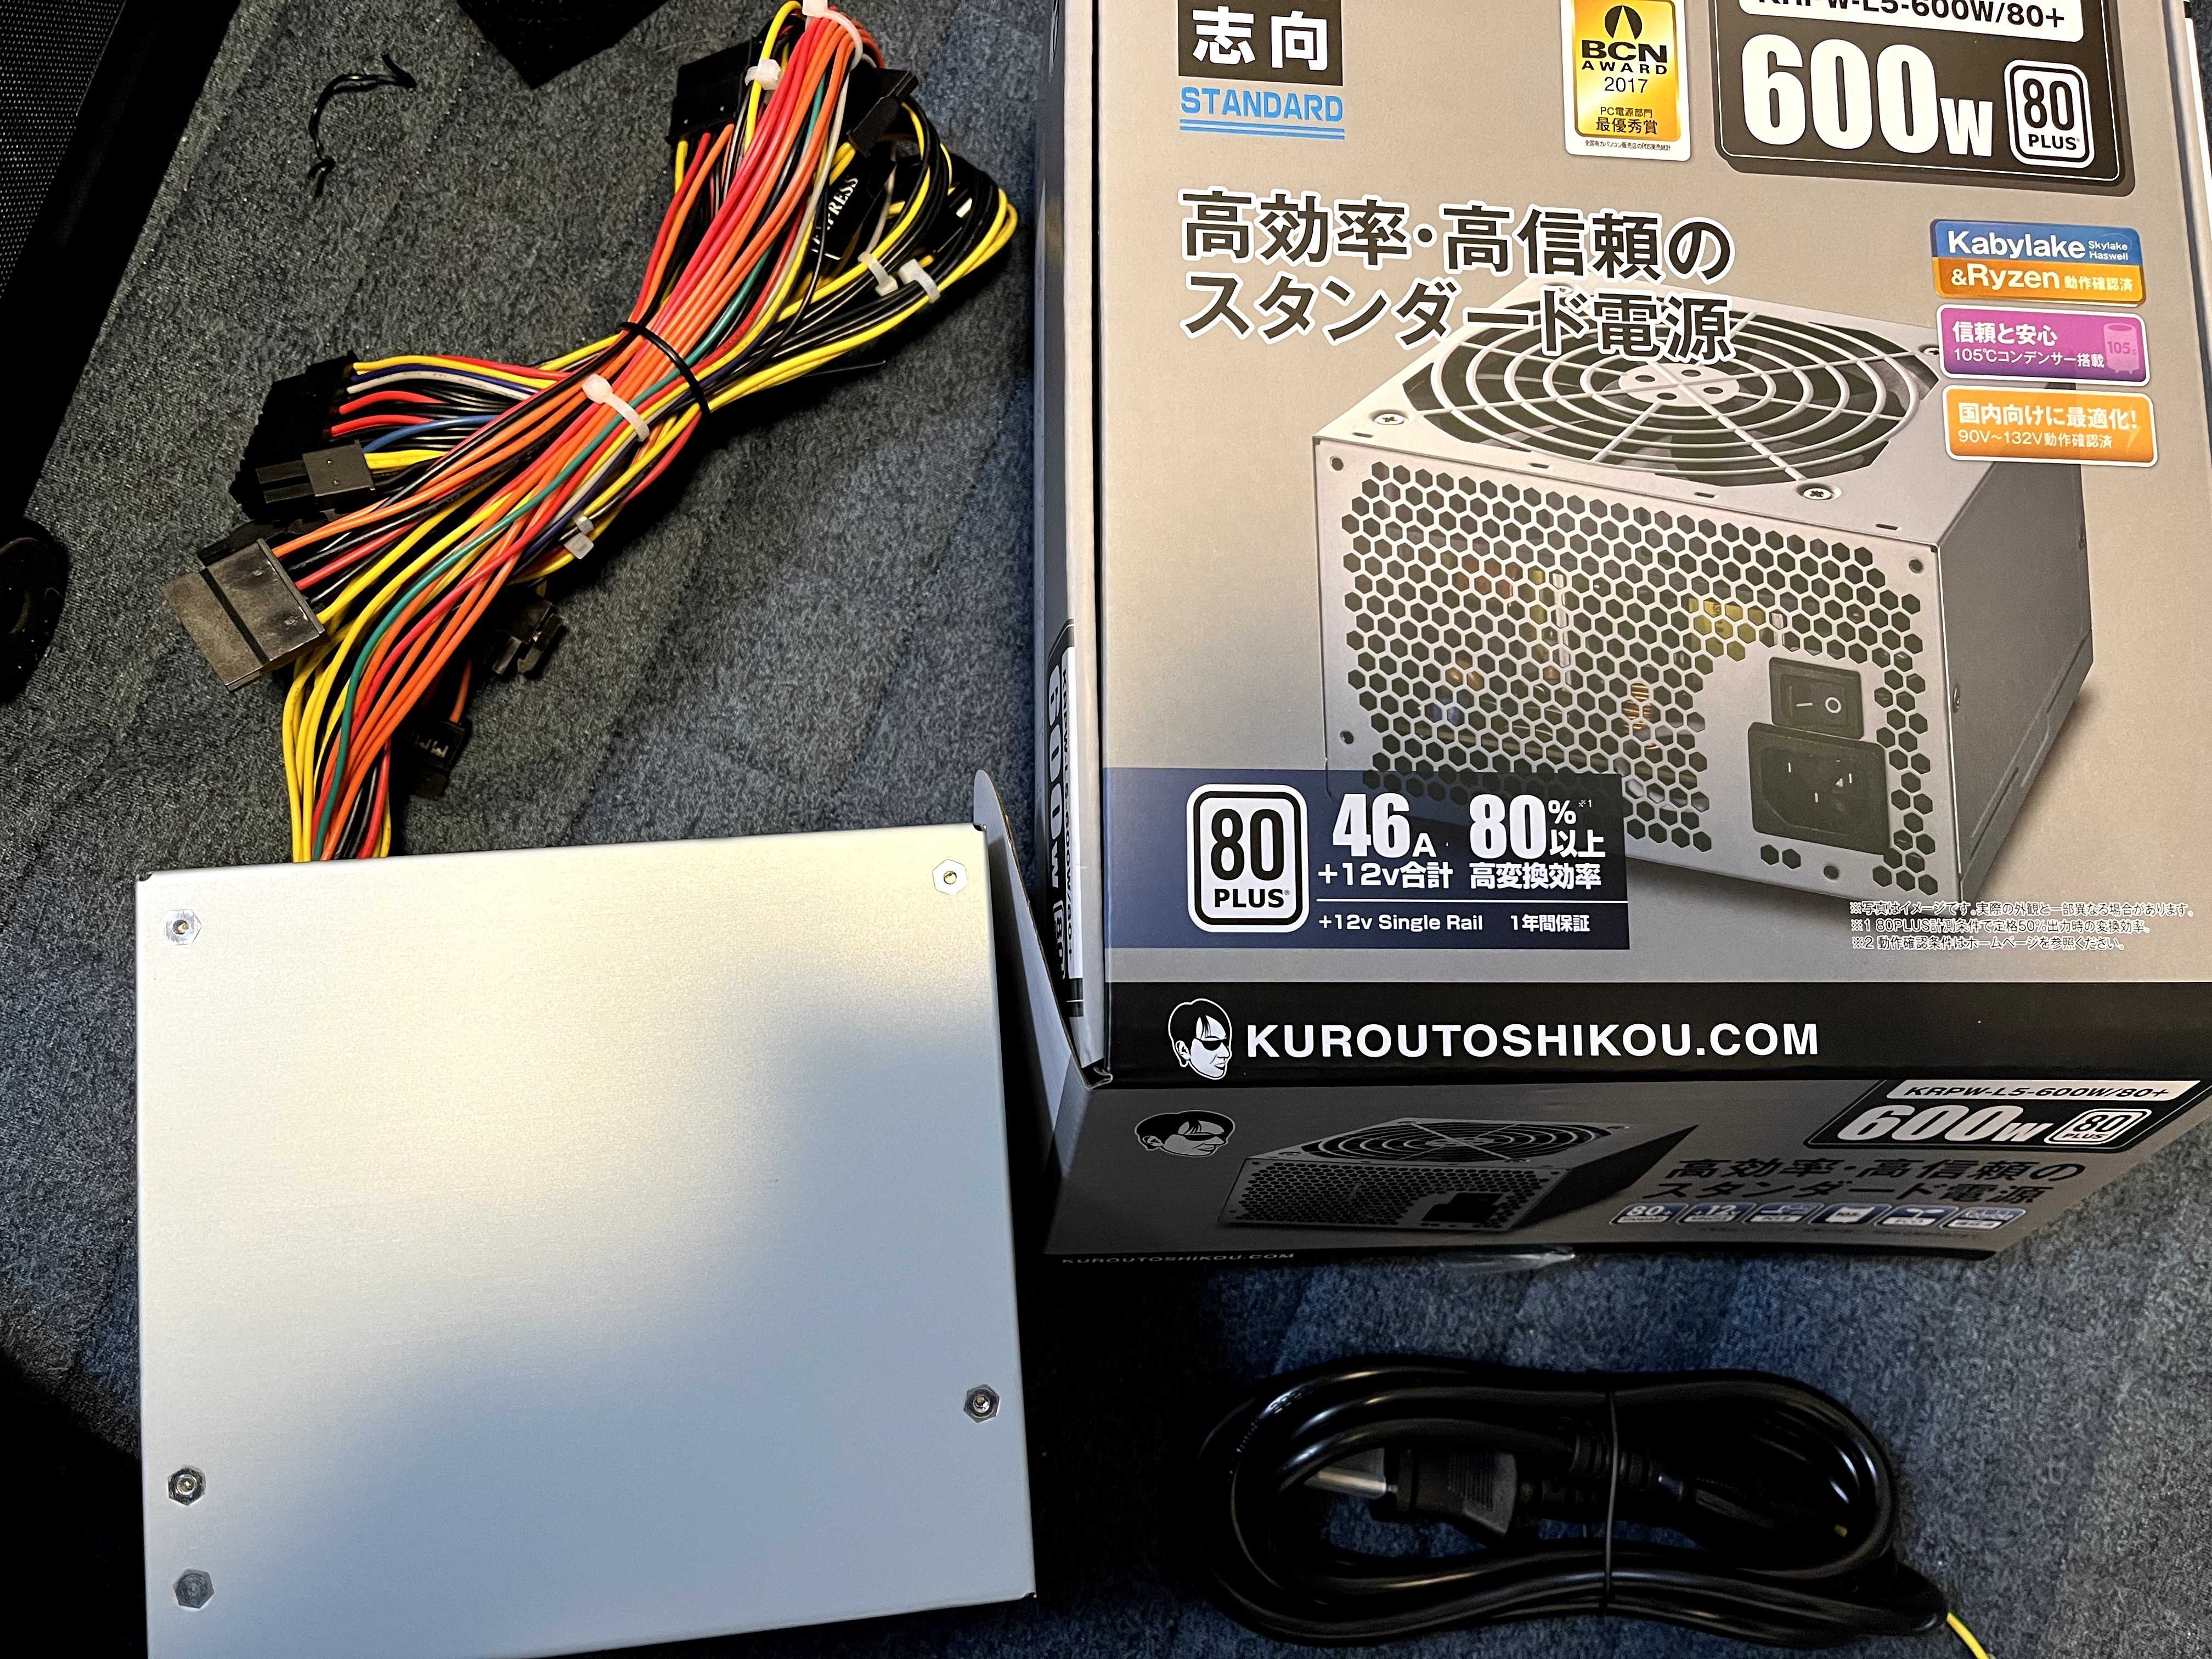
| Power Supply | Kuroutoshikou 600W | 6,080 | Amazon |
| Case | Thermaltake Versa H17 (Mini Tower) | 3,940 | Amazon |
| Other | GeForce GT 1030 | 10,436 | Amazon |
Total: 88,056 yen
※ One GPU ended up unused, so the actual cost was about ¥78,000.
What Can This Setup Handle?
If you’re reading this, you’re probably working with a tight budget, so let’s assume that "it runs" means "lowering graphics settings makes it playable."
Light games – No problem
- League of Legends
- VALORANT
- Genshin Impact
- AoE3DE
- Stardew Valley
Anything released before 2020 on Steam should be smooth.
Playable with settings adjustments
- Final Fantasy XV
- Apex Legends
Requires major graphics settings reduction
- Monster Hunter Wilds
Light games + Streaming + Vtube Studio + Voice Conversion
I tried this on Windows and it worked.
I wanted to try real-time voice conversion using AI.
I used "VC Client" with a pre-trained RVC model downloaded from BOOTH.
I also used Vtube Studio (from Steam), which moves the character based on your webcam, and set it to react to voice. It worked.
Streaming with OBS to Twitch was also possible. I didn’t test how heavy a game it could handle, but it ran light games like LoL smoothly (FPS stable, GPU had headroom).
I originally installed two GPUs for load distribution, but the GT1030 couldn’t handle anything – 1660Ti was more reliable. Wasted 10,000 yen.
If it’s unstable, your voice turns robotic.
By the way, I wasn’t trying to become a Vtuber.
Build Process
Building was super simple – I followed a YouTube video.
It was my first time building from scratch, so I had to check orientations and it took time, but it was fun.
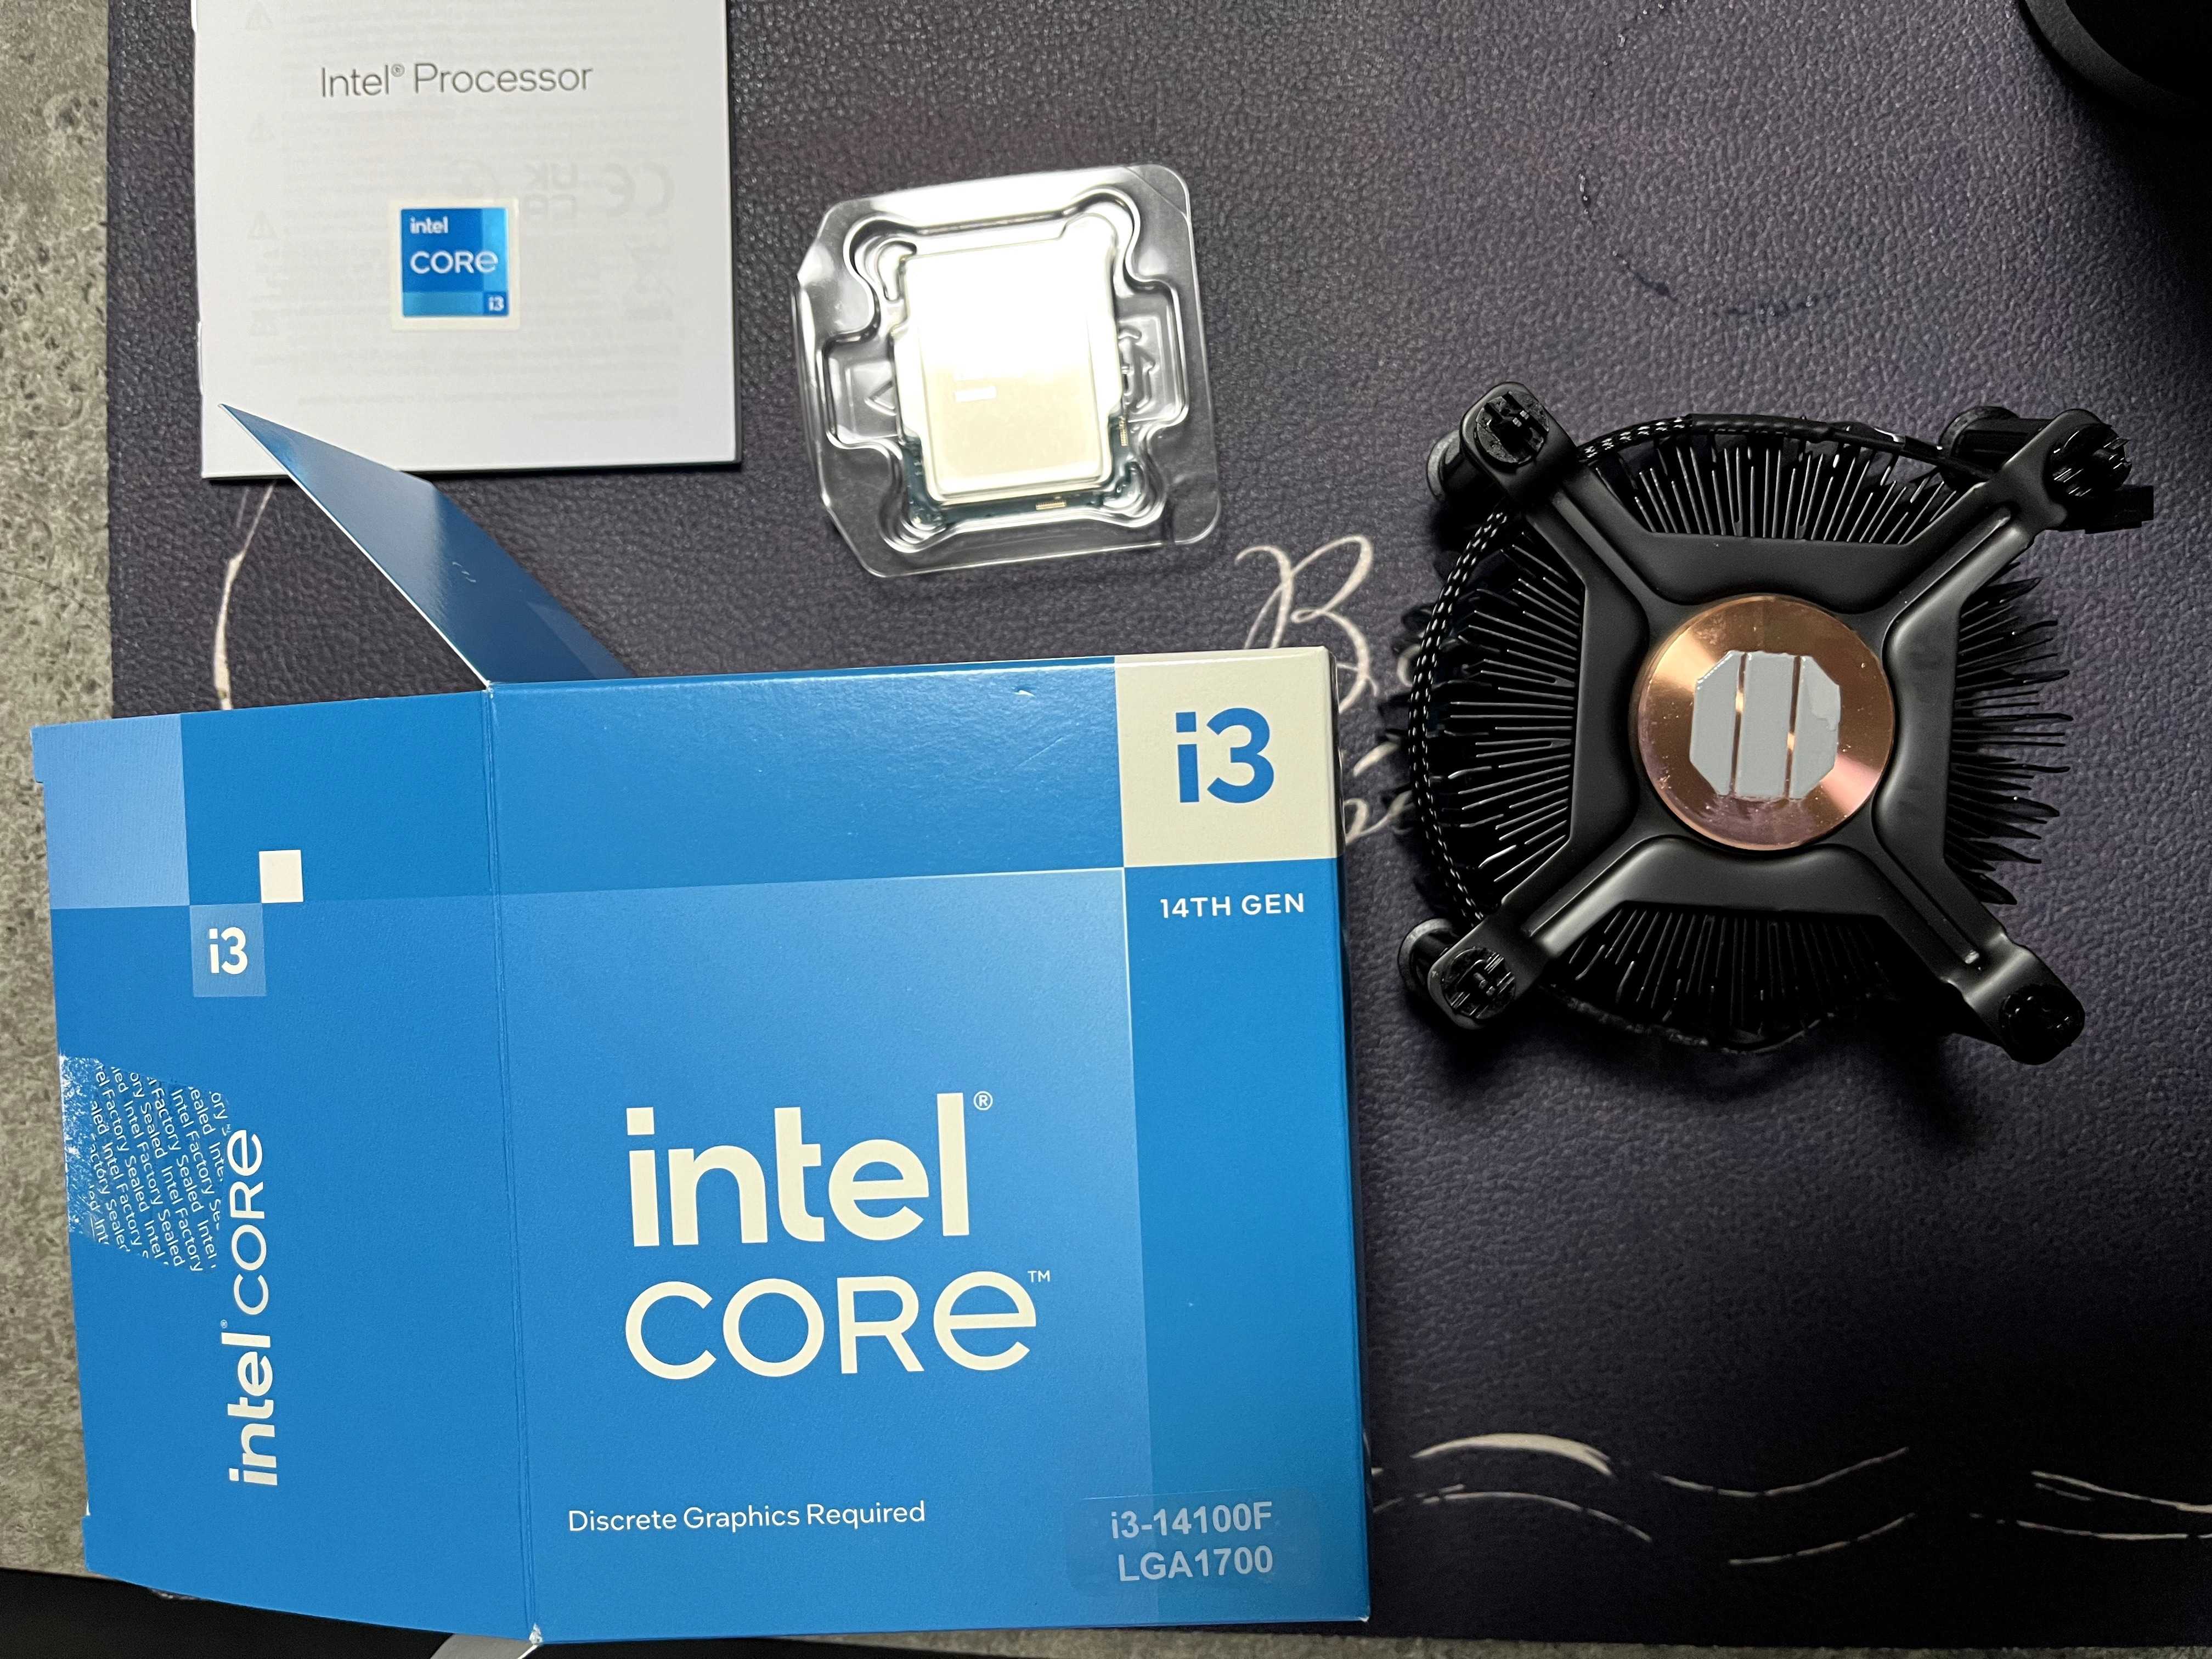
Installing the CPU
CPU
Motherboard
Installing the CPU on the motherboard
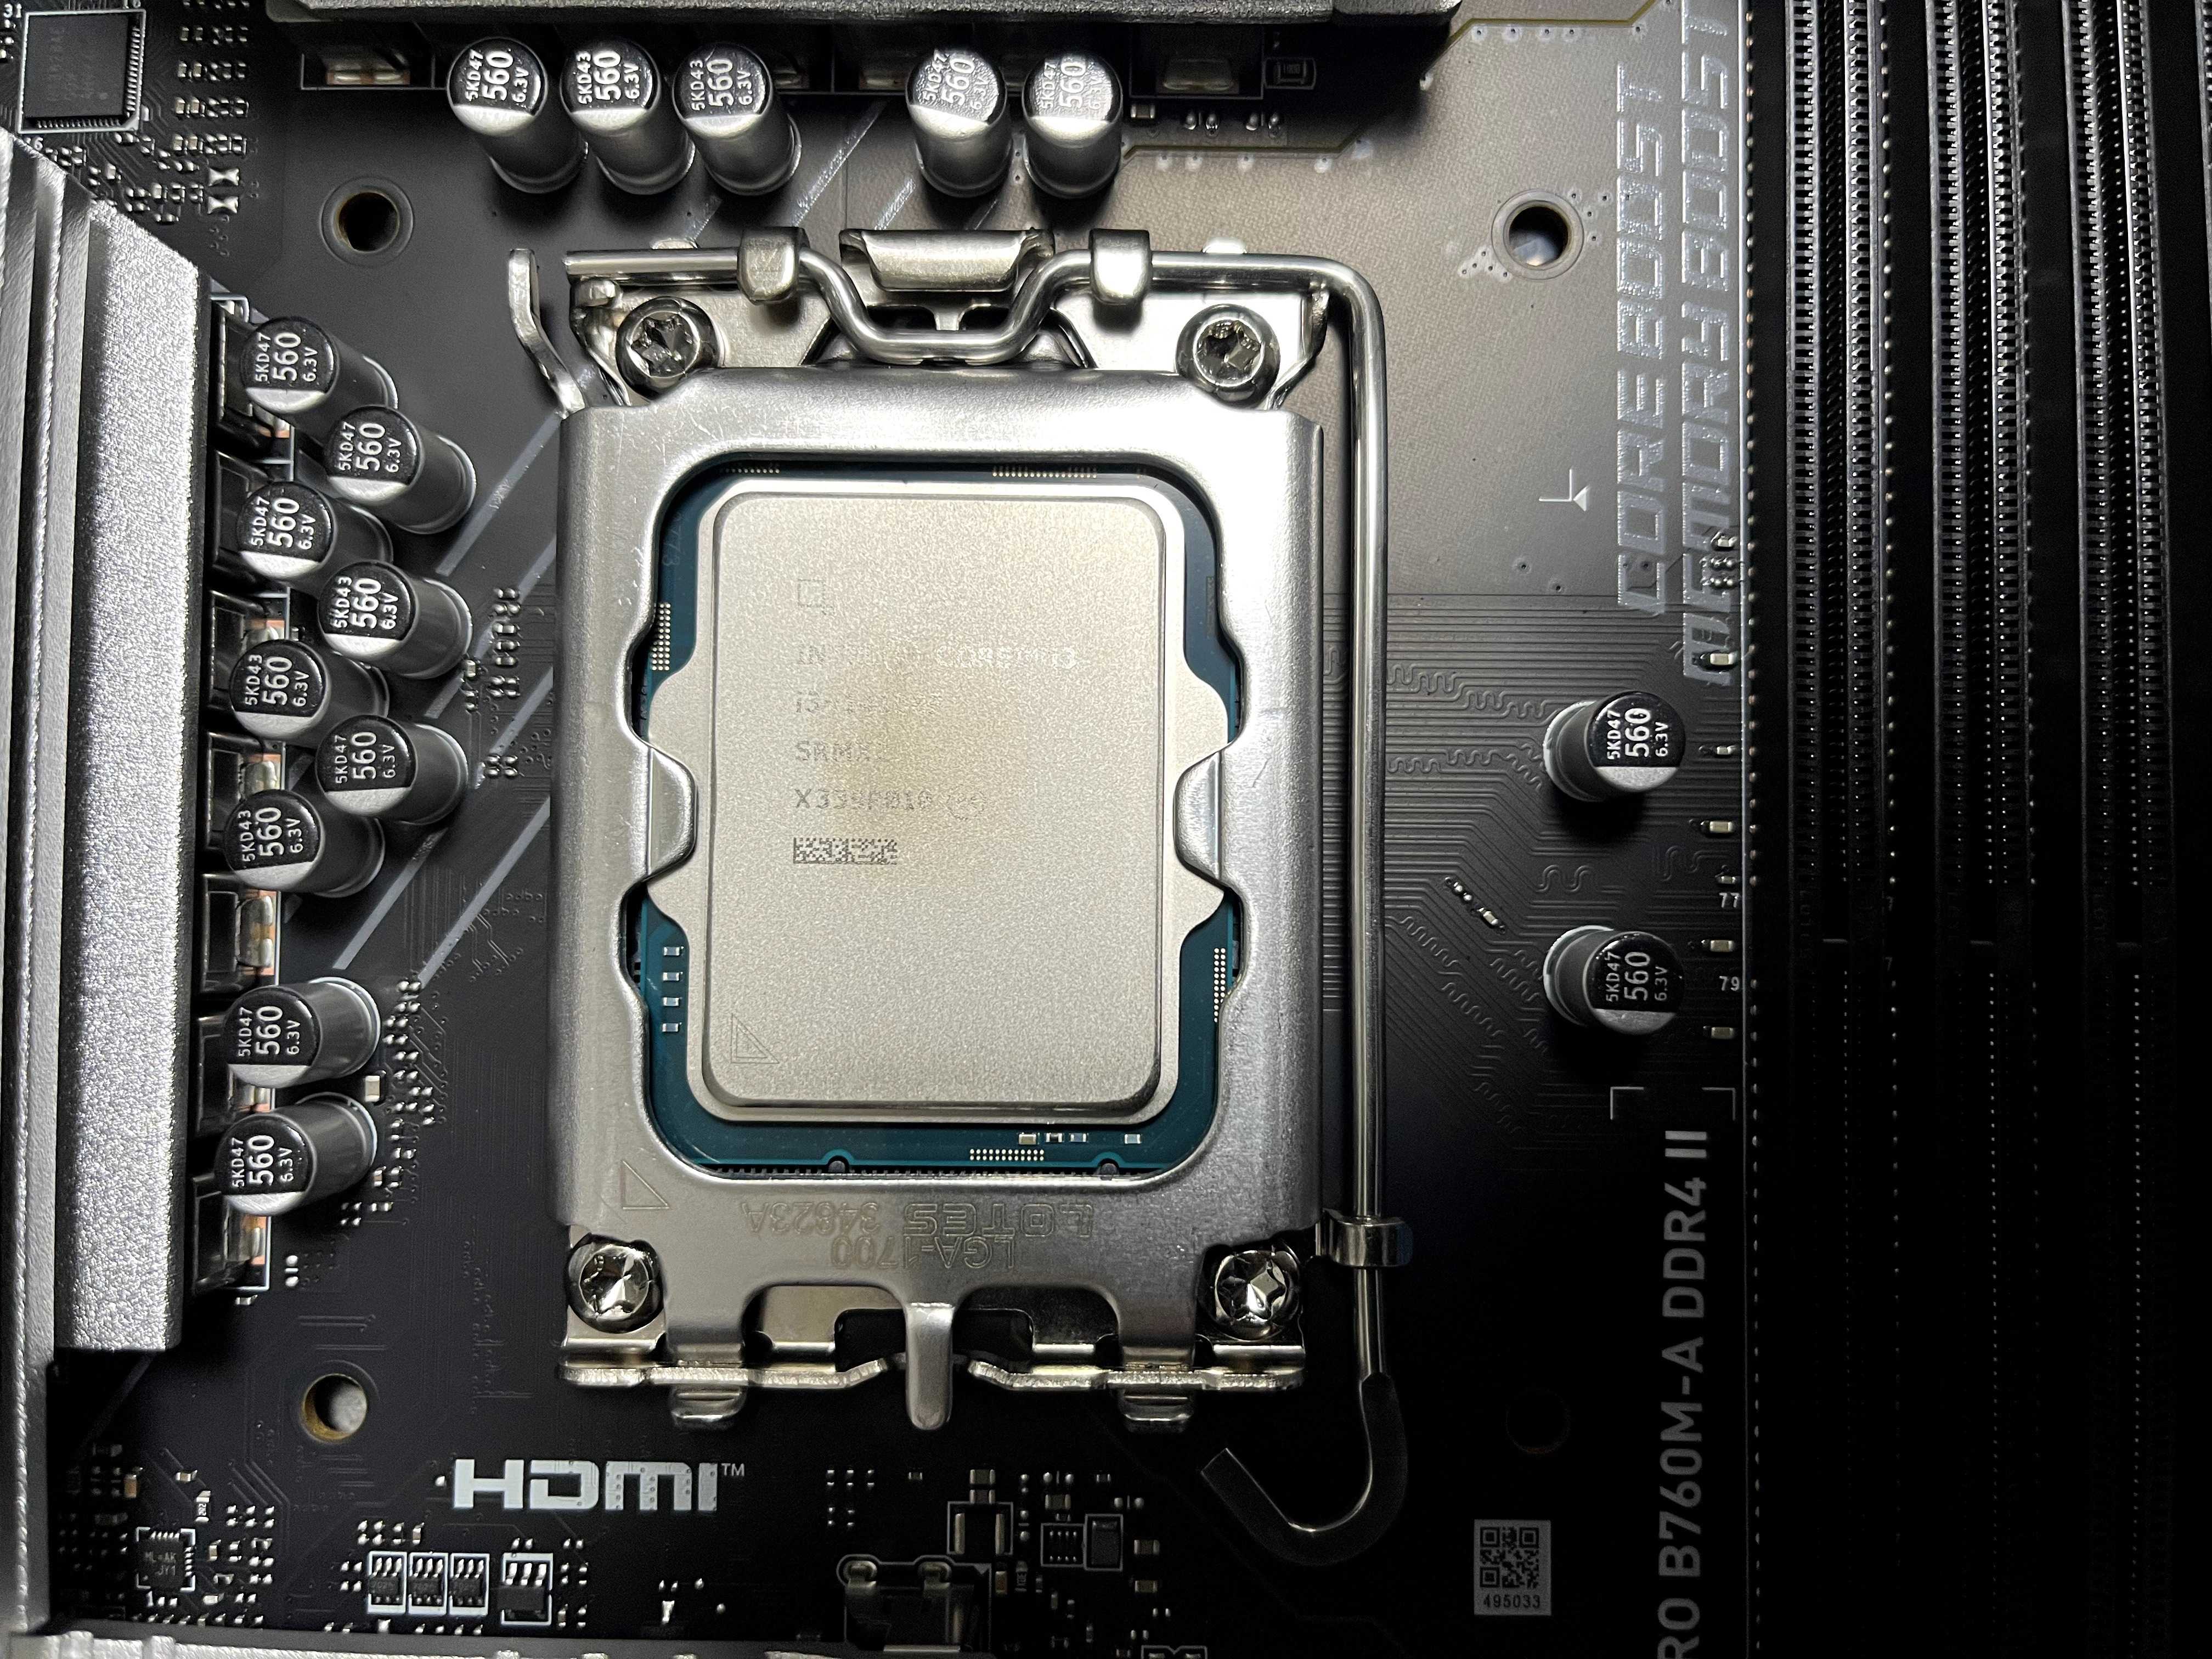
Locking the CPU into place
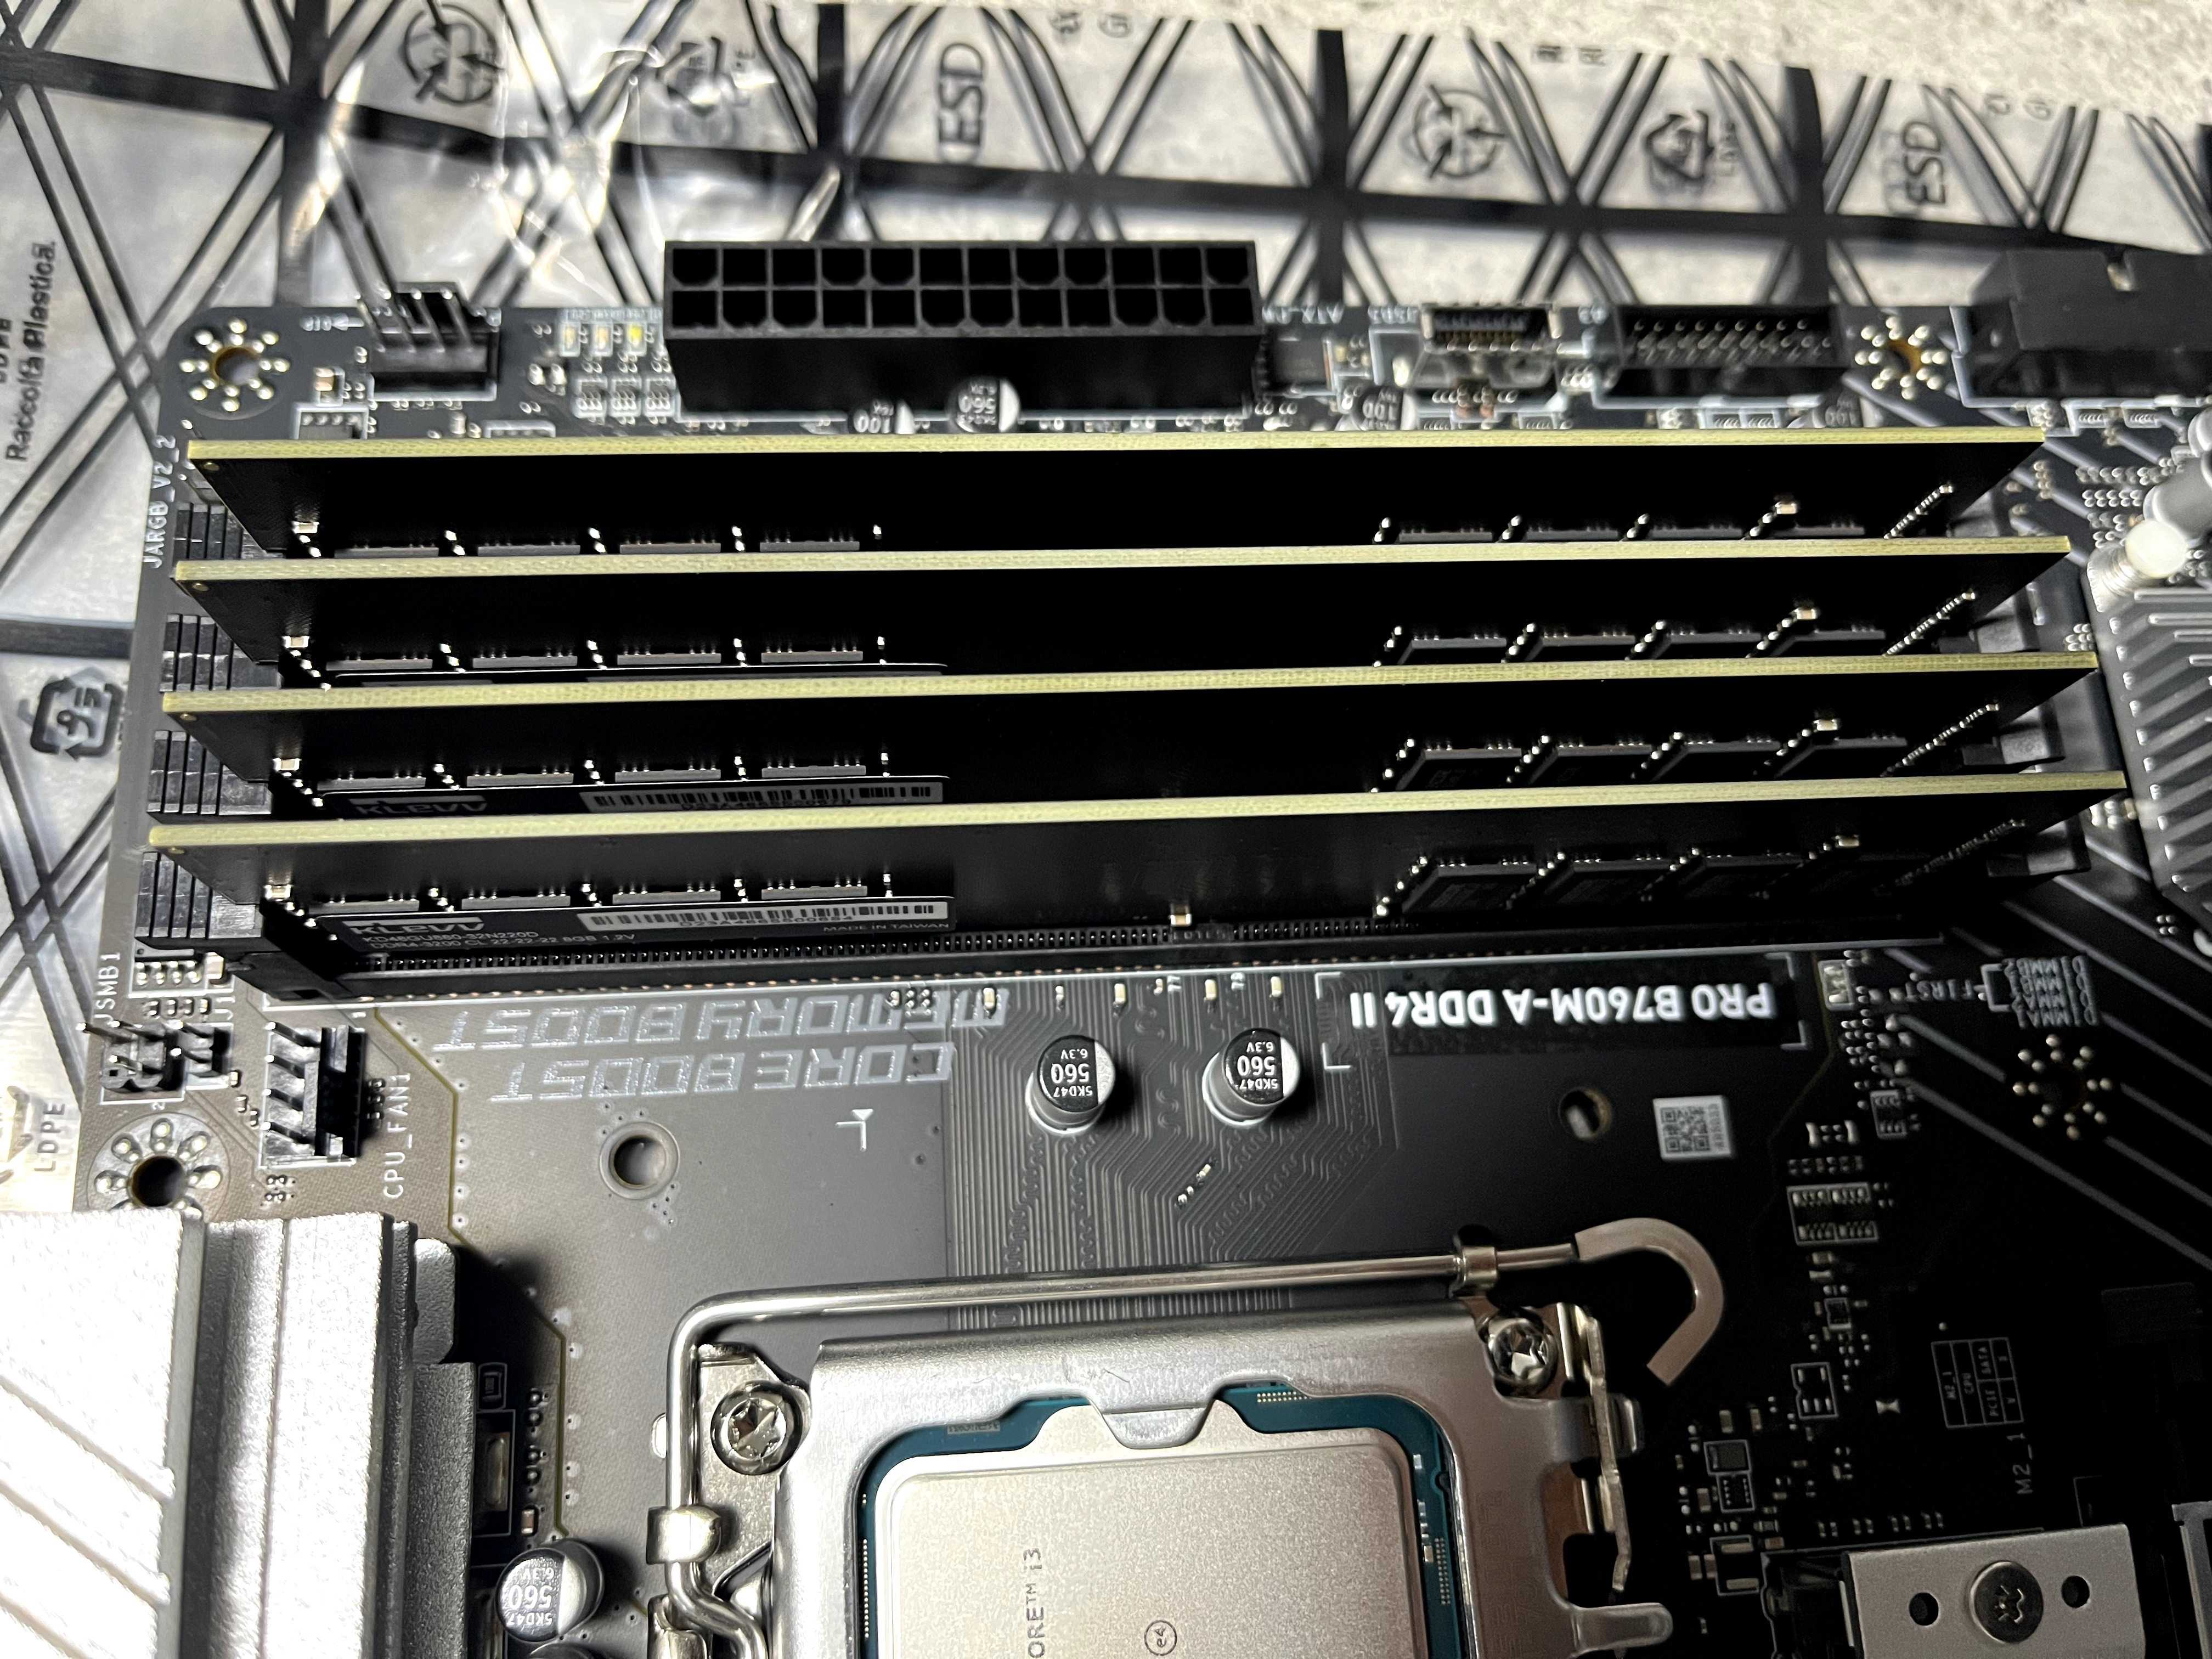
Installing Memory
4 memory sticks (8GB each)
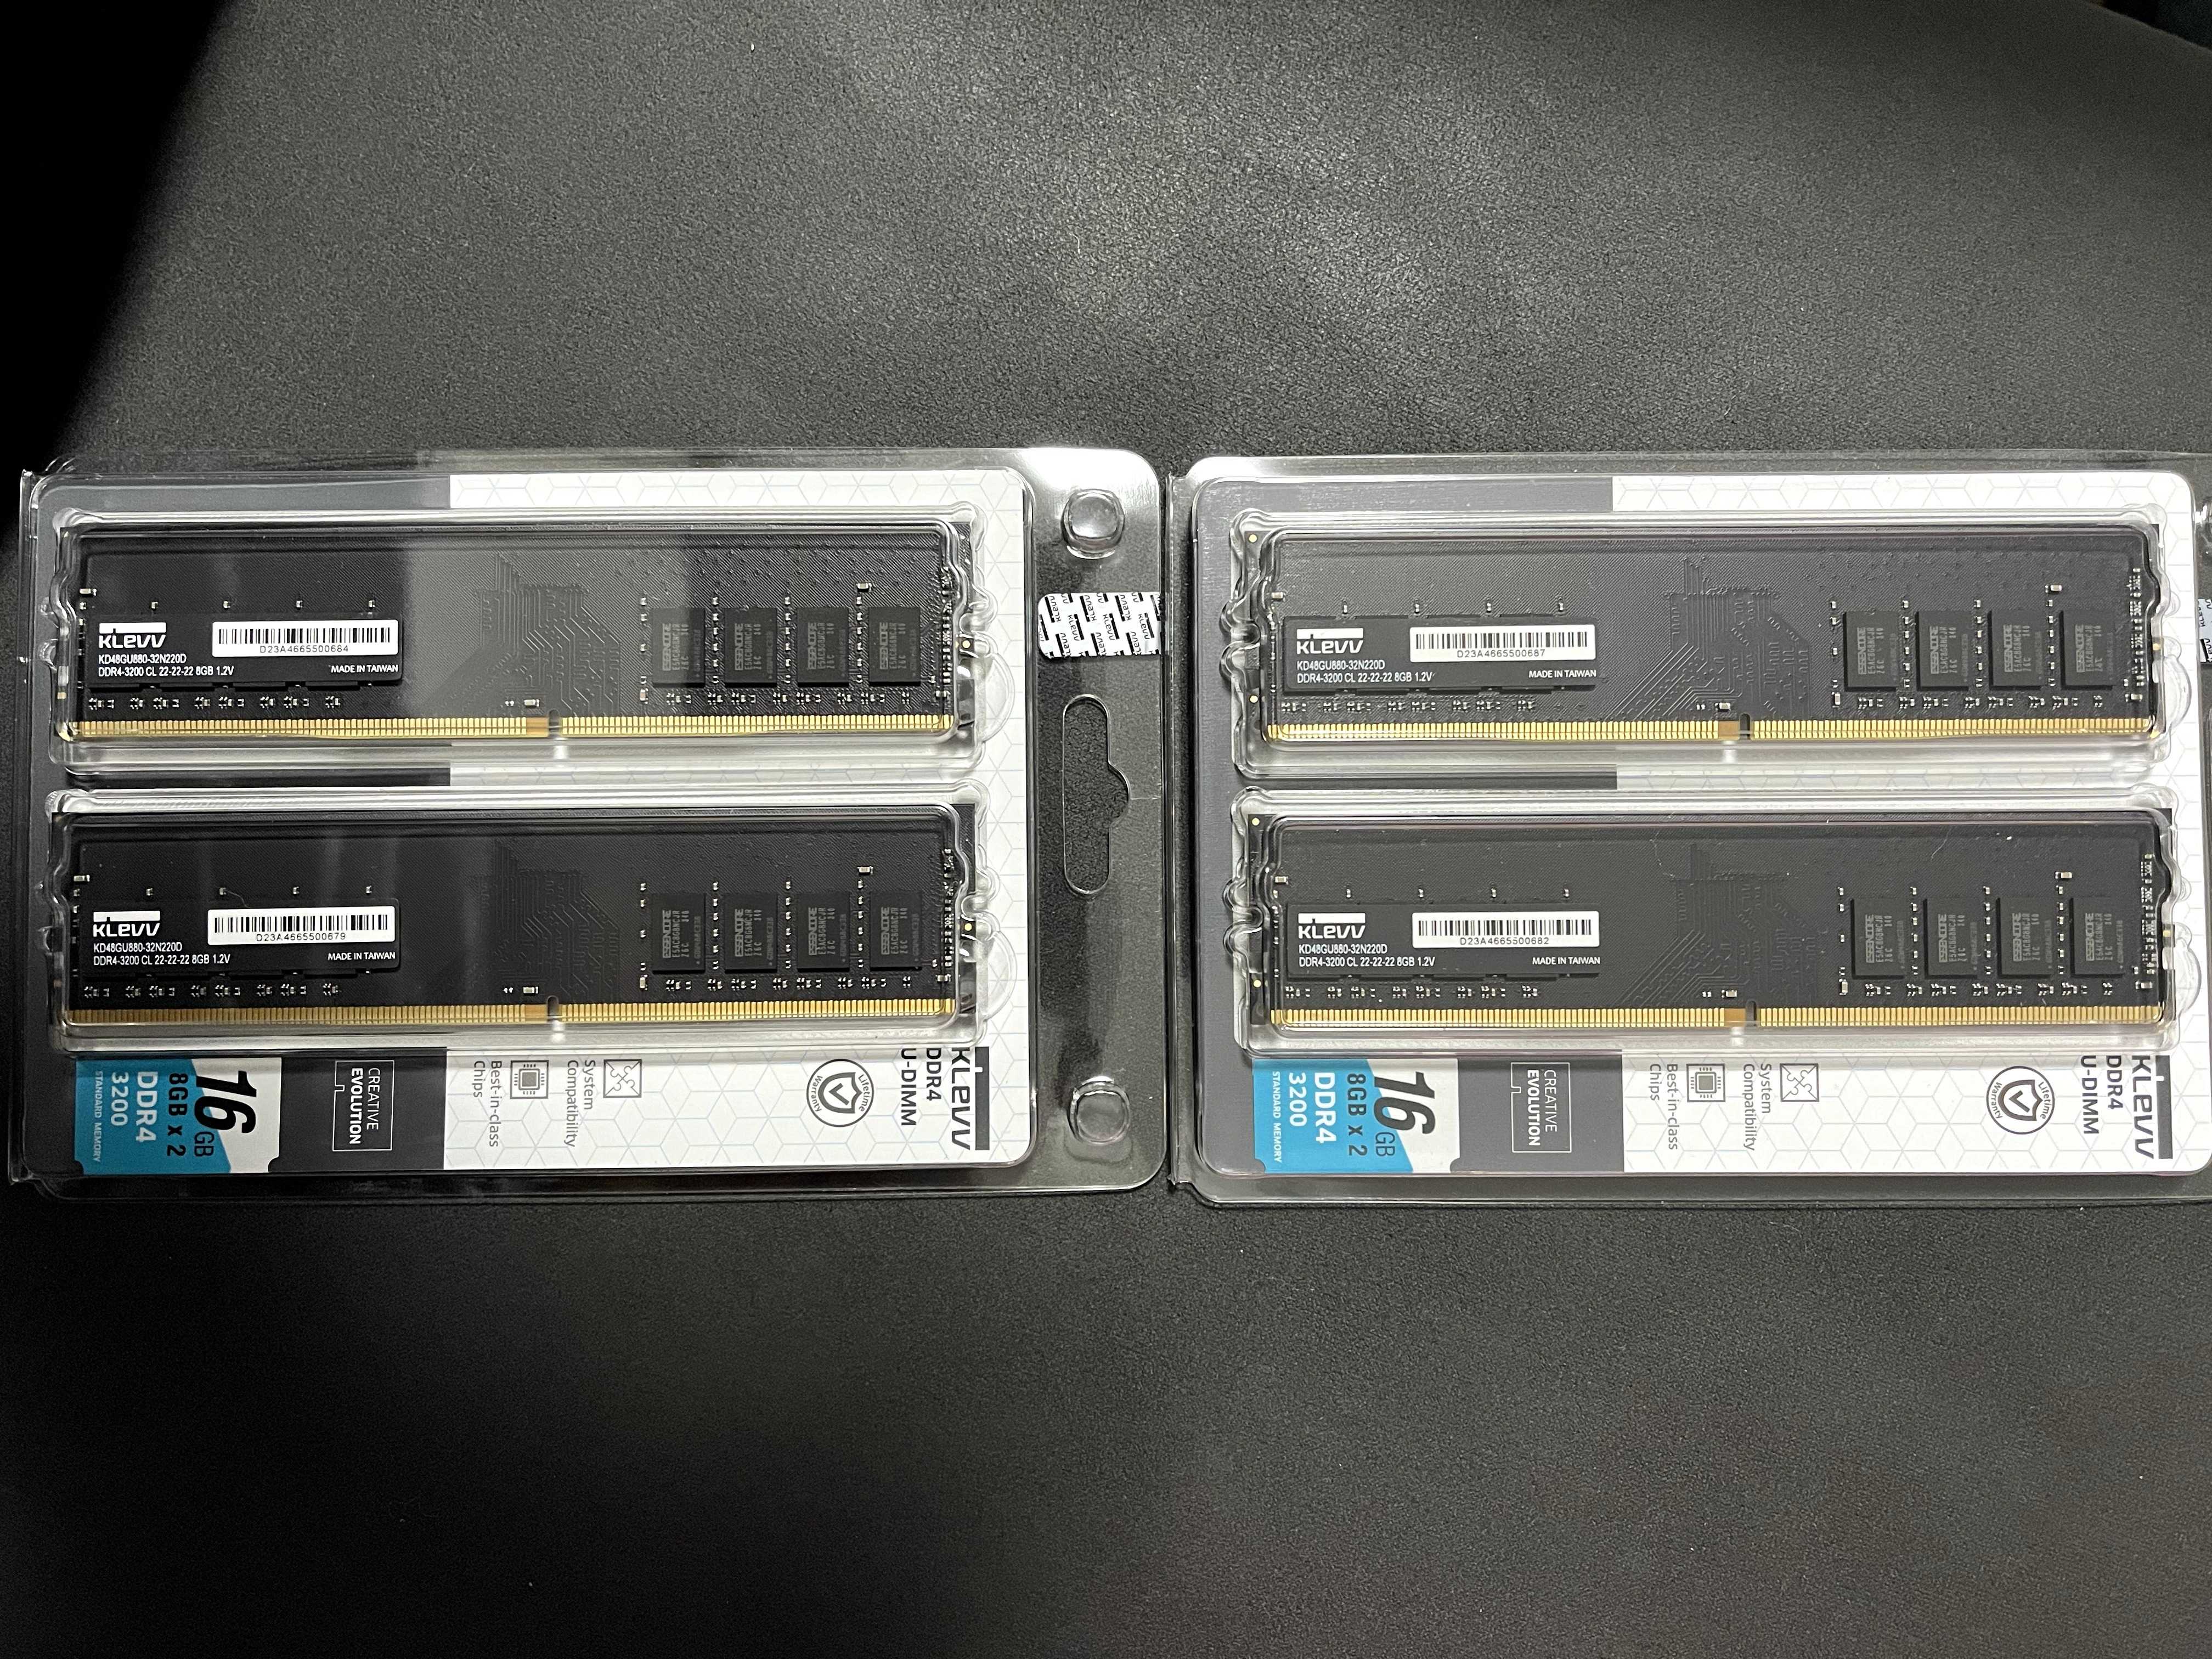
DDR4
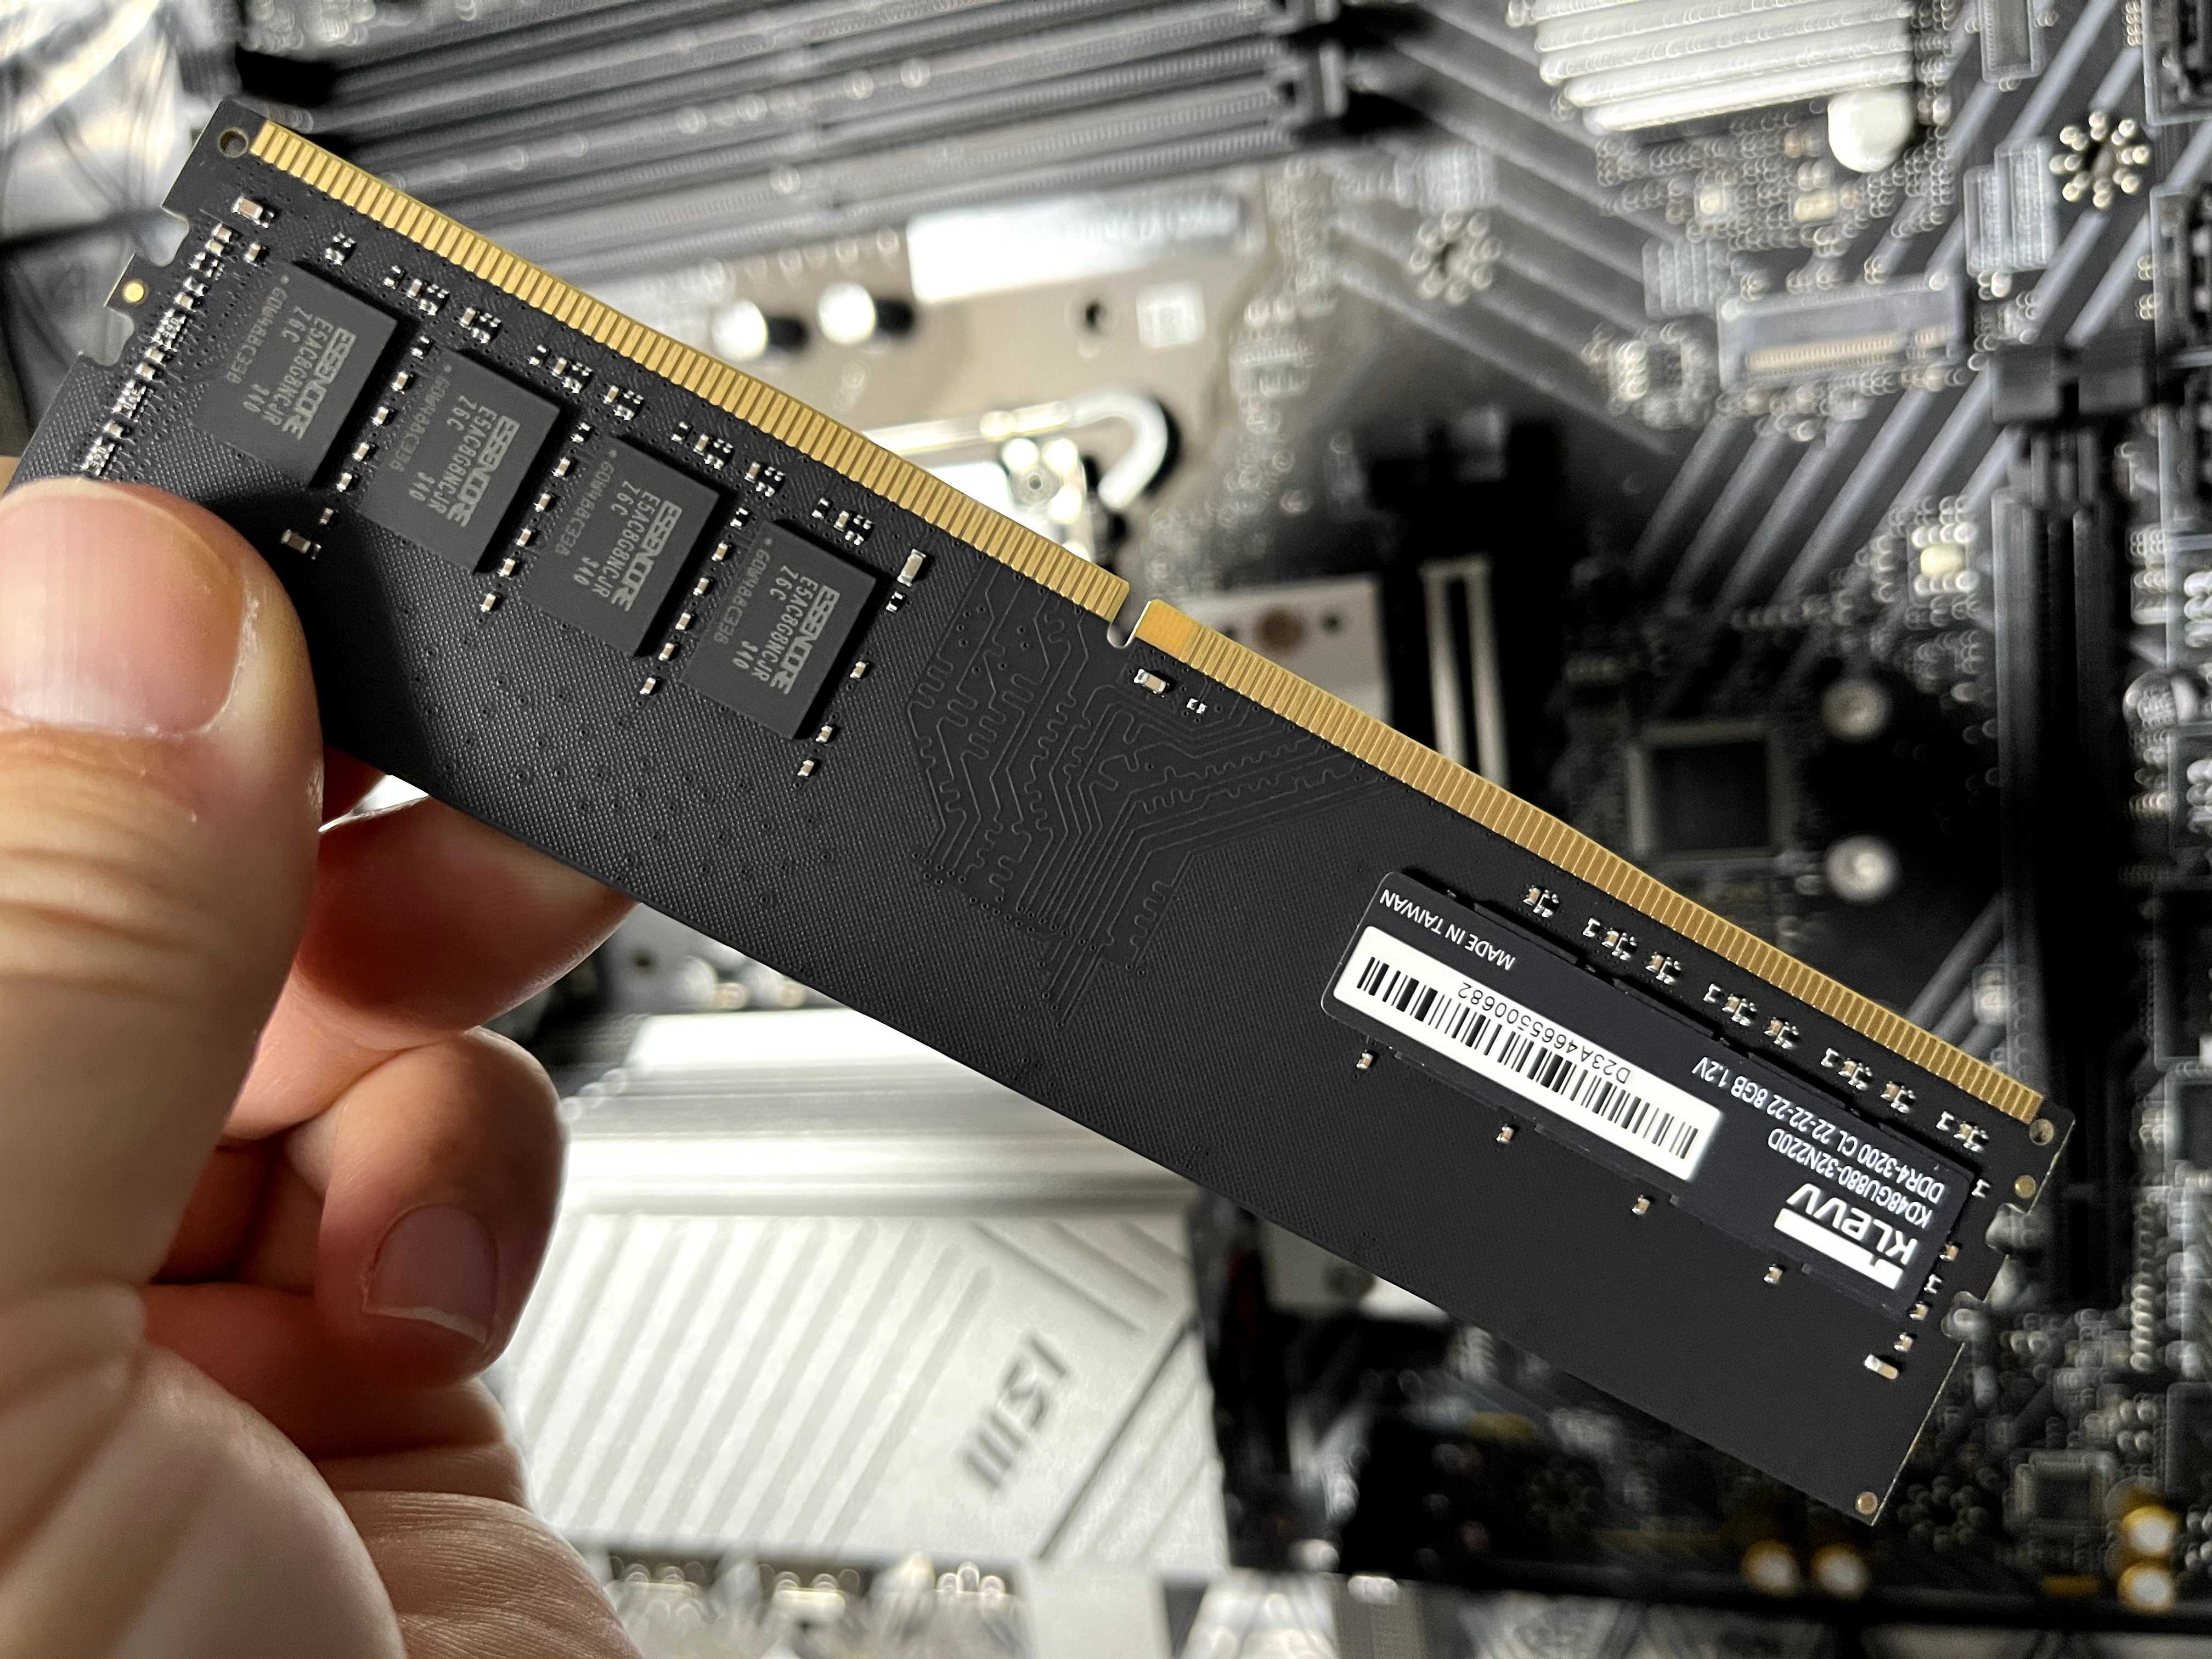
Insert all four
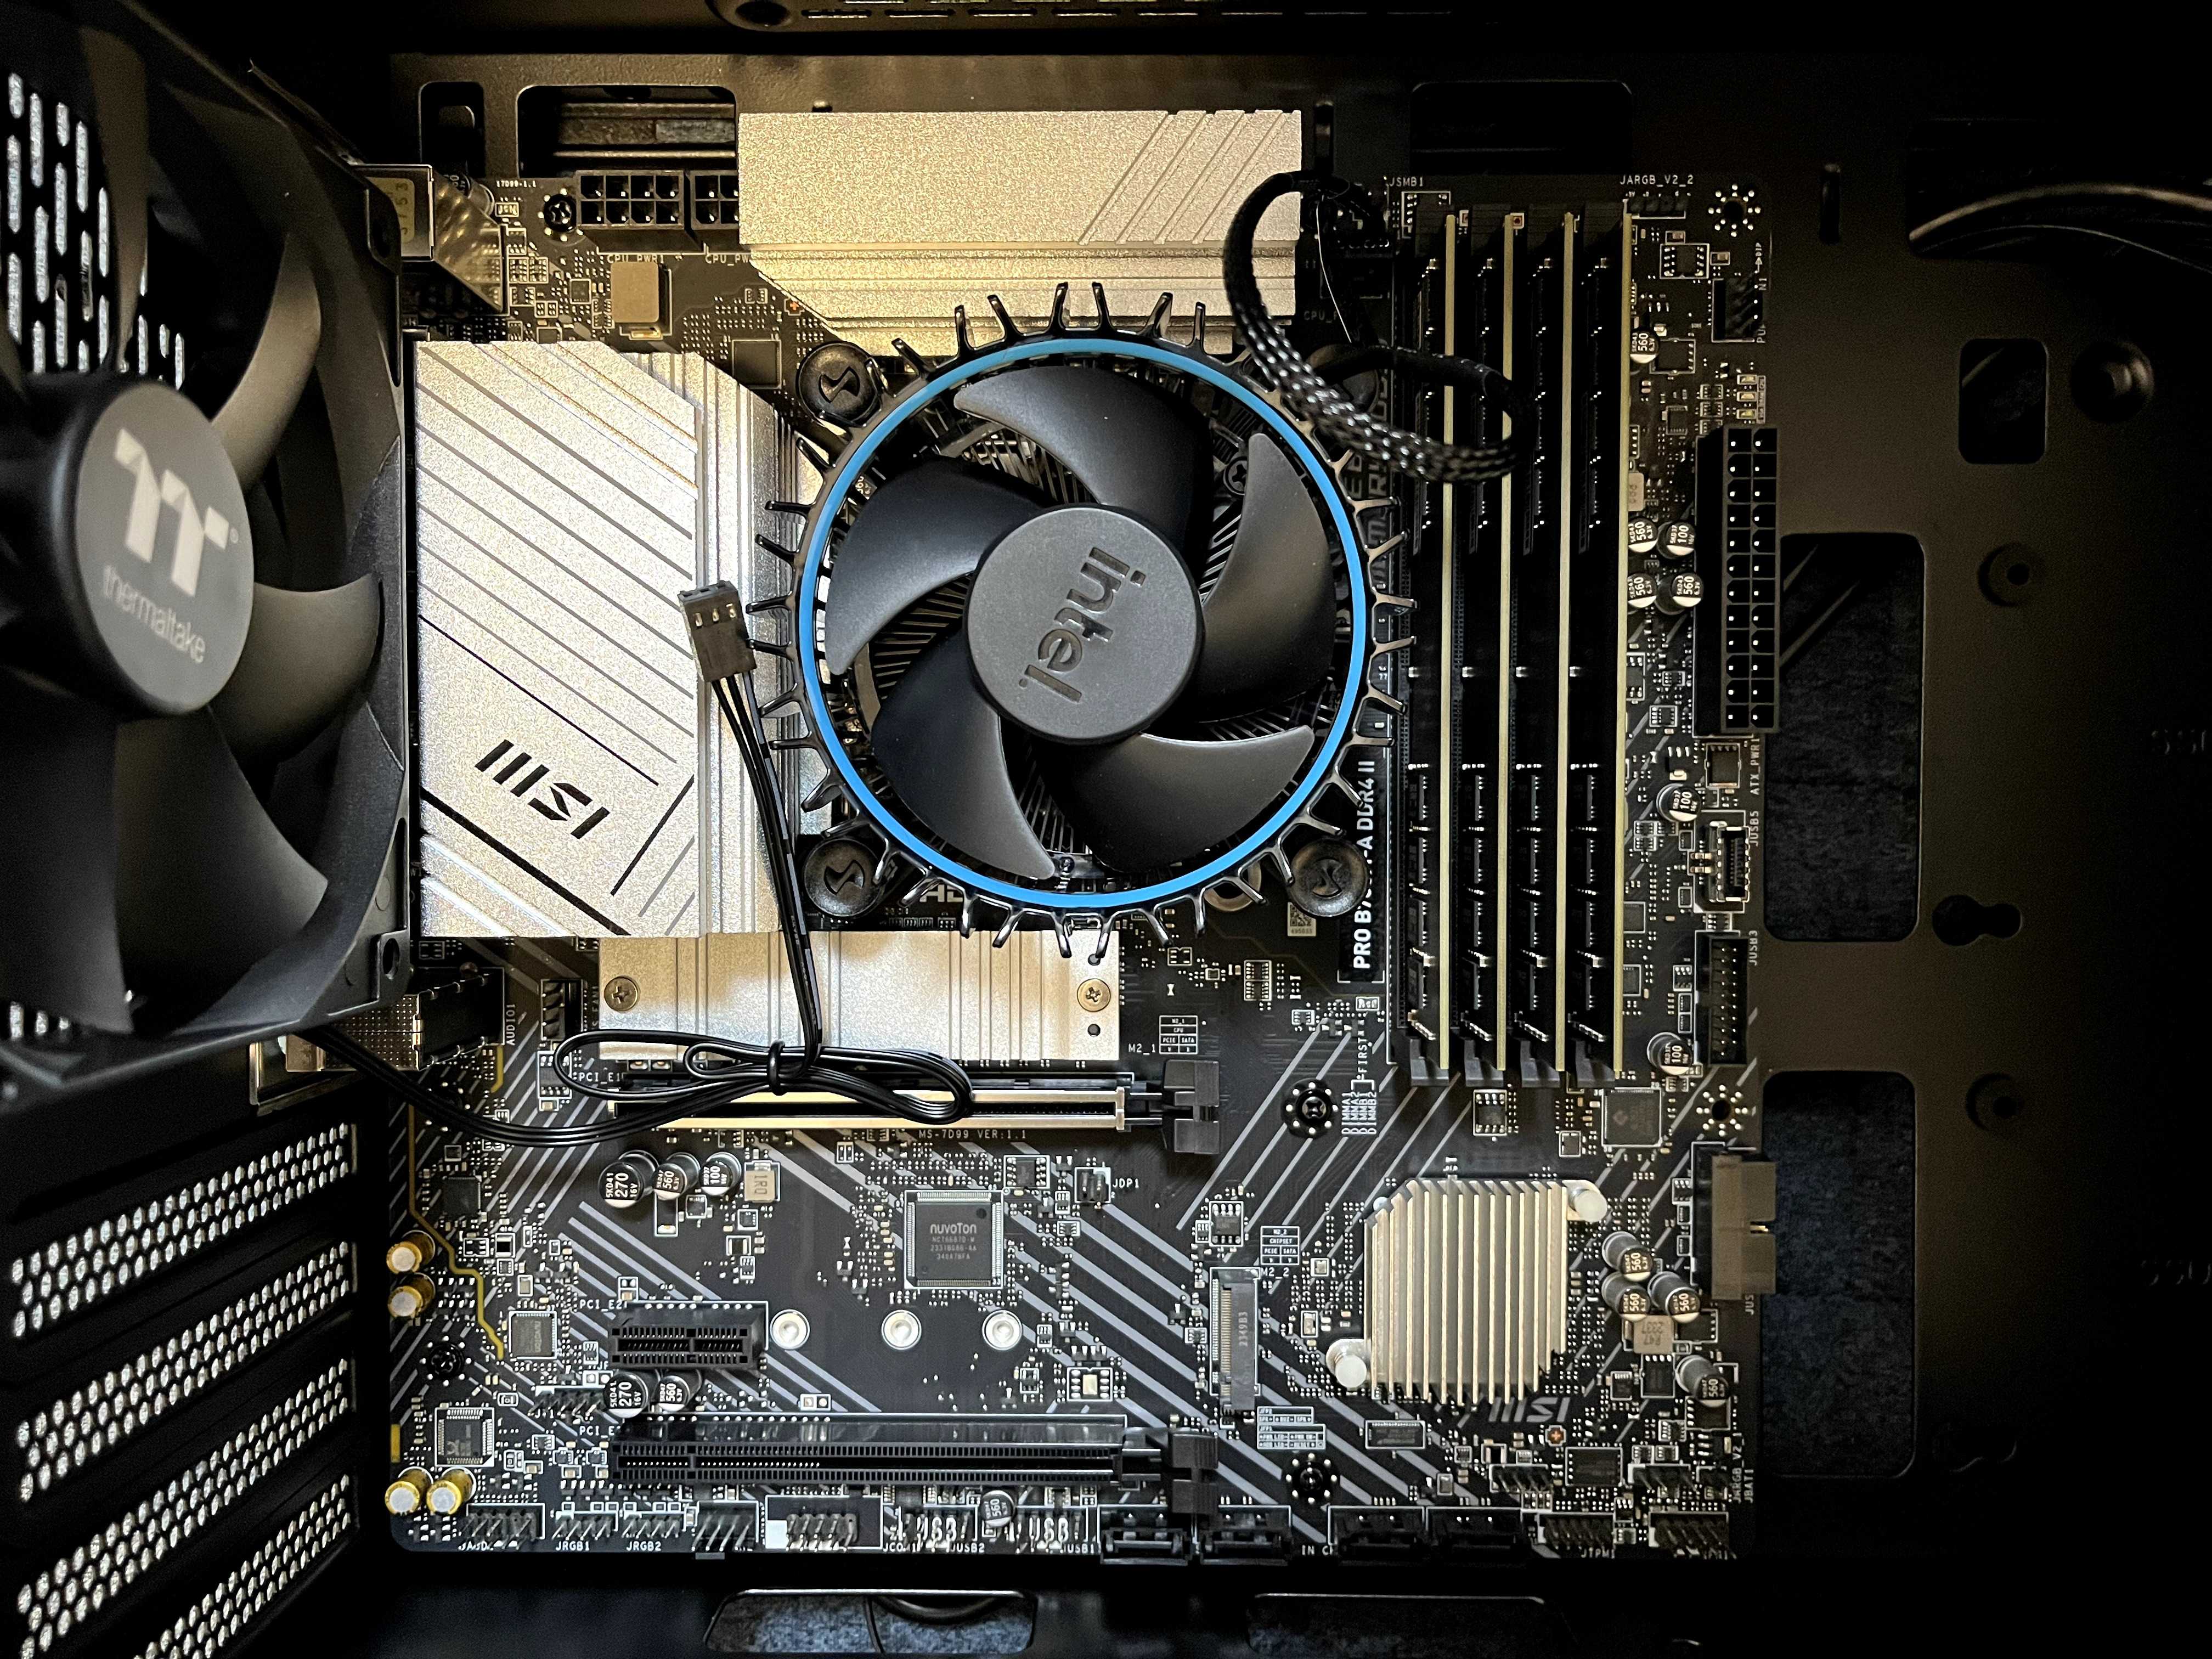
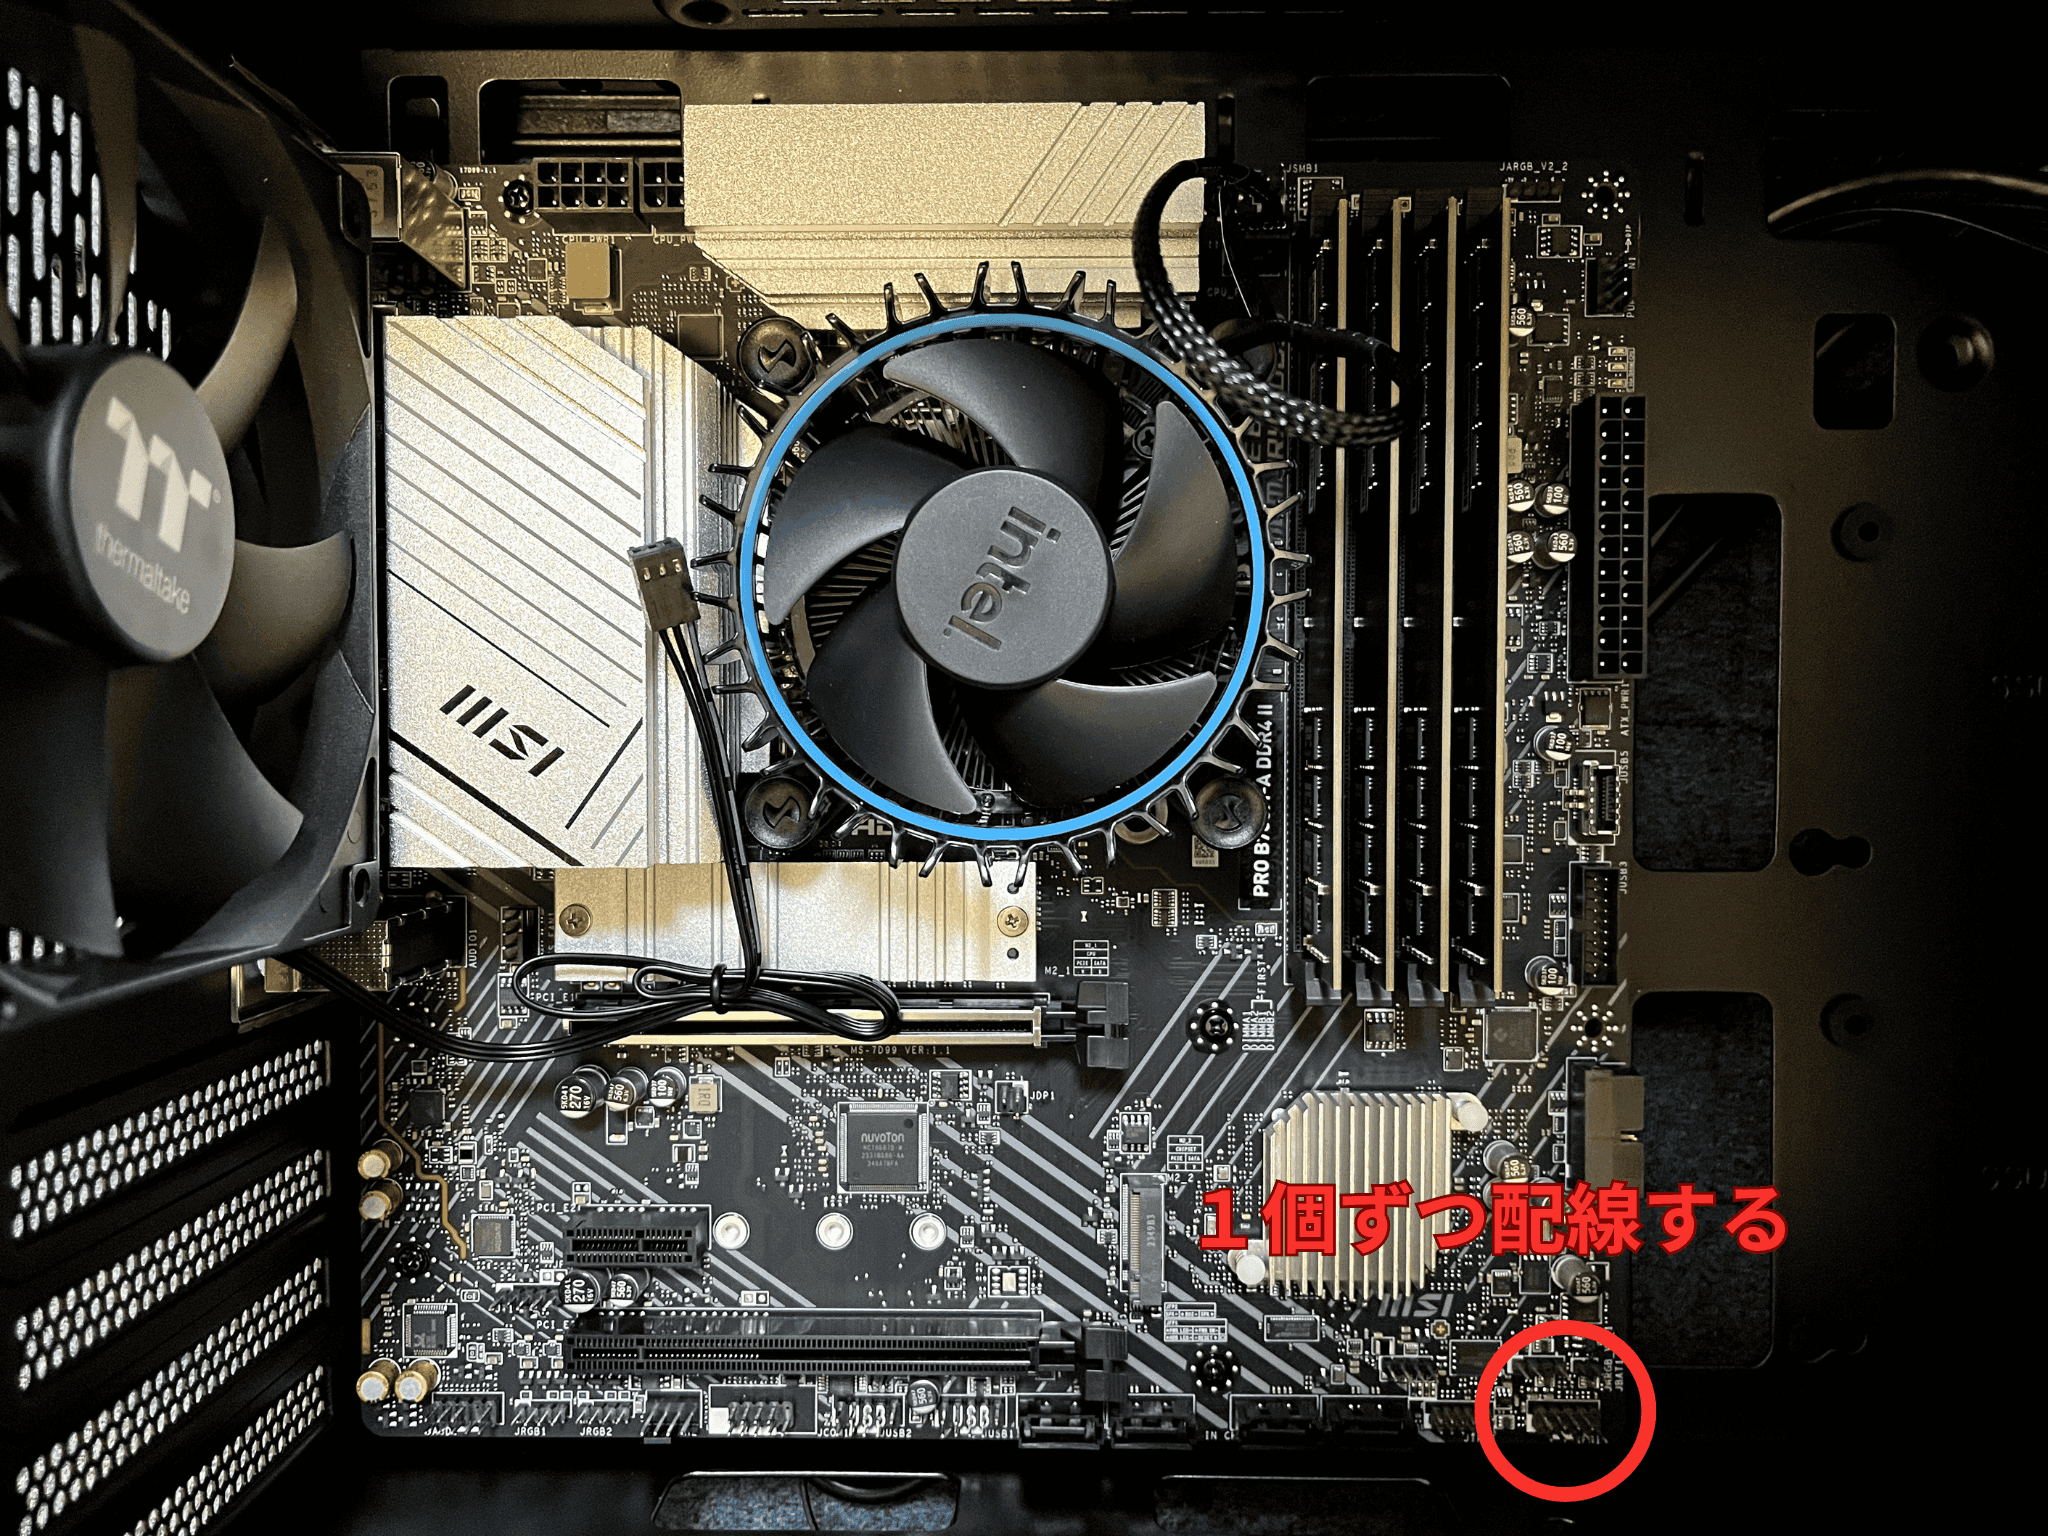
Installing the CPU Cooler
I first used the included Intel cooler.
(Later replaced with Kotetsu Mark3 due to noise and cooling concerns)
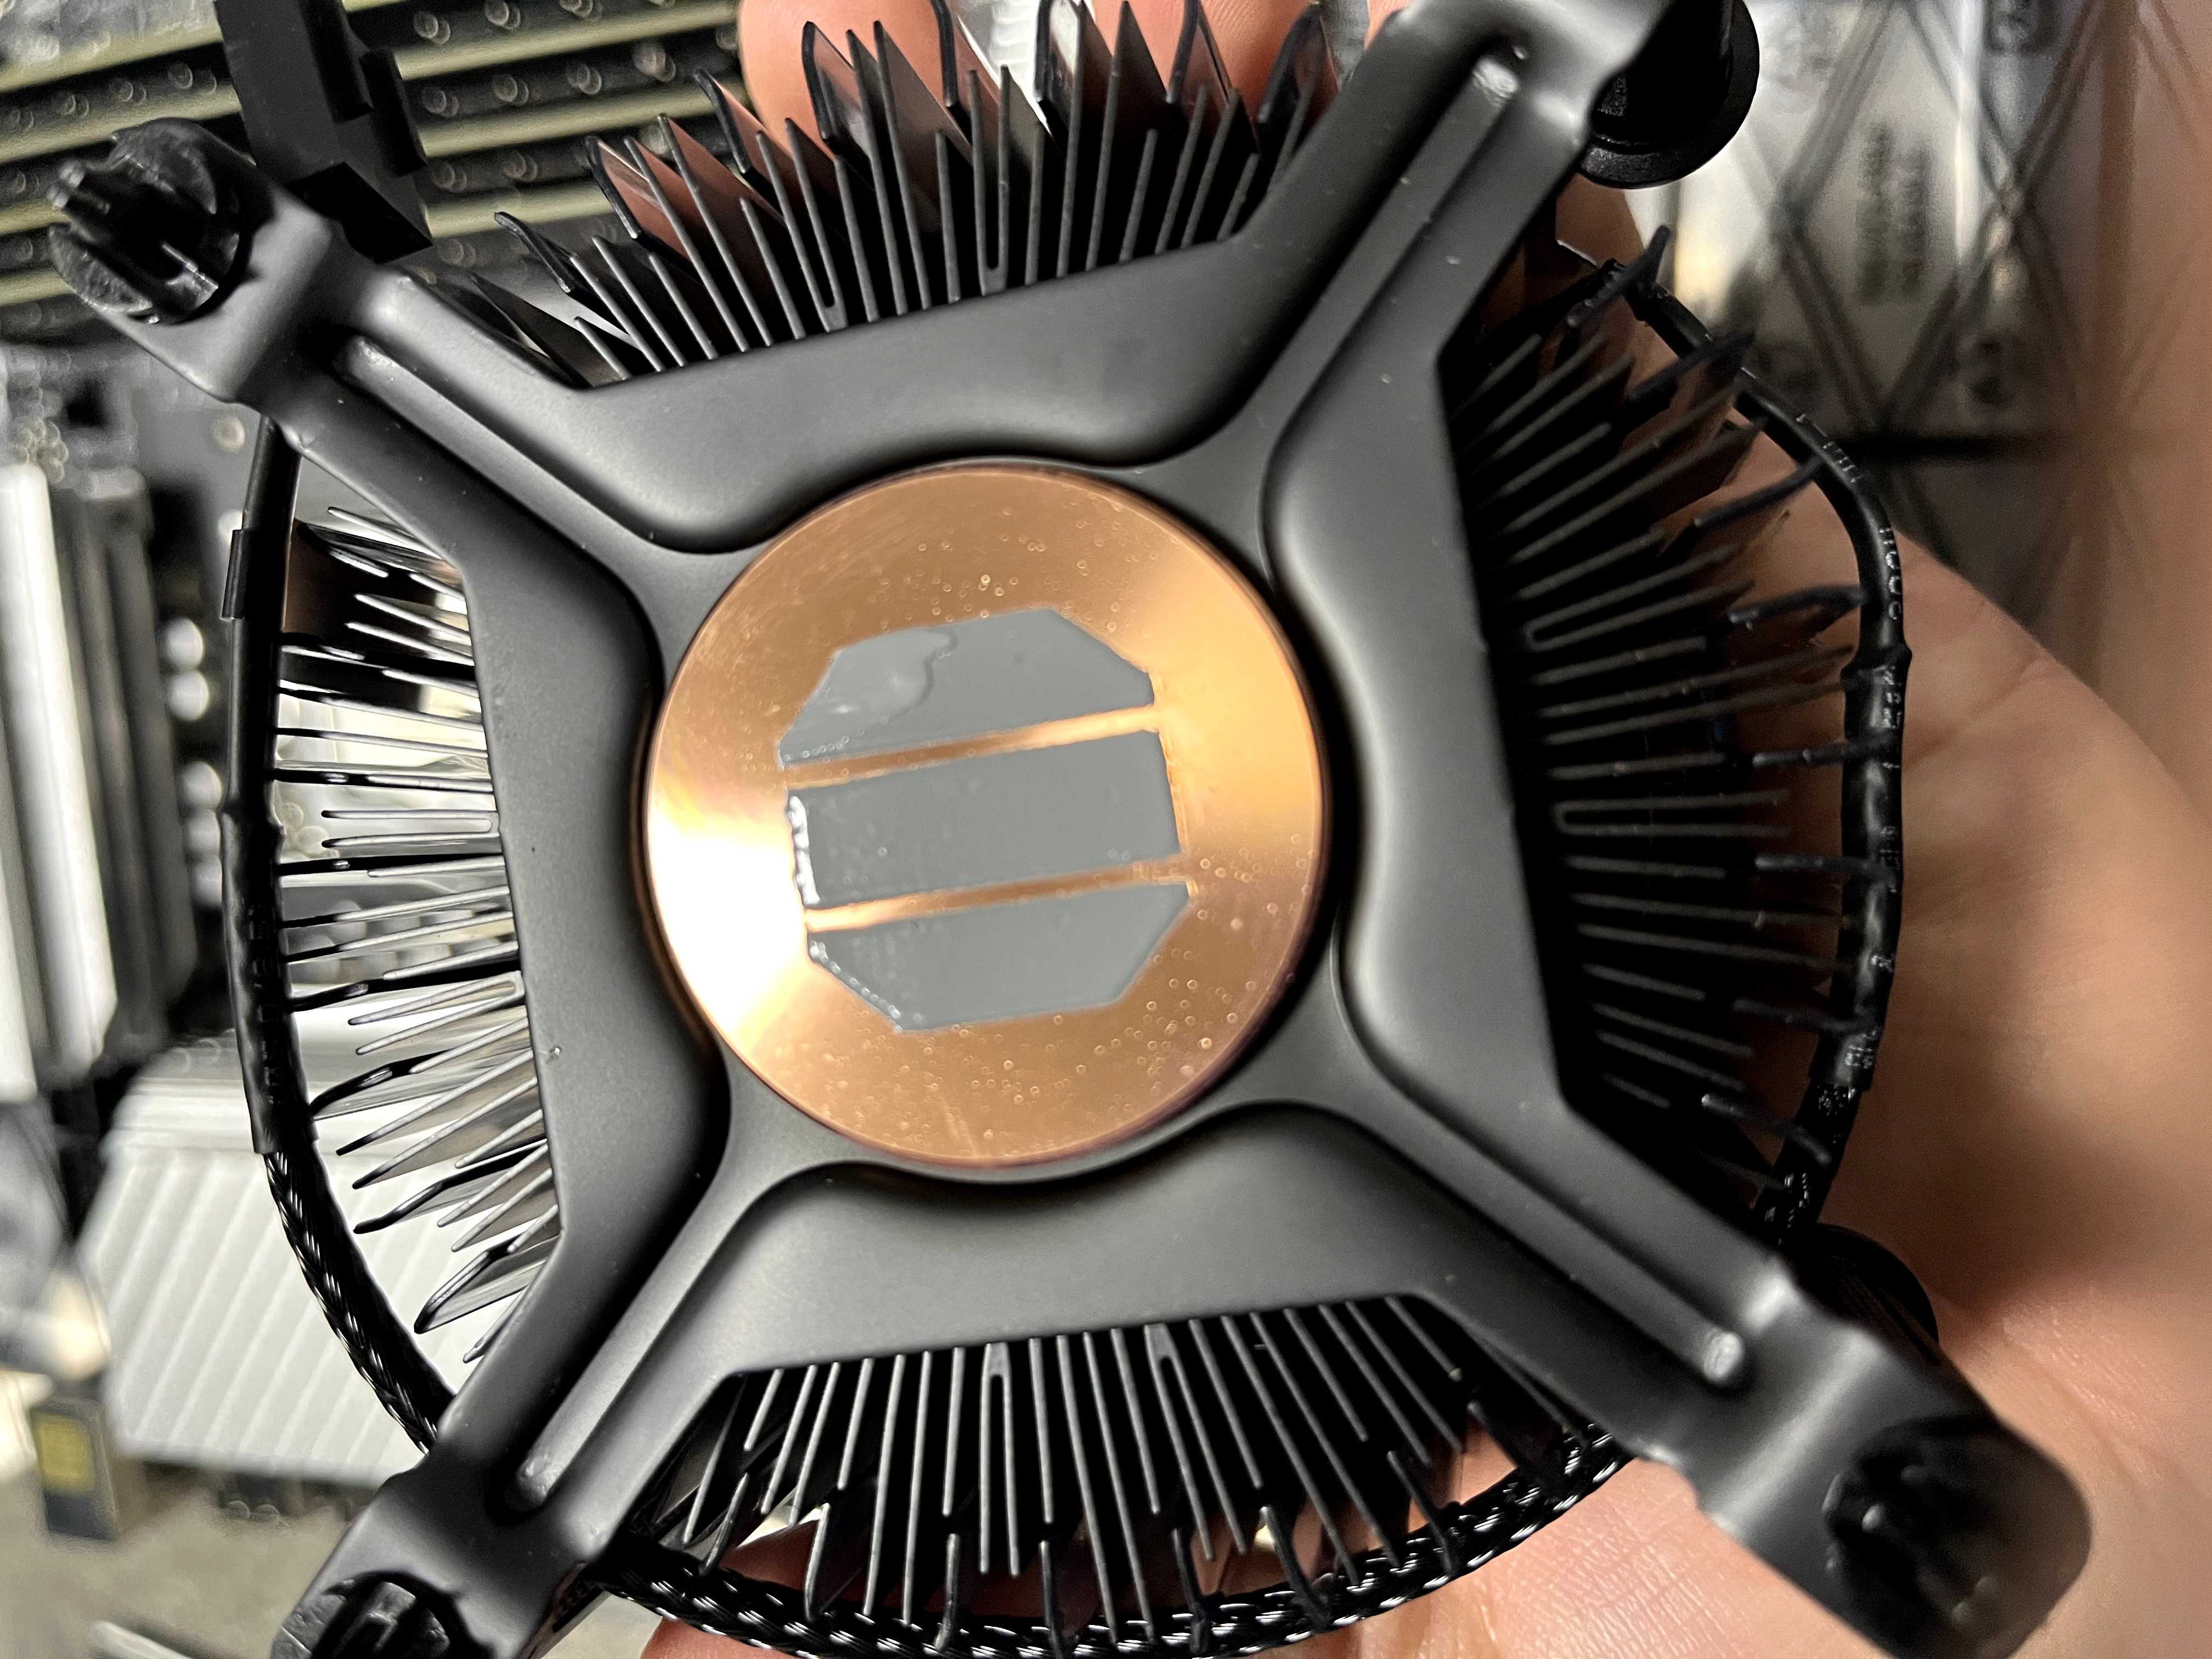
Just clip the pins near the CPU – carefully to avoid damaging the board.
Connected fan wire to the motherboard.
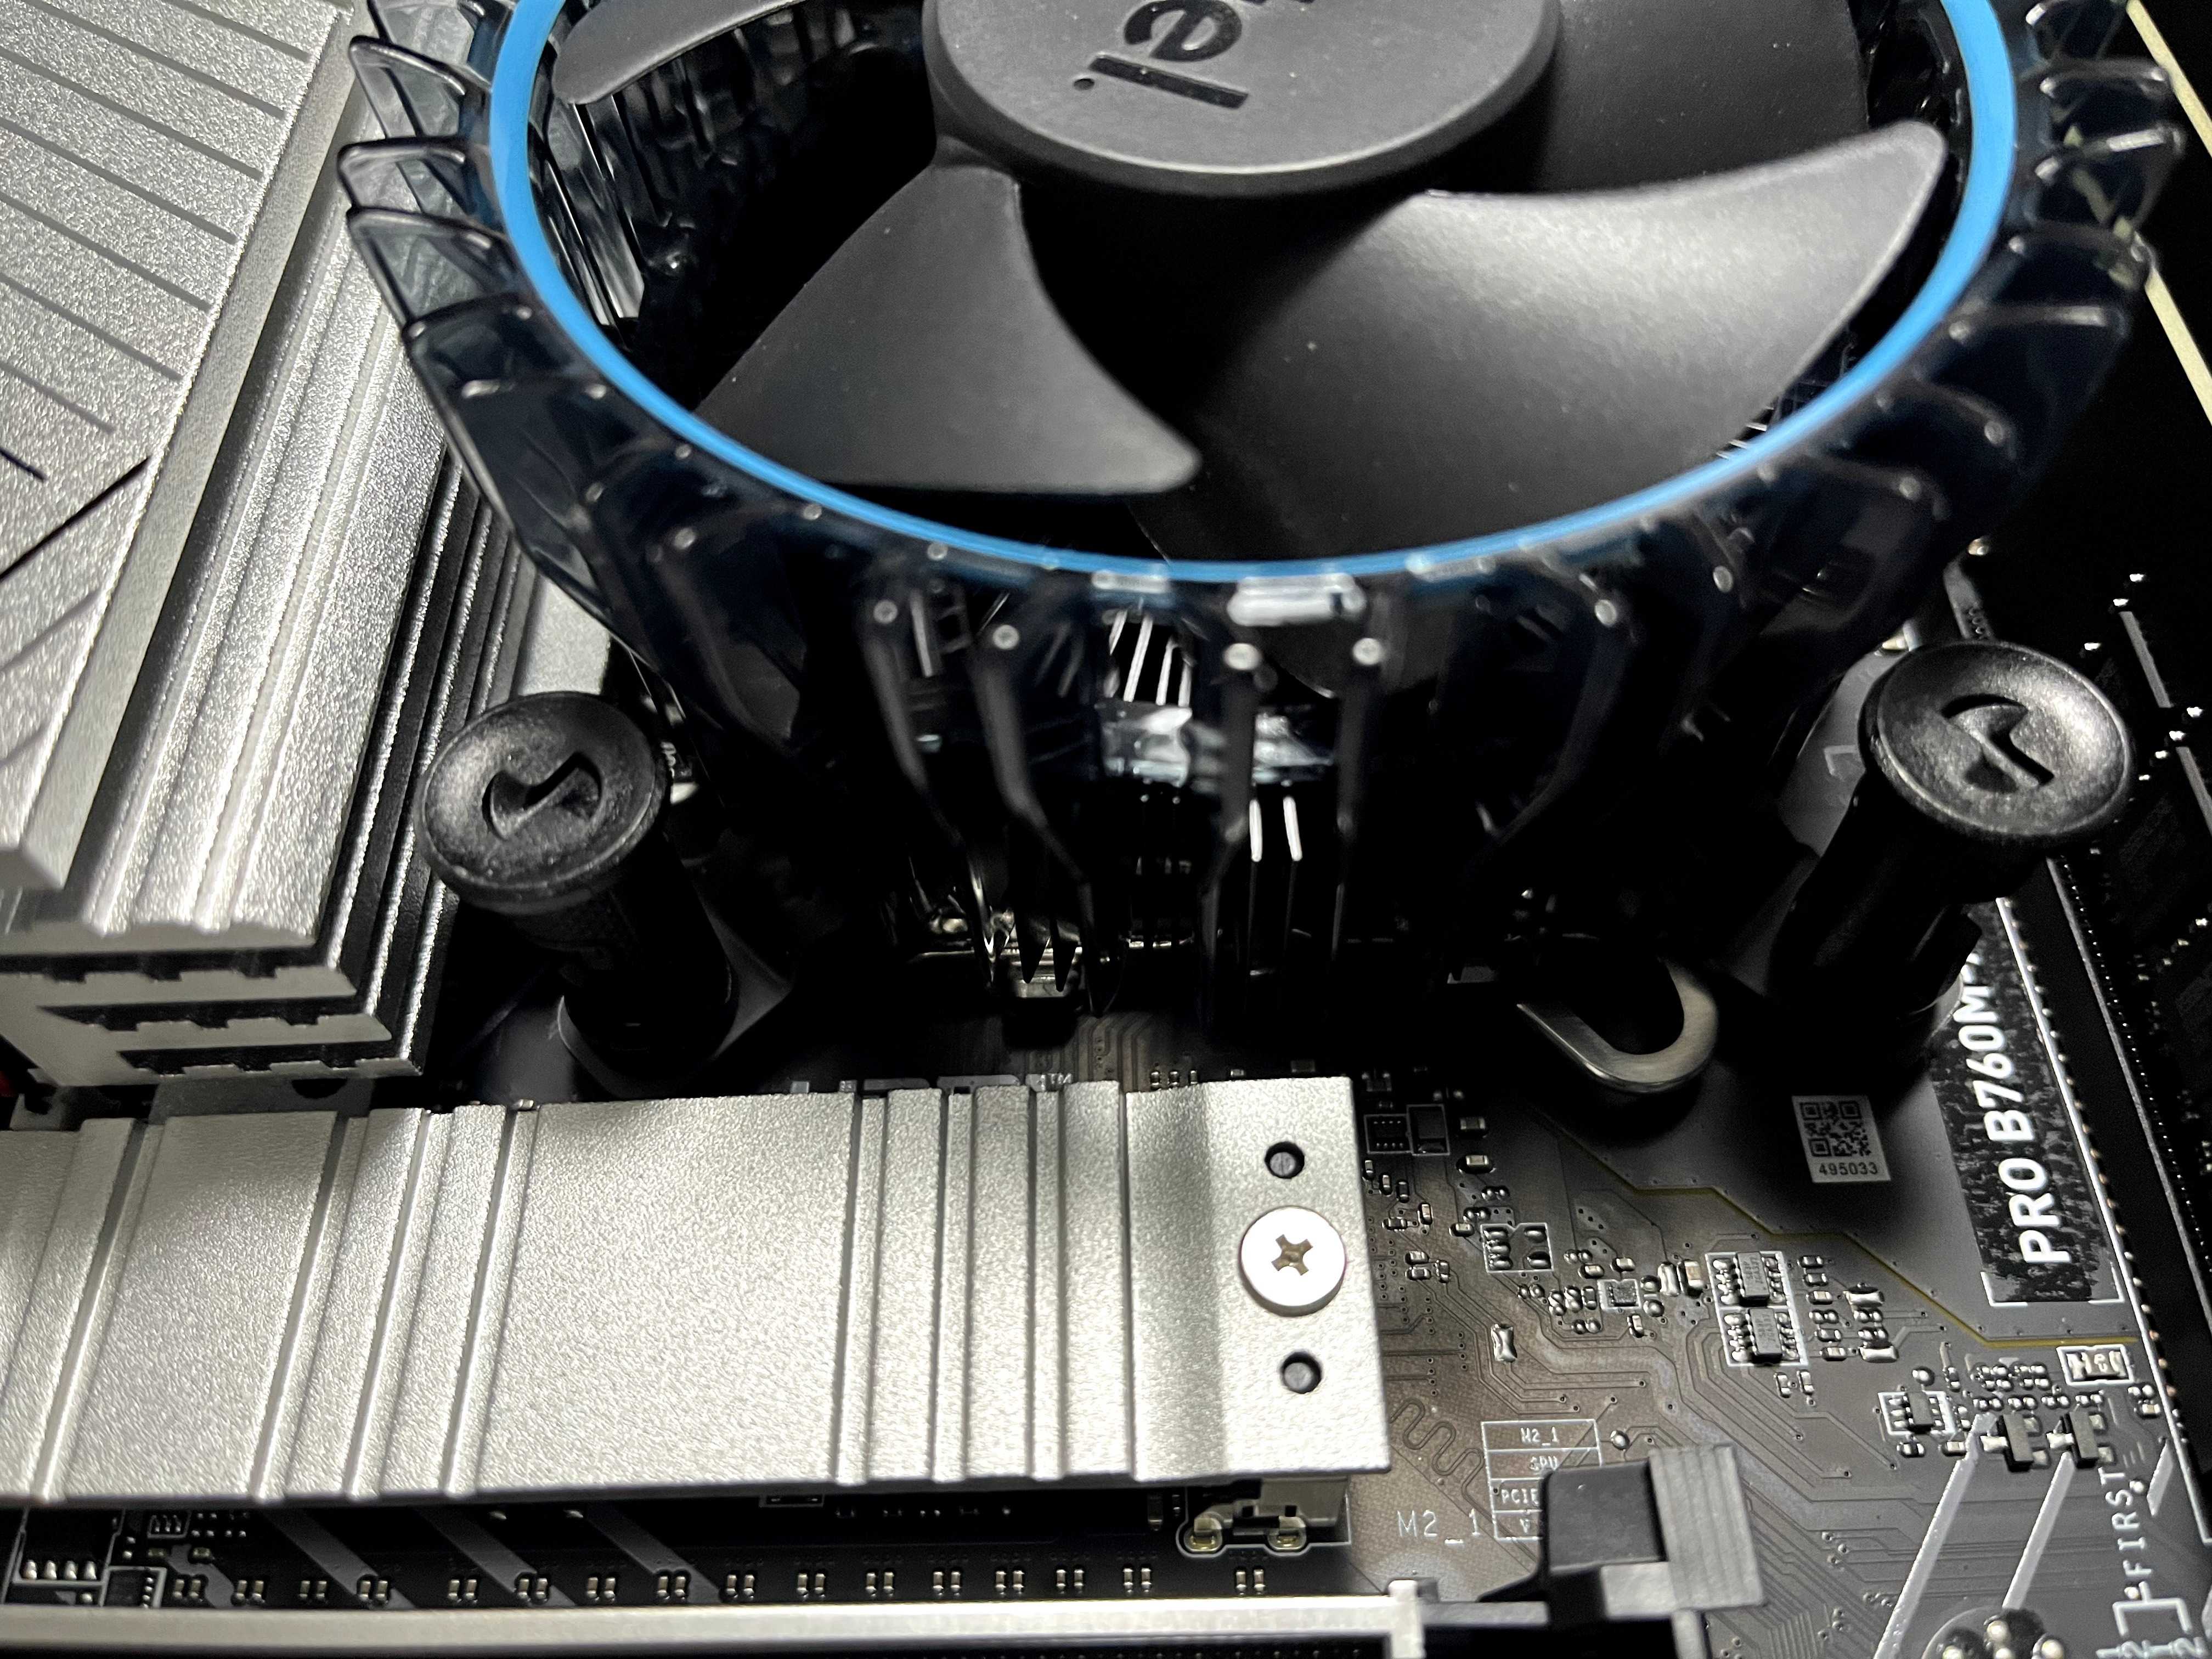
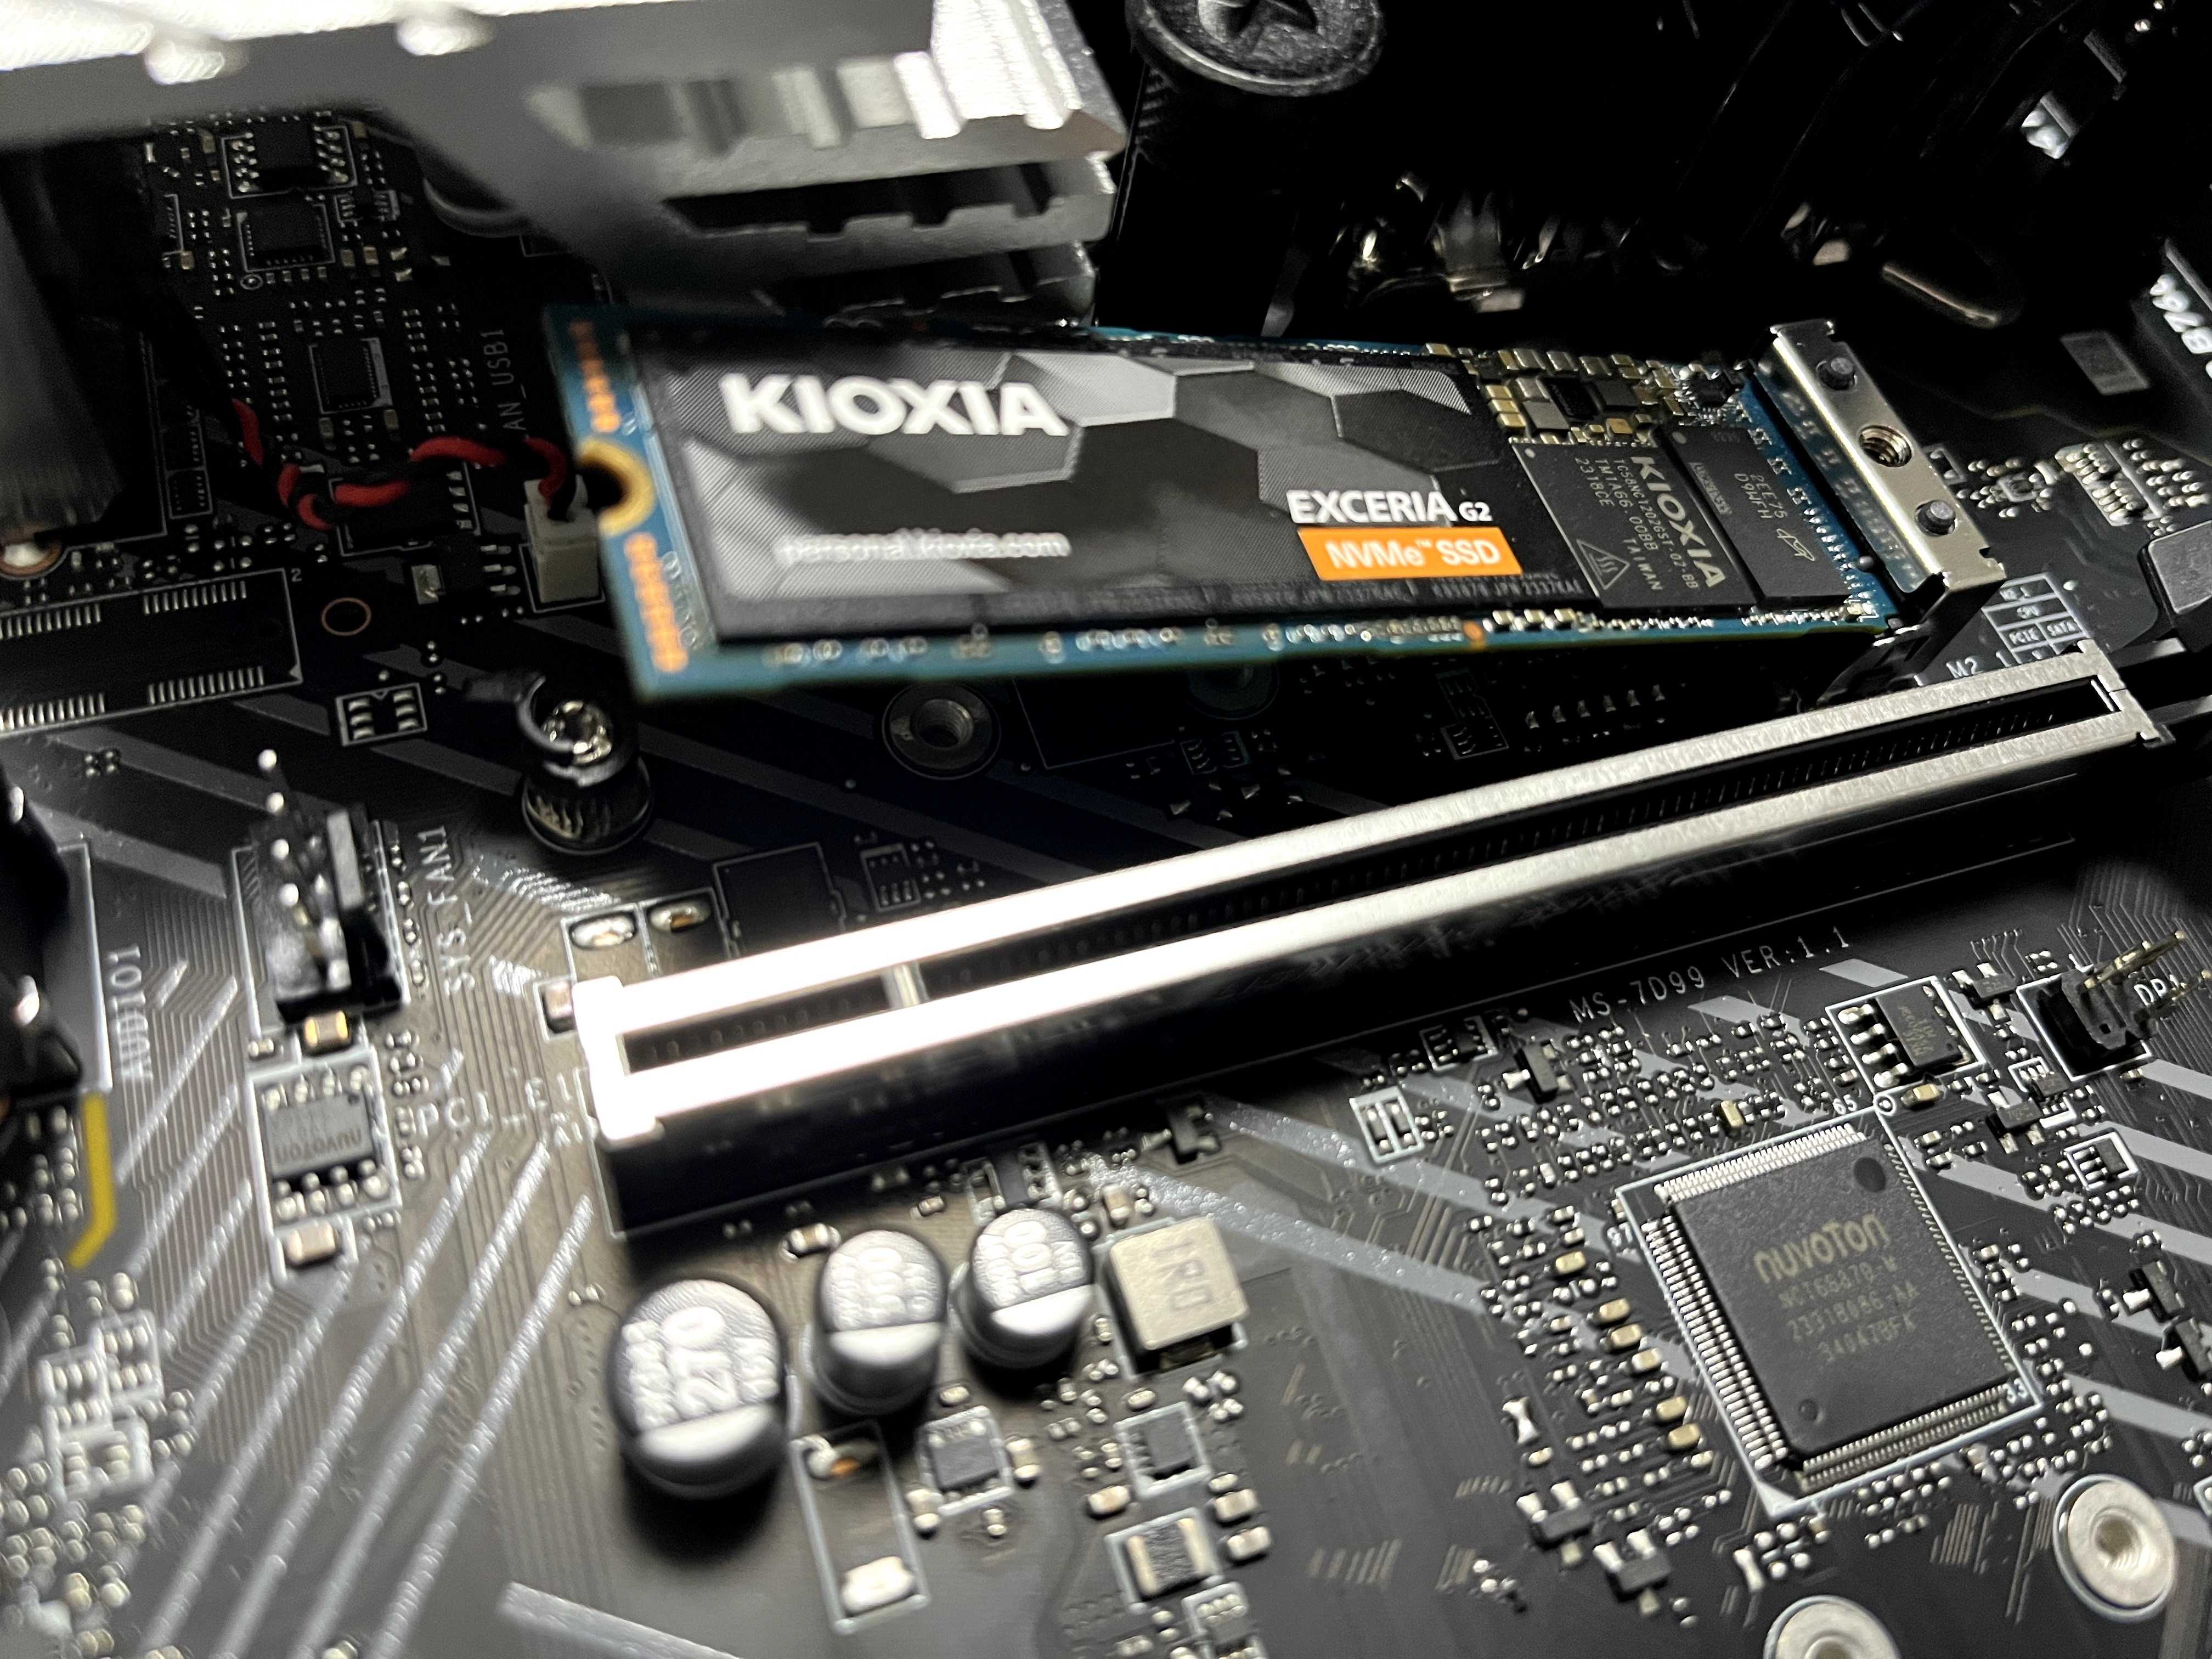
Installing the SSD
SSDs are expensive when upgrading BTO or Apple, but cheap with DIY builds.

Attach SSD closer to the CPU for faster speeds.
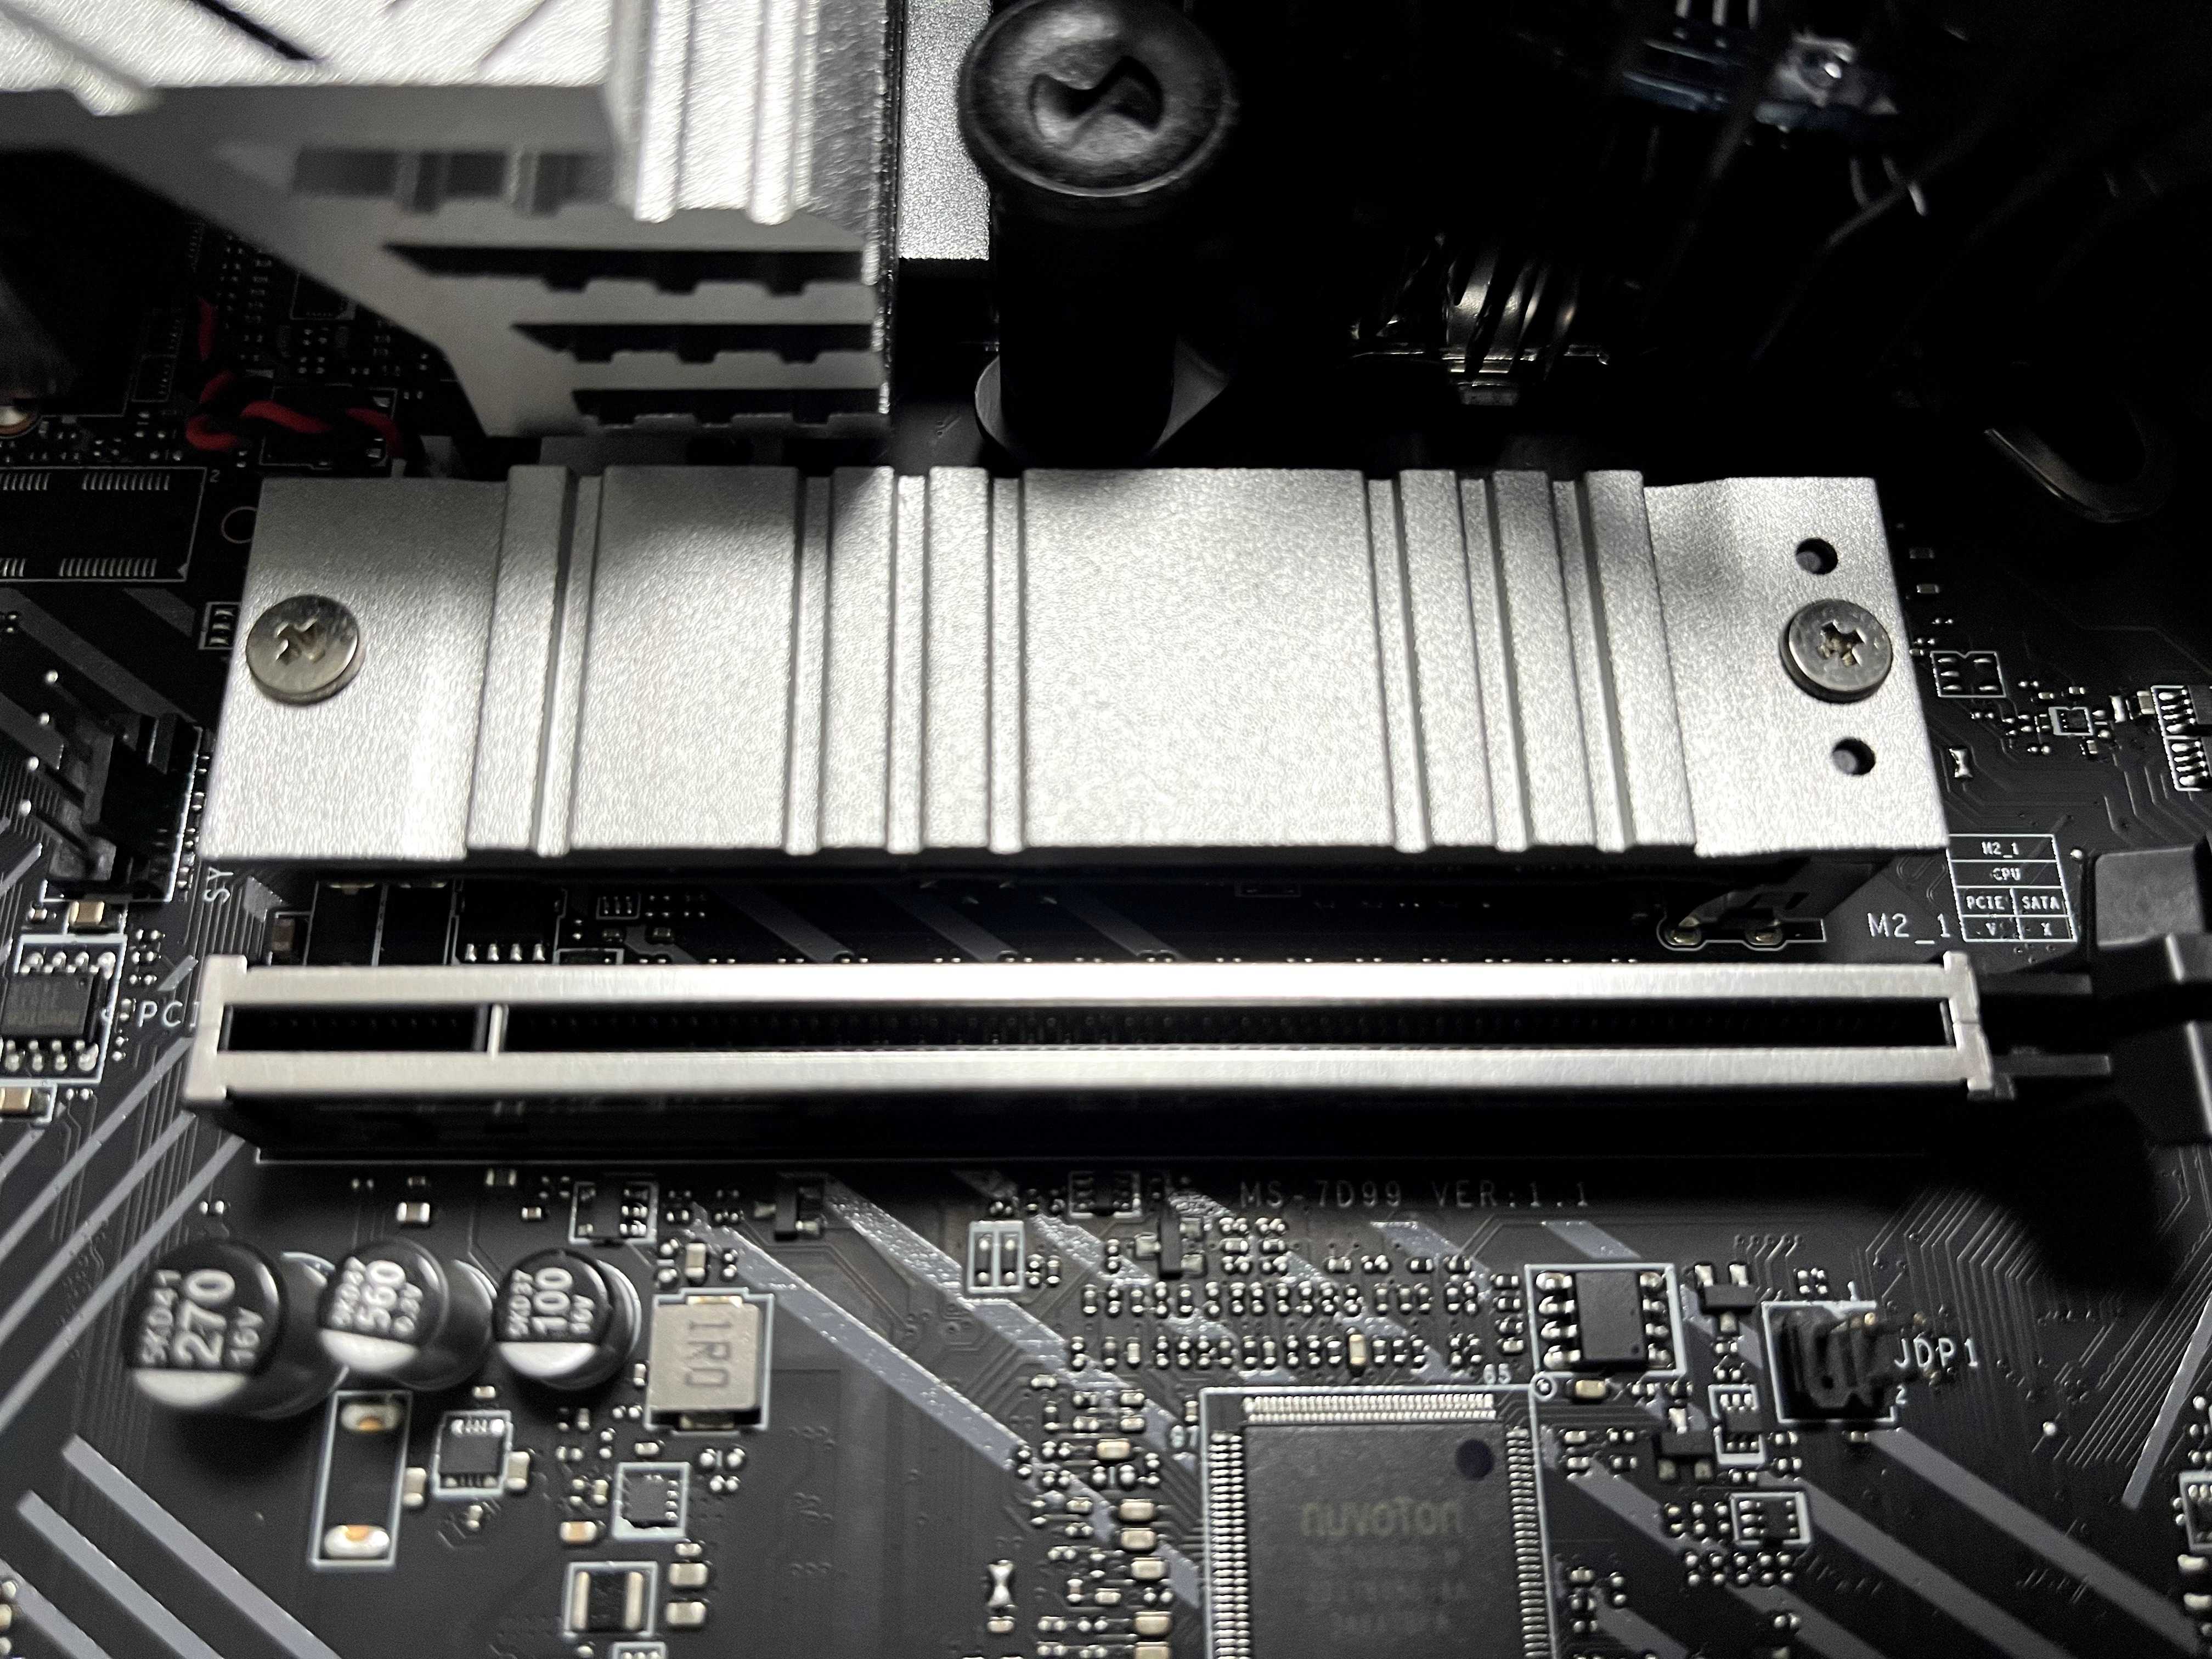
Insert one end, screw the other. Precision screwdriver required.
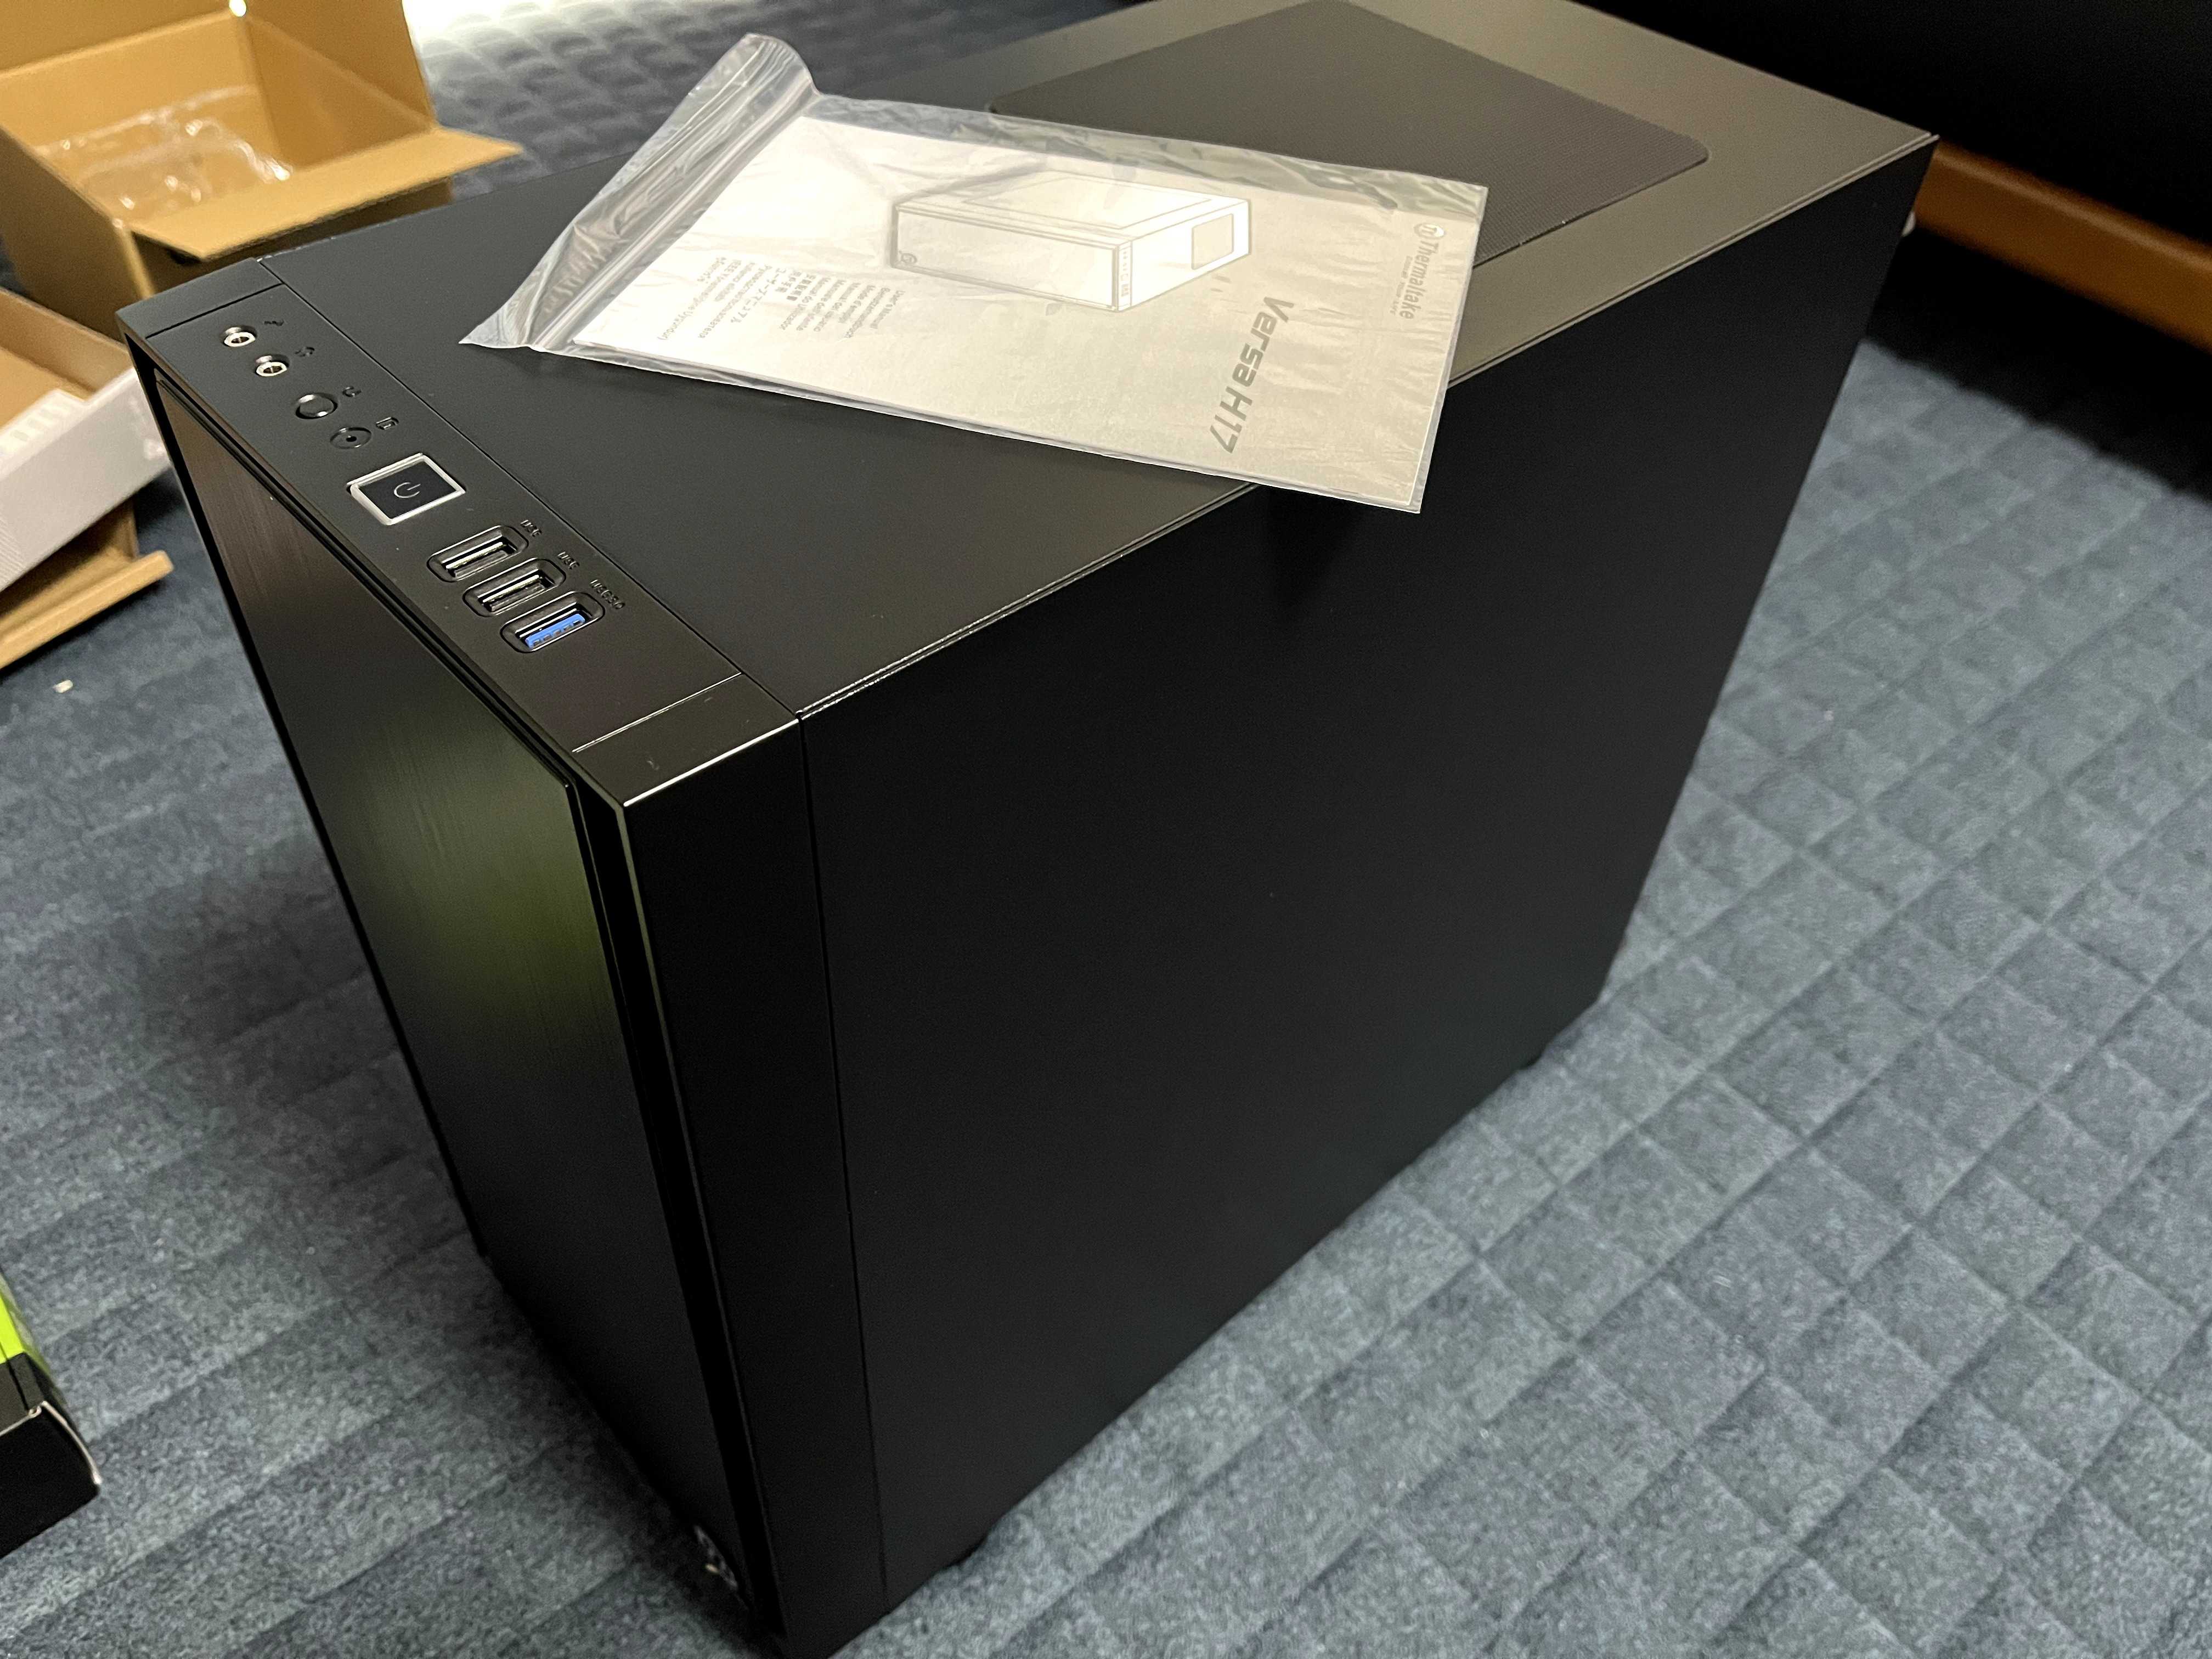
PC Case
Mini tower that looks larger than it is.
Installed the motherboard.
Installing the GPU
Photo is of the GT1030
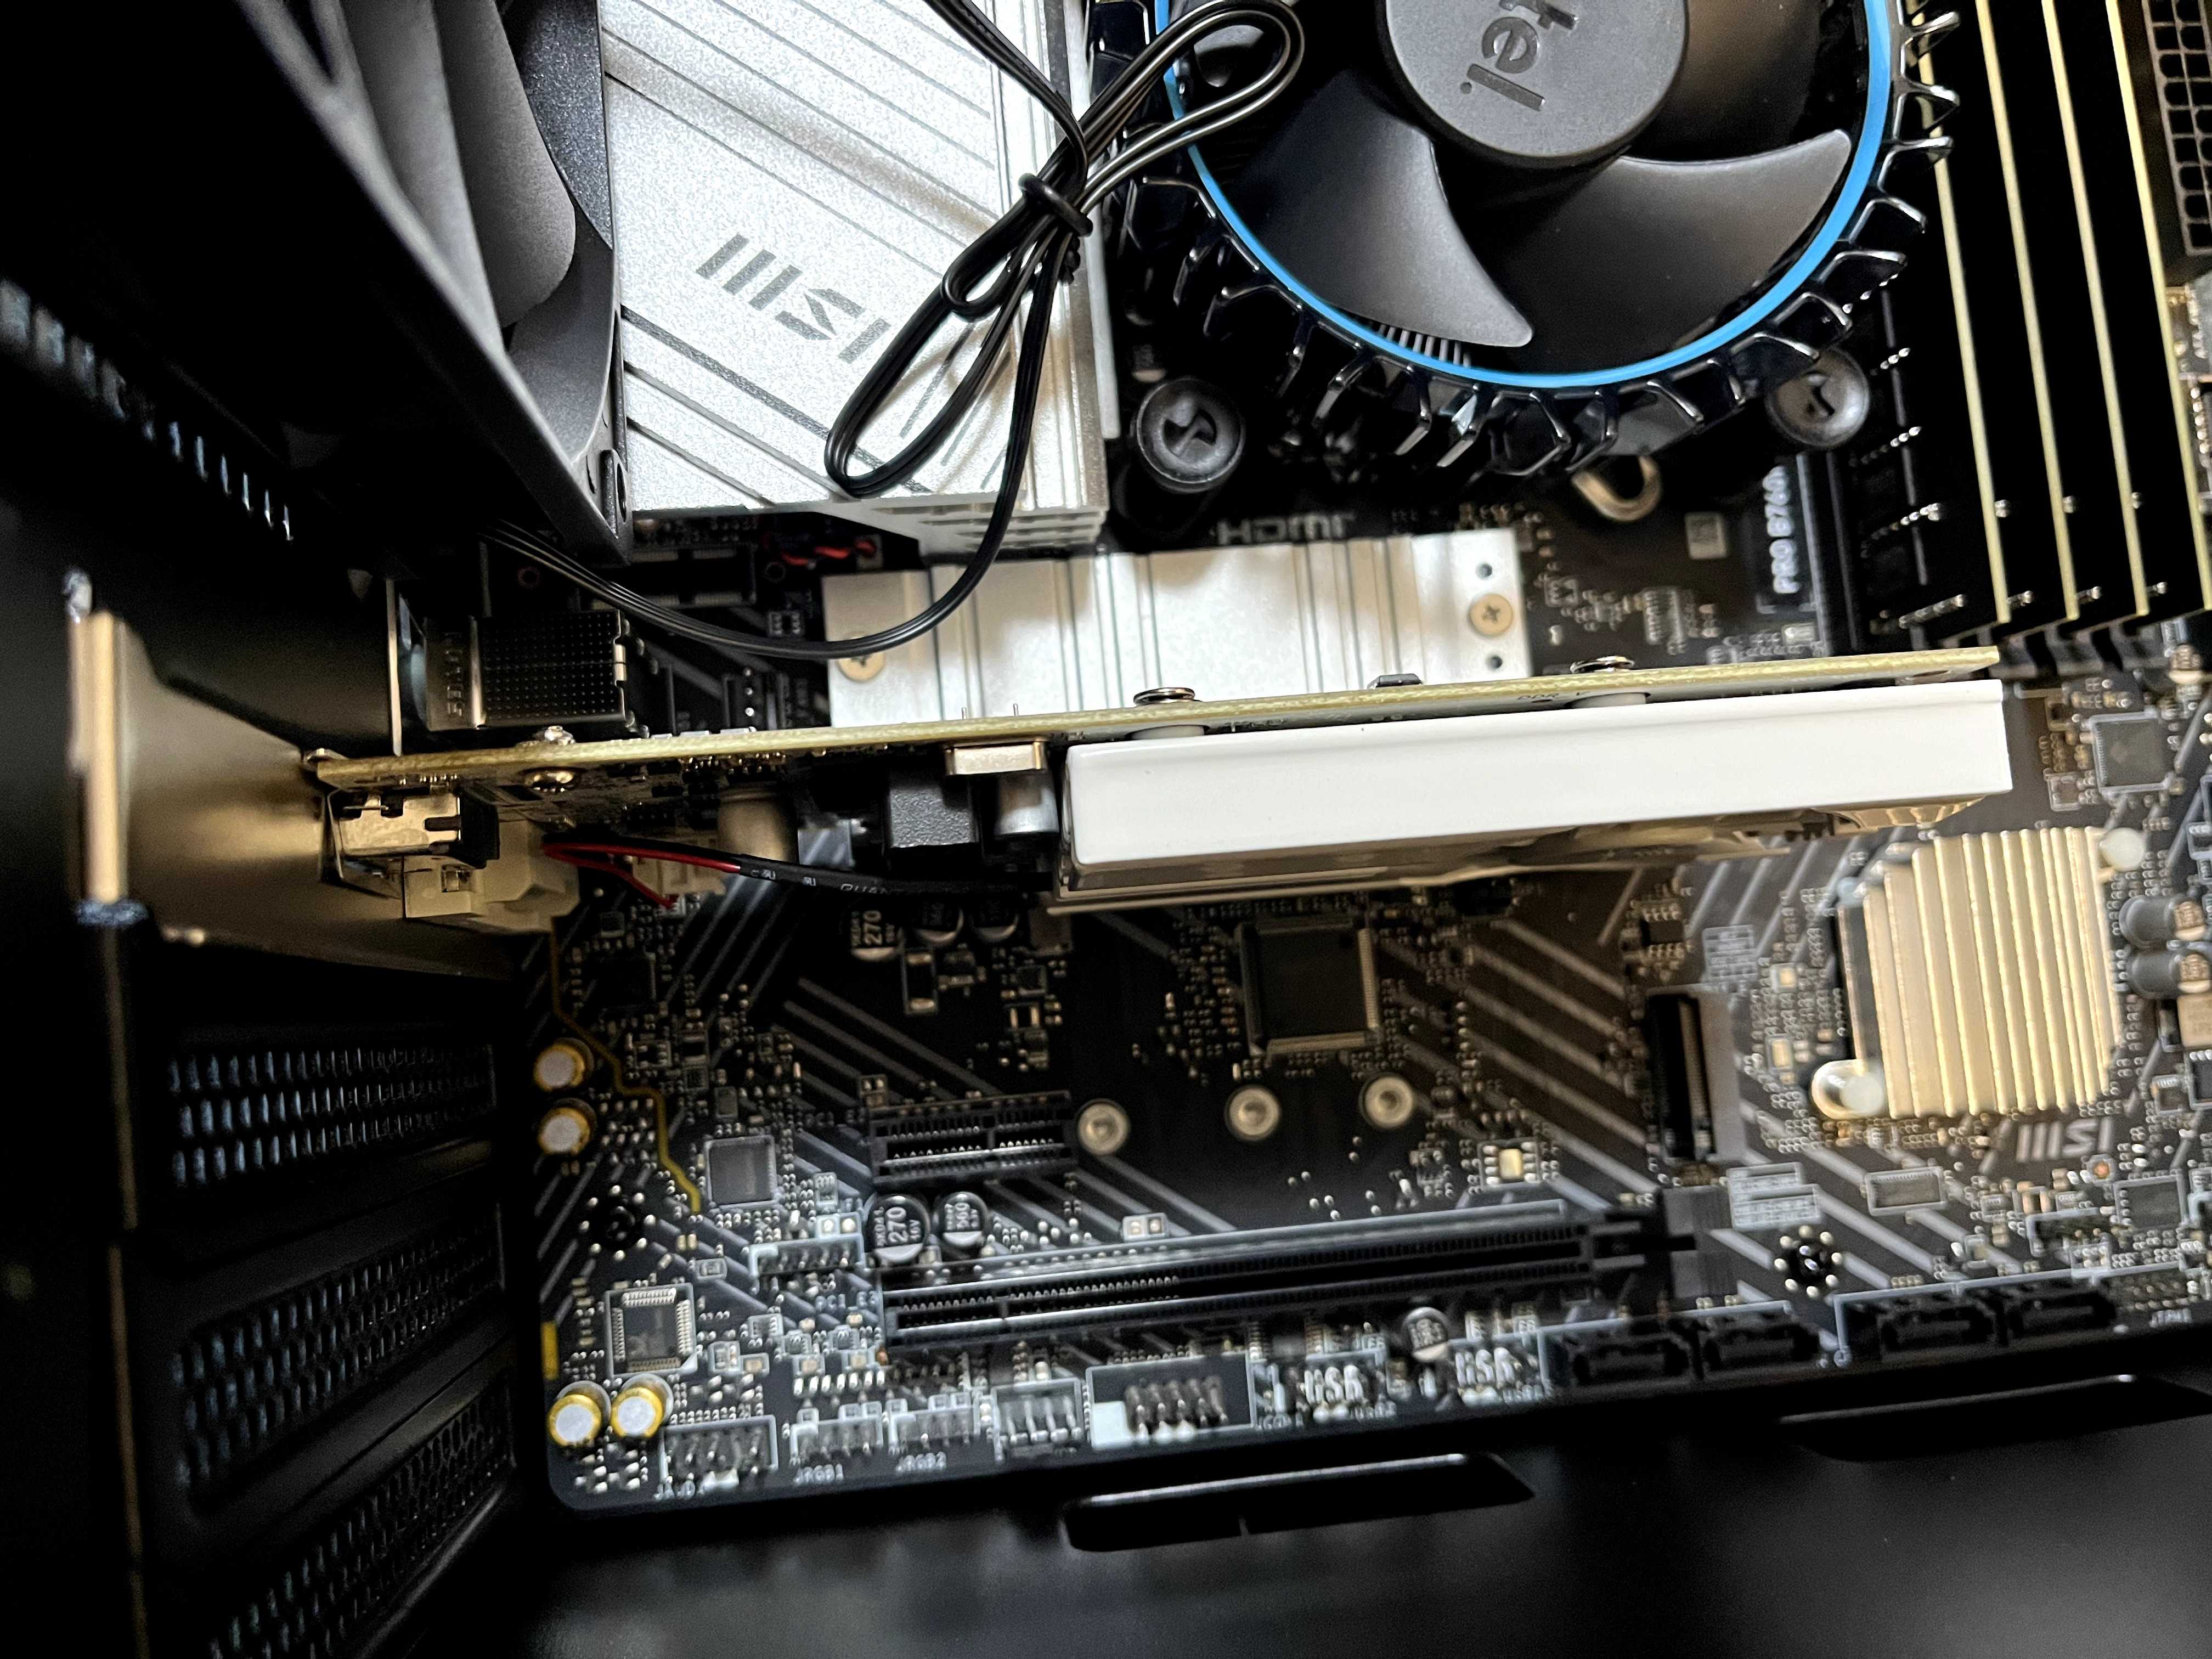
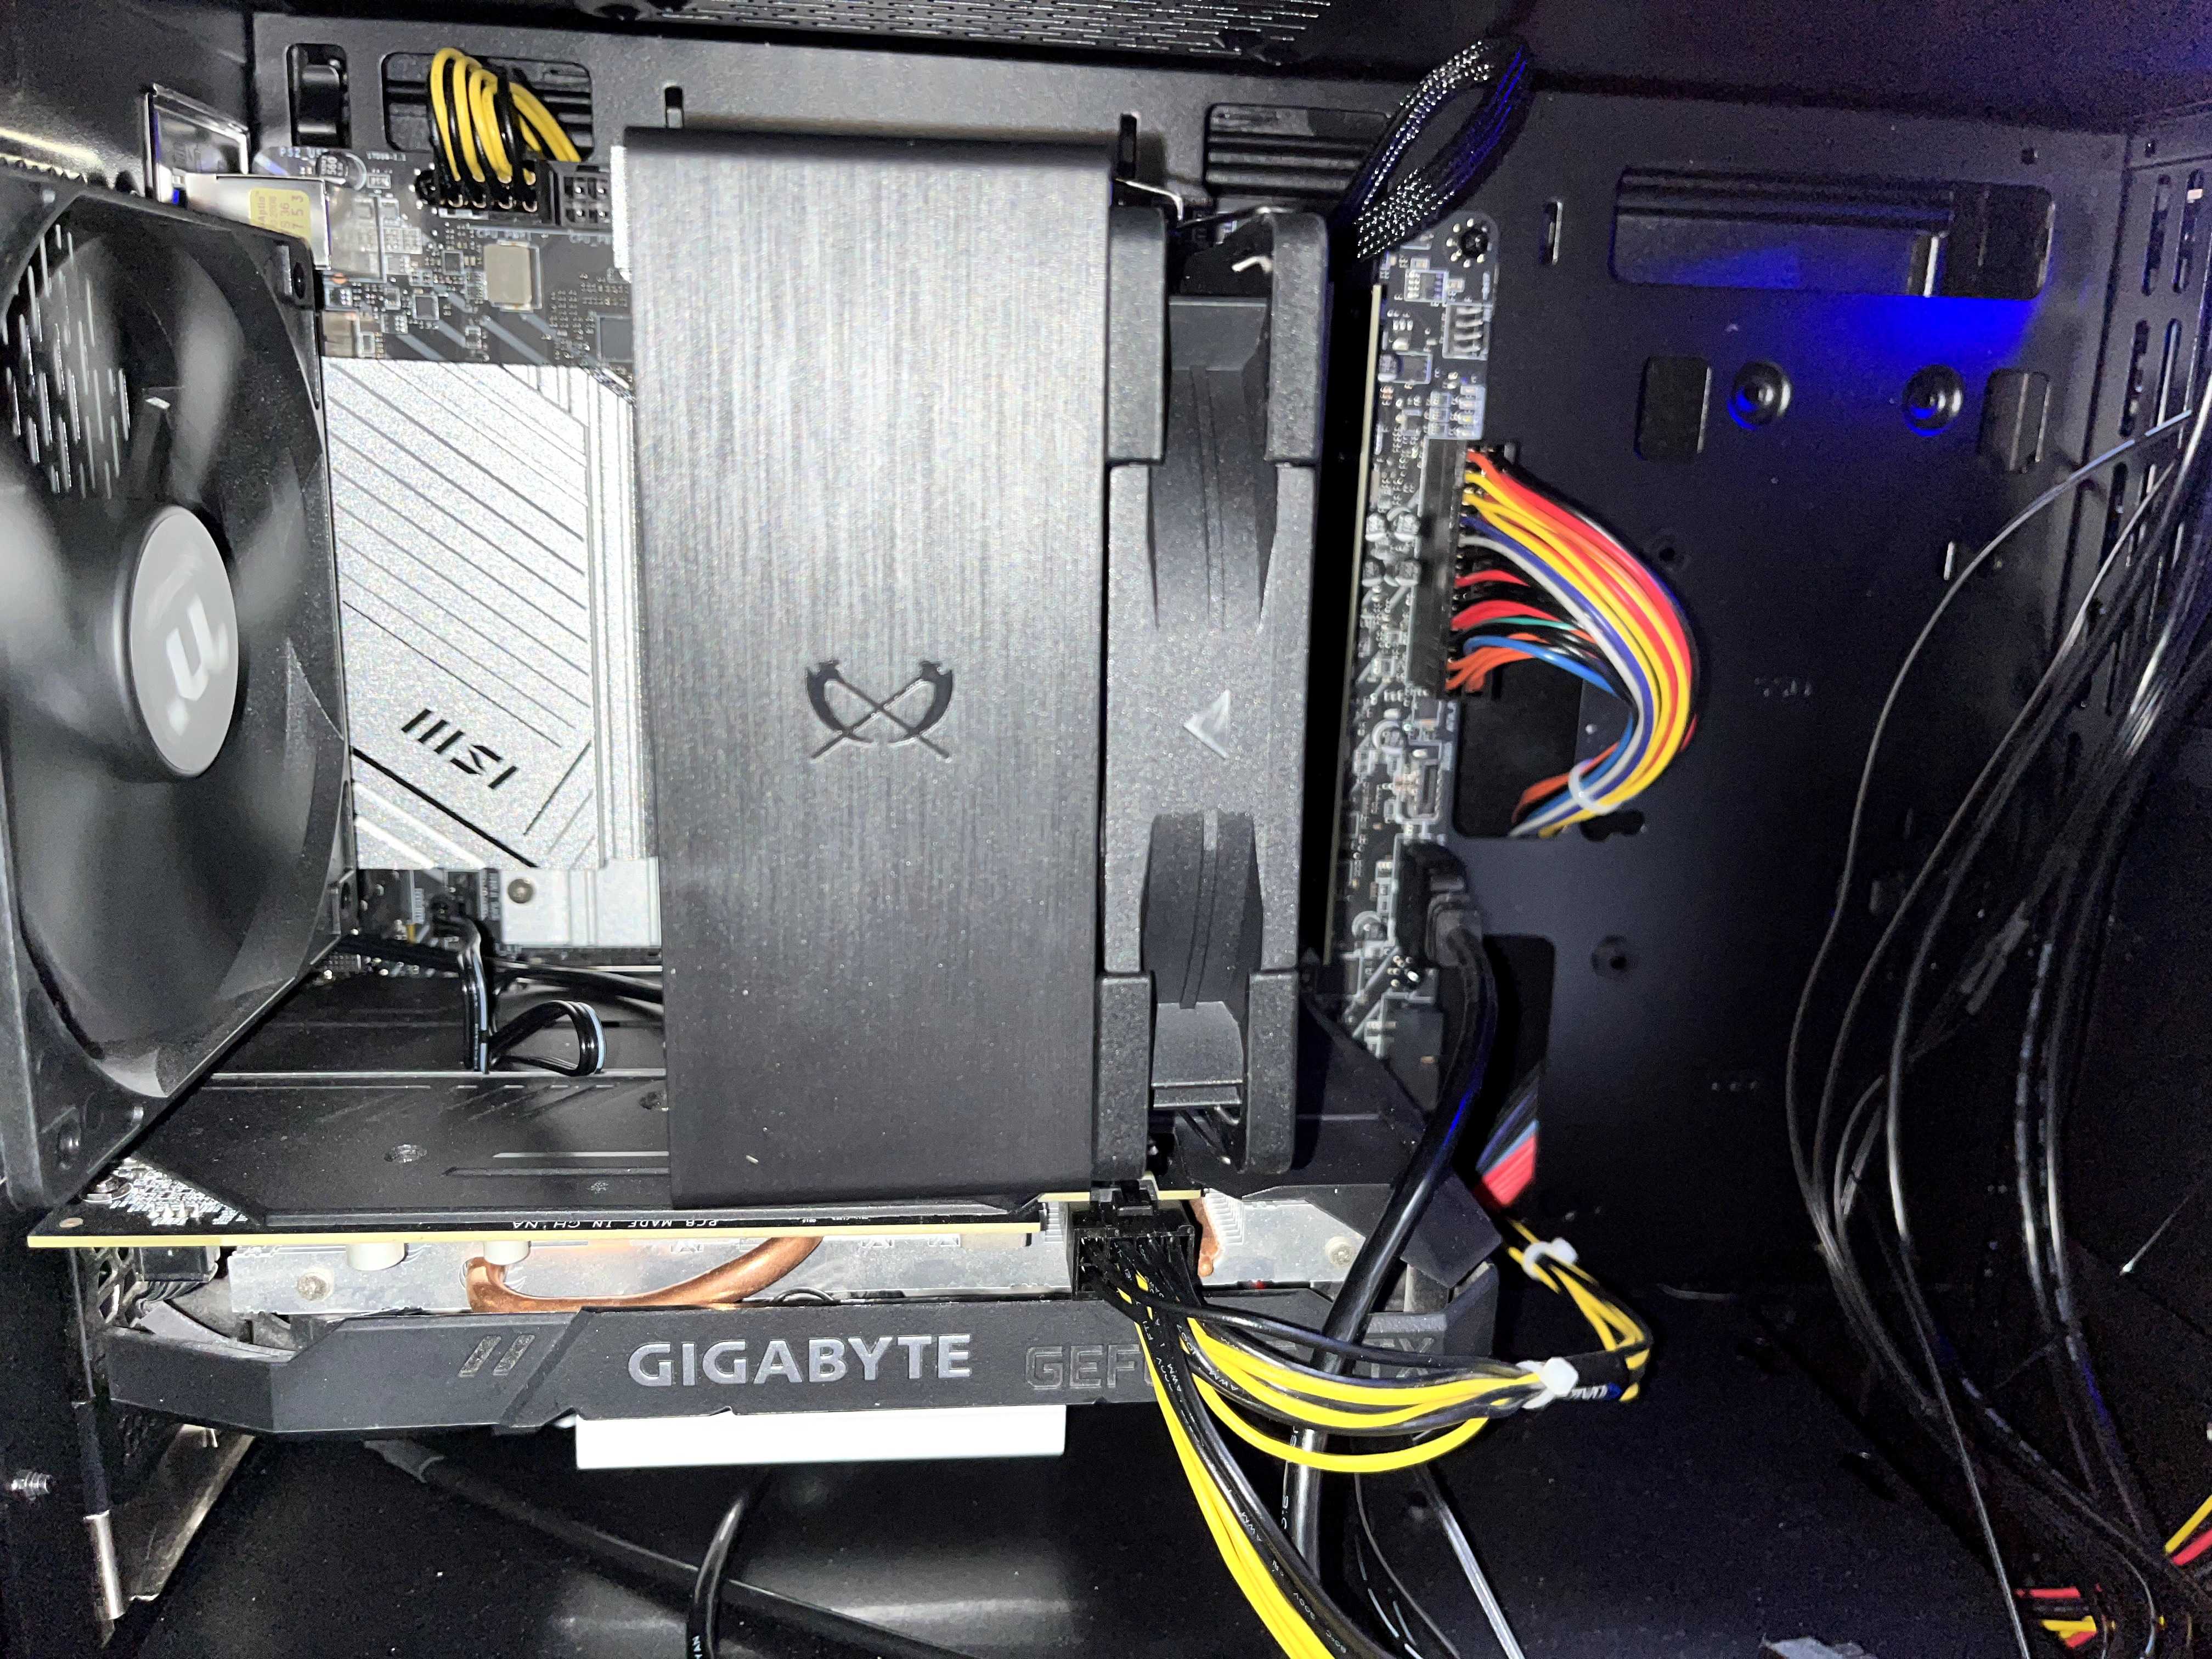
Installing the Power Supply
Looks like this
It’s 8-pin, but I plugged it into the 12-pin slot on the board. High-end CPUs apparently need 12.
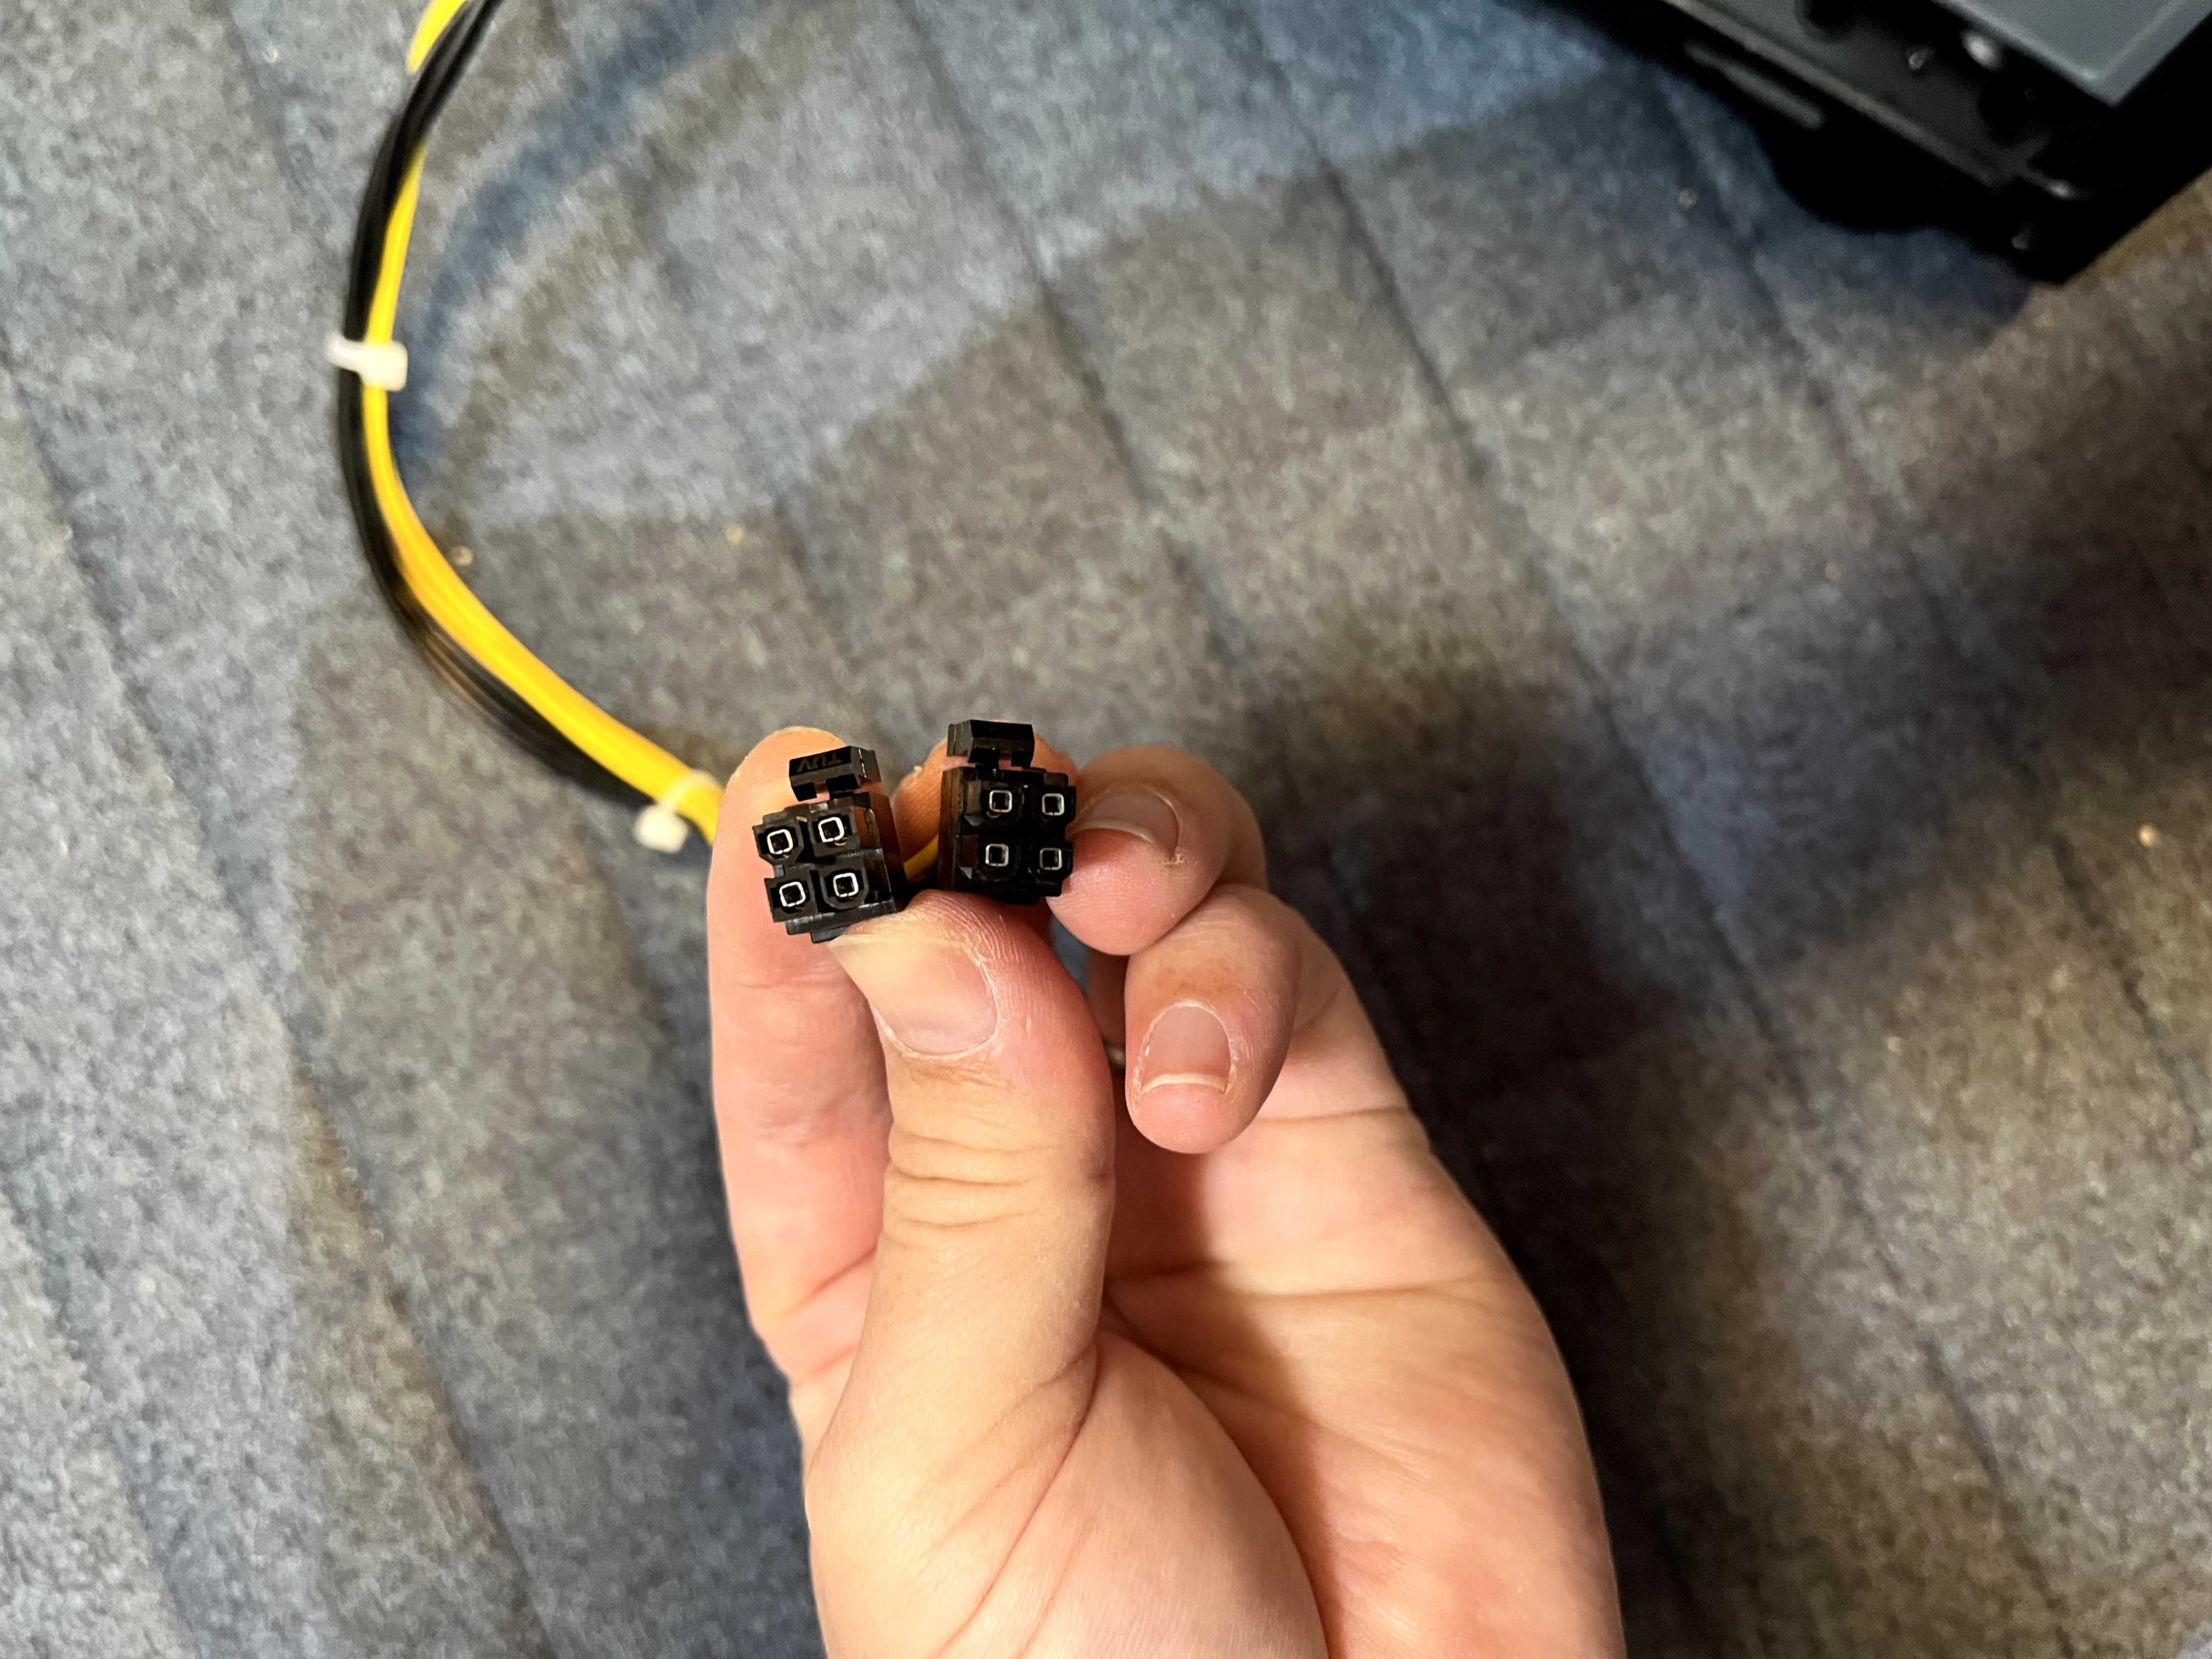
Didn’t have older photos – here’s a current one. Connected 8-pin and 24-pin cables.
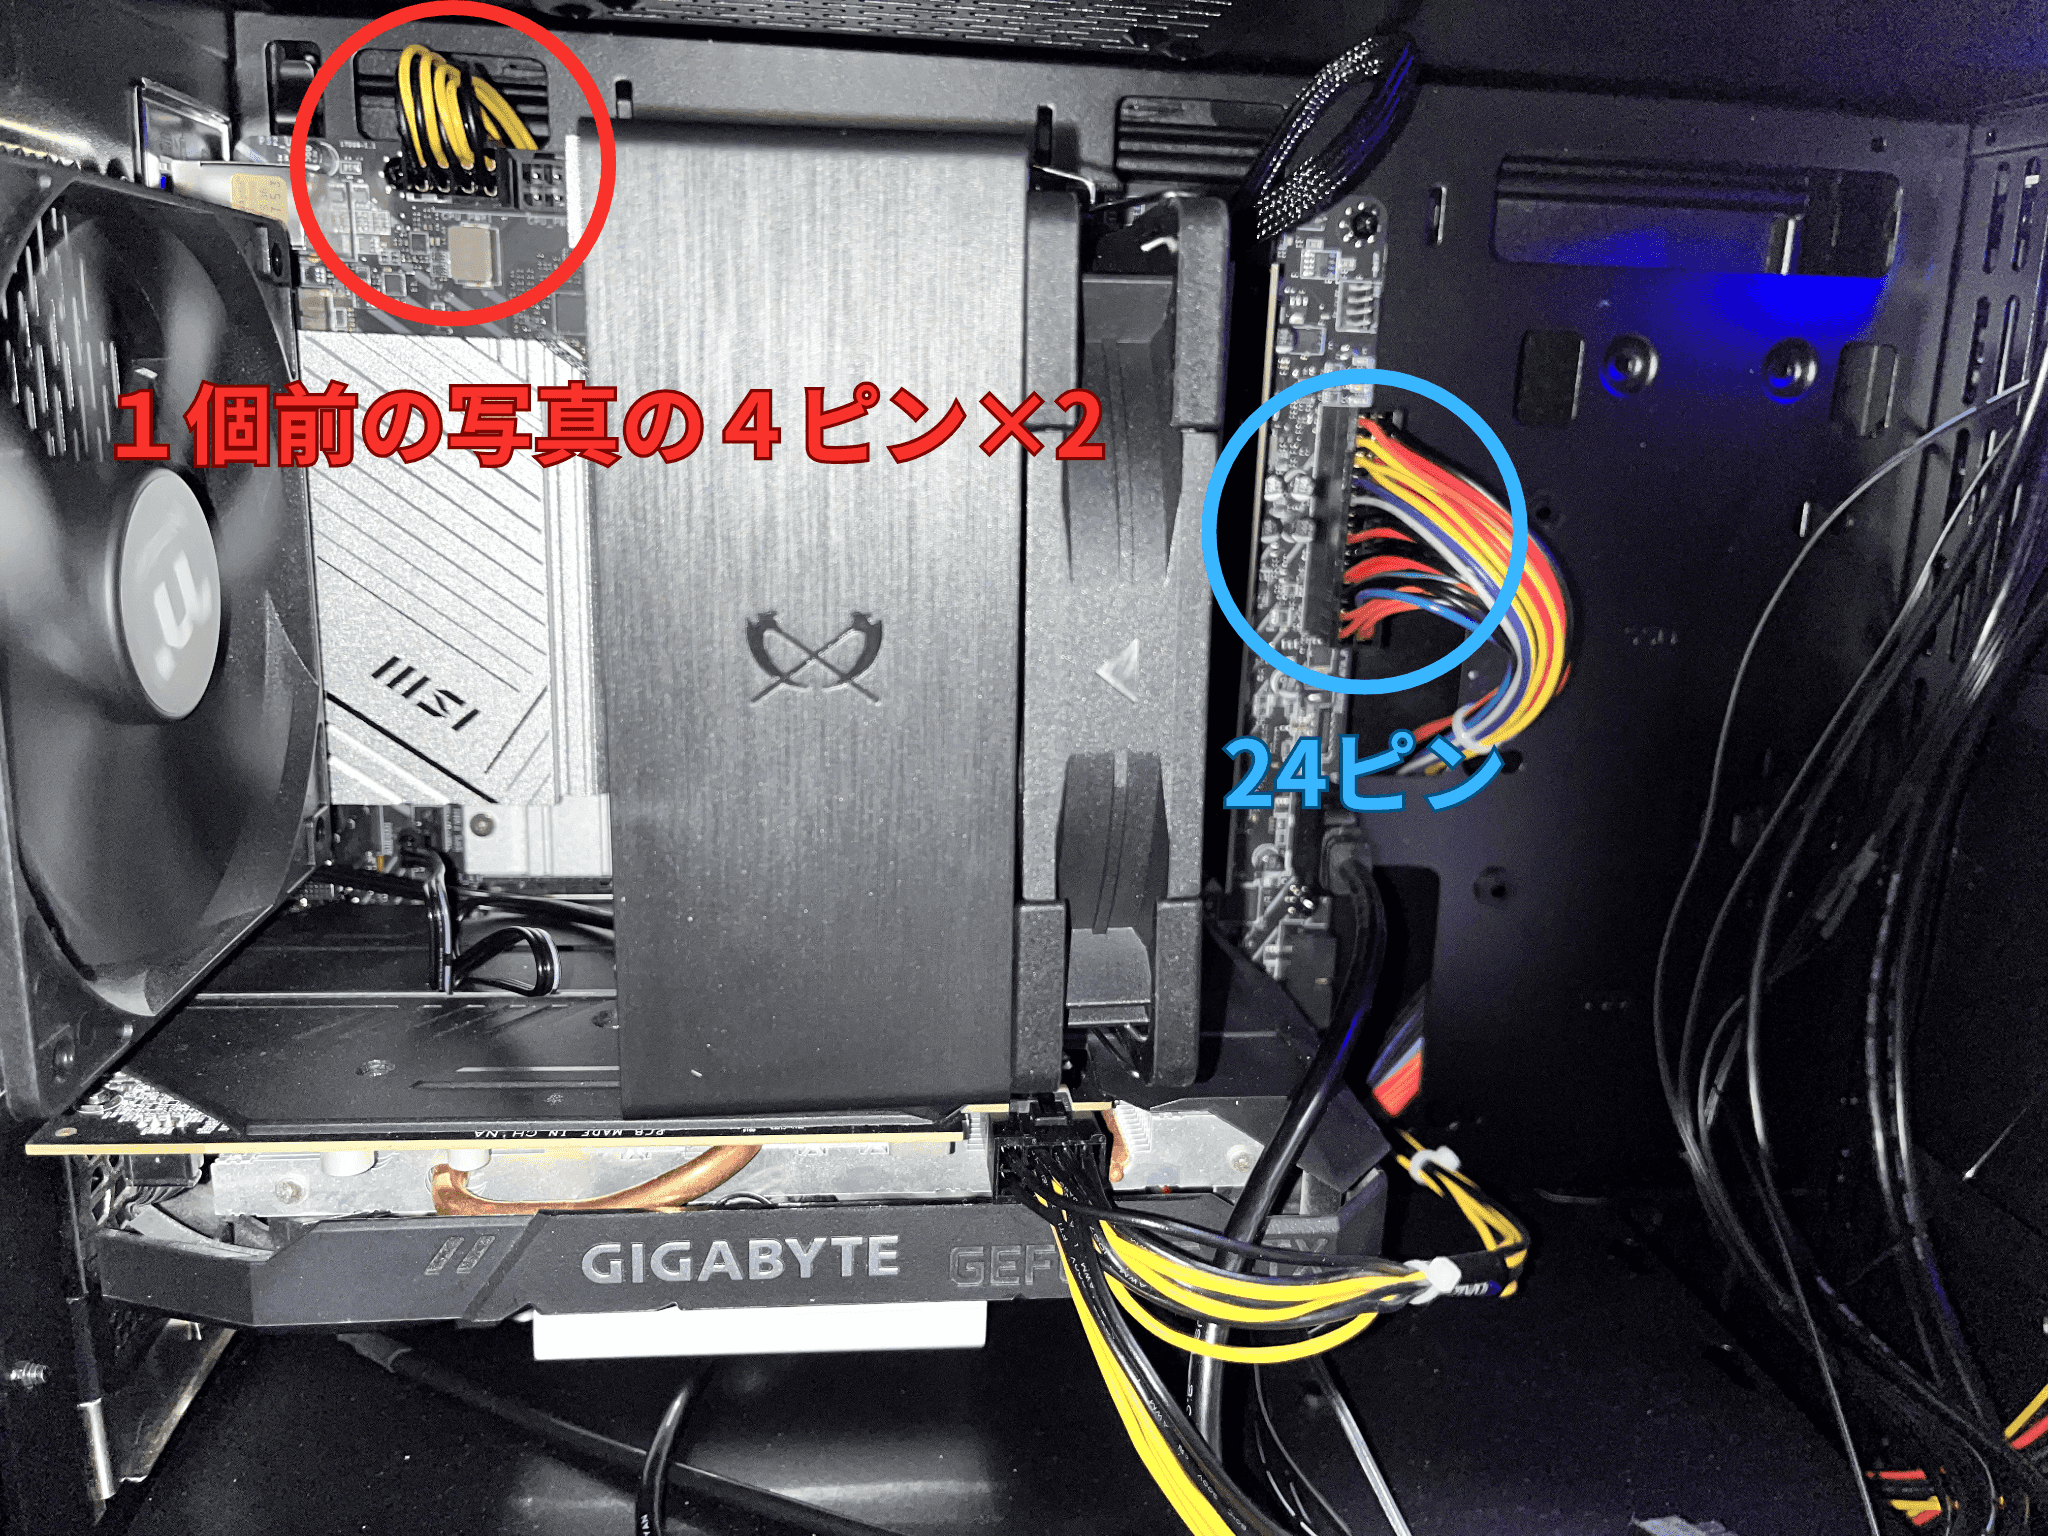
Upgraded GPU to GTX1660 Super and connected extra power cable.
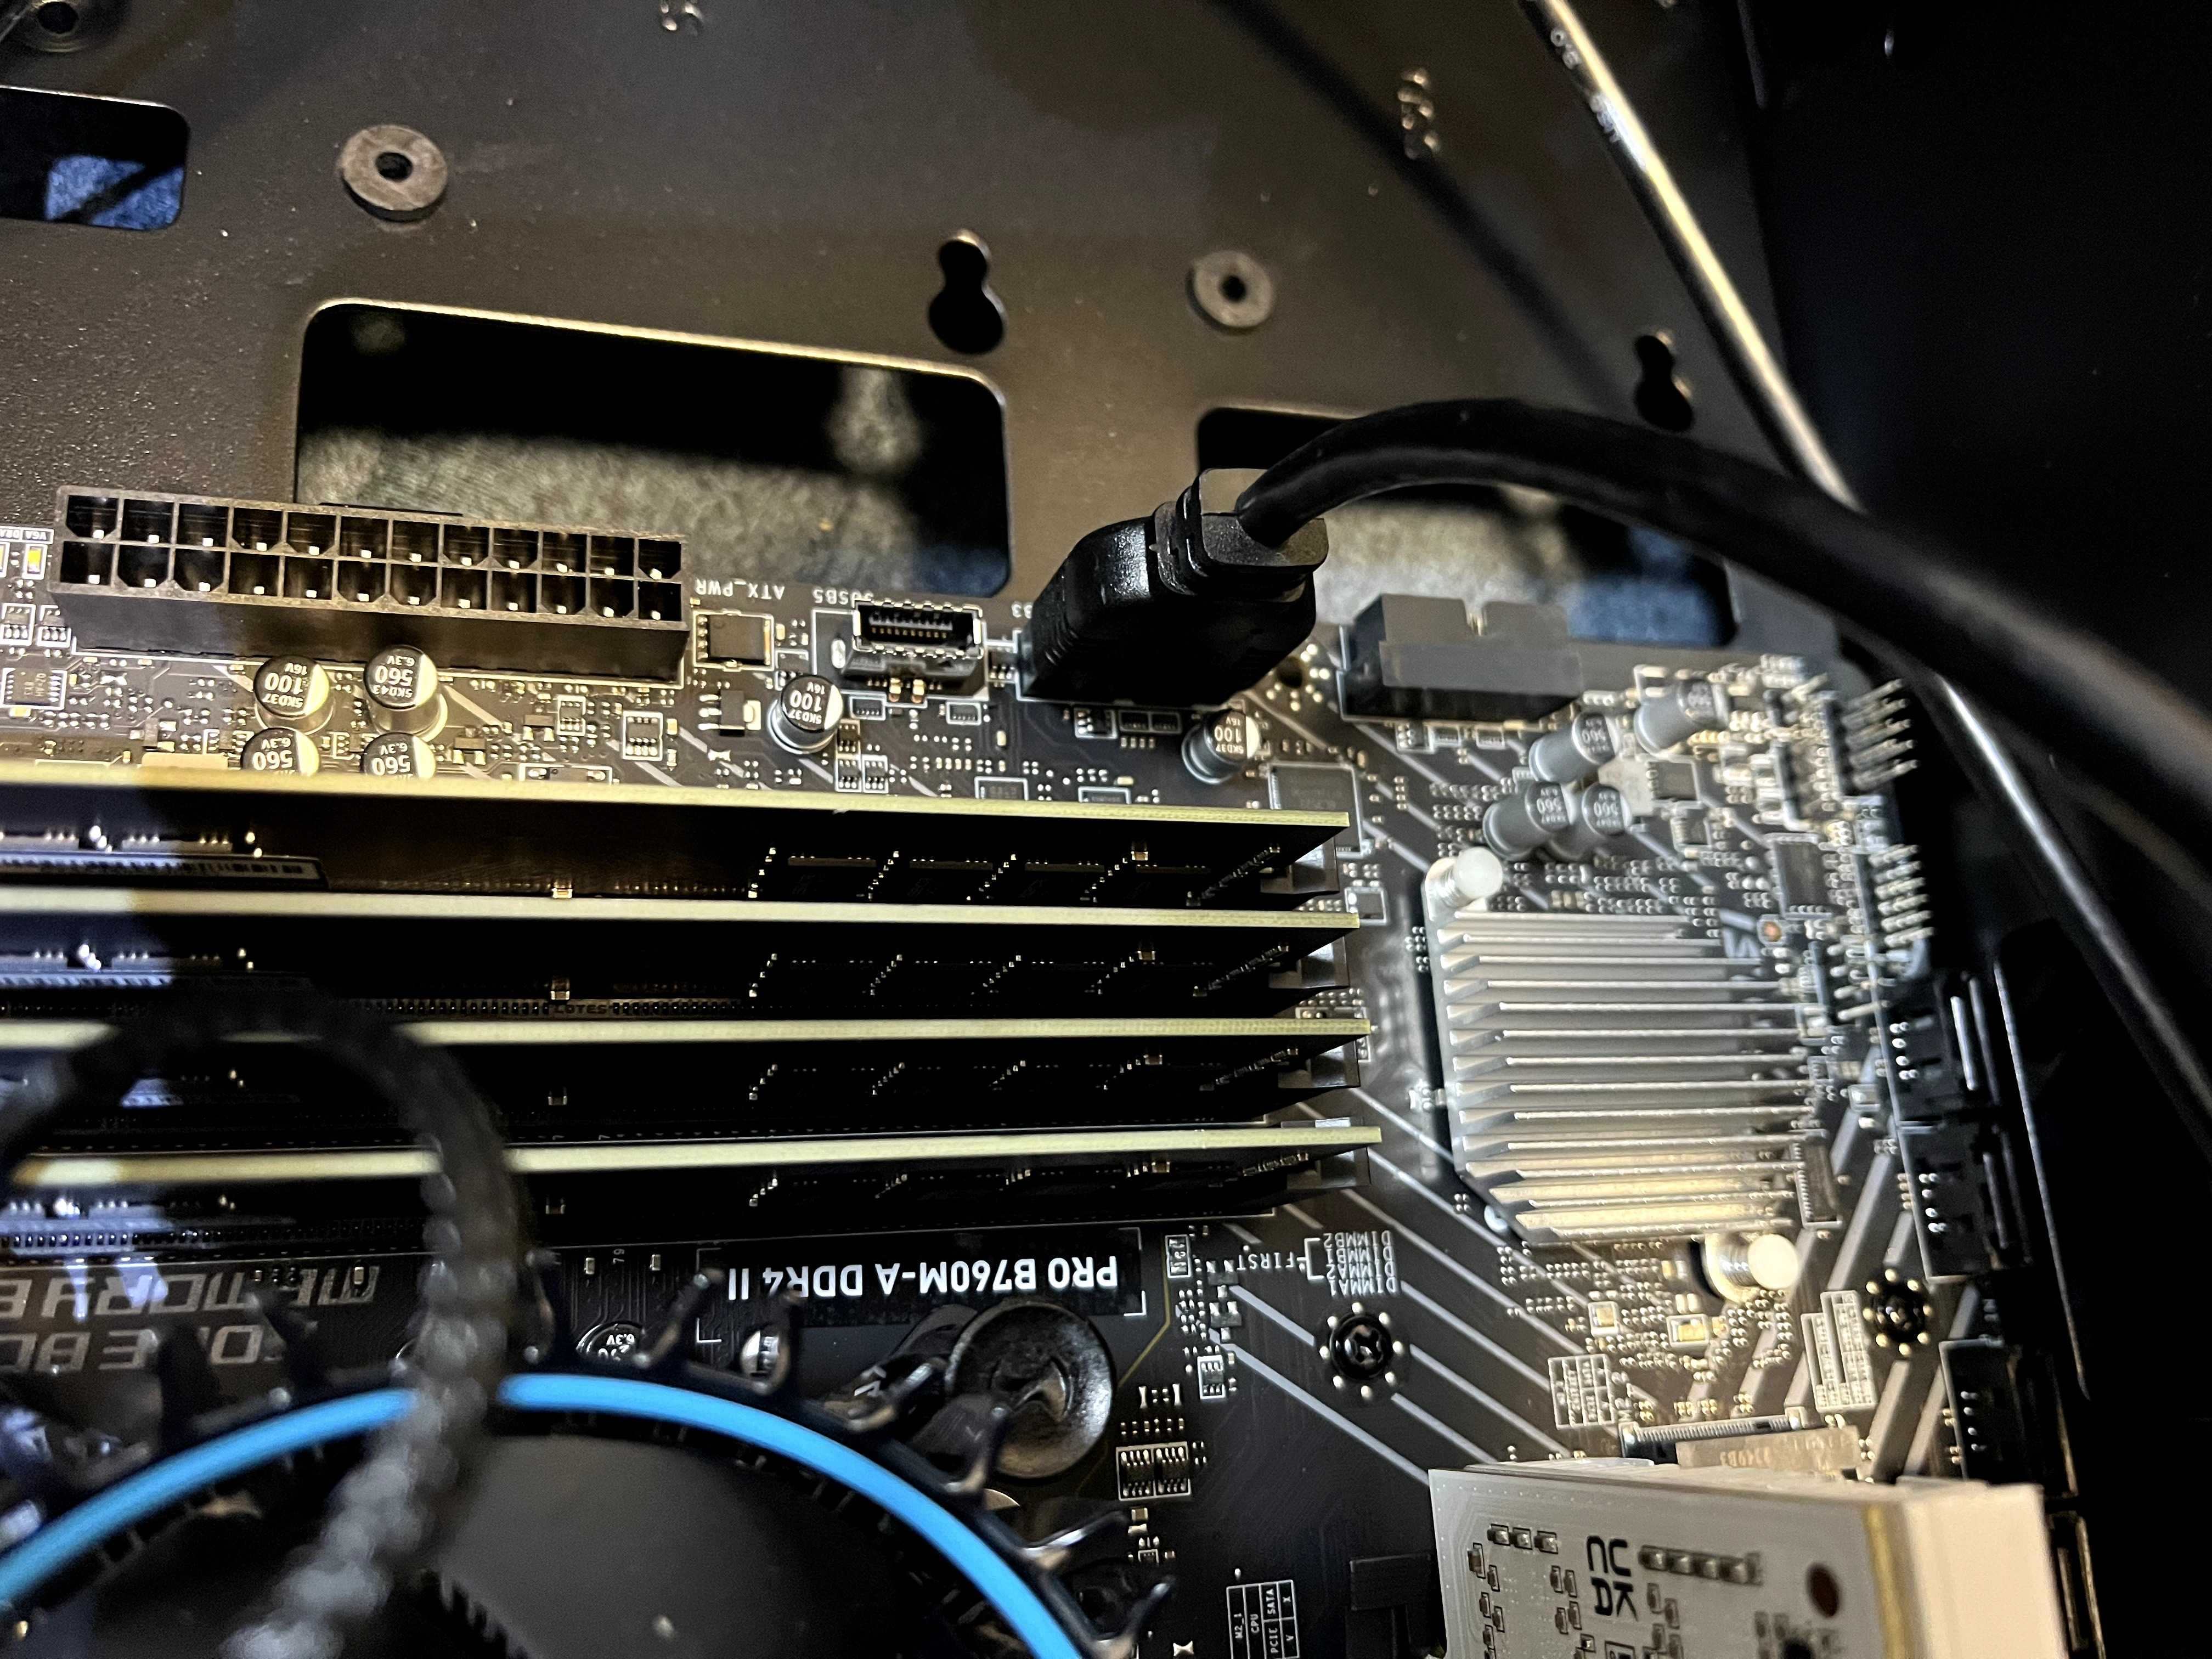
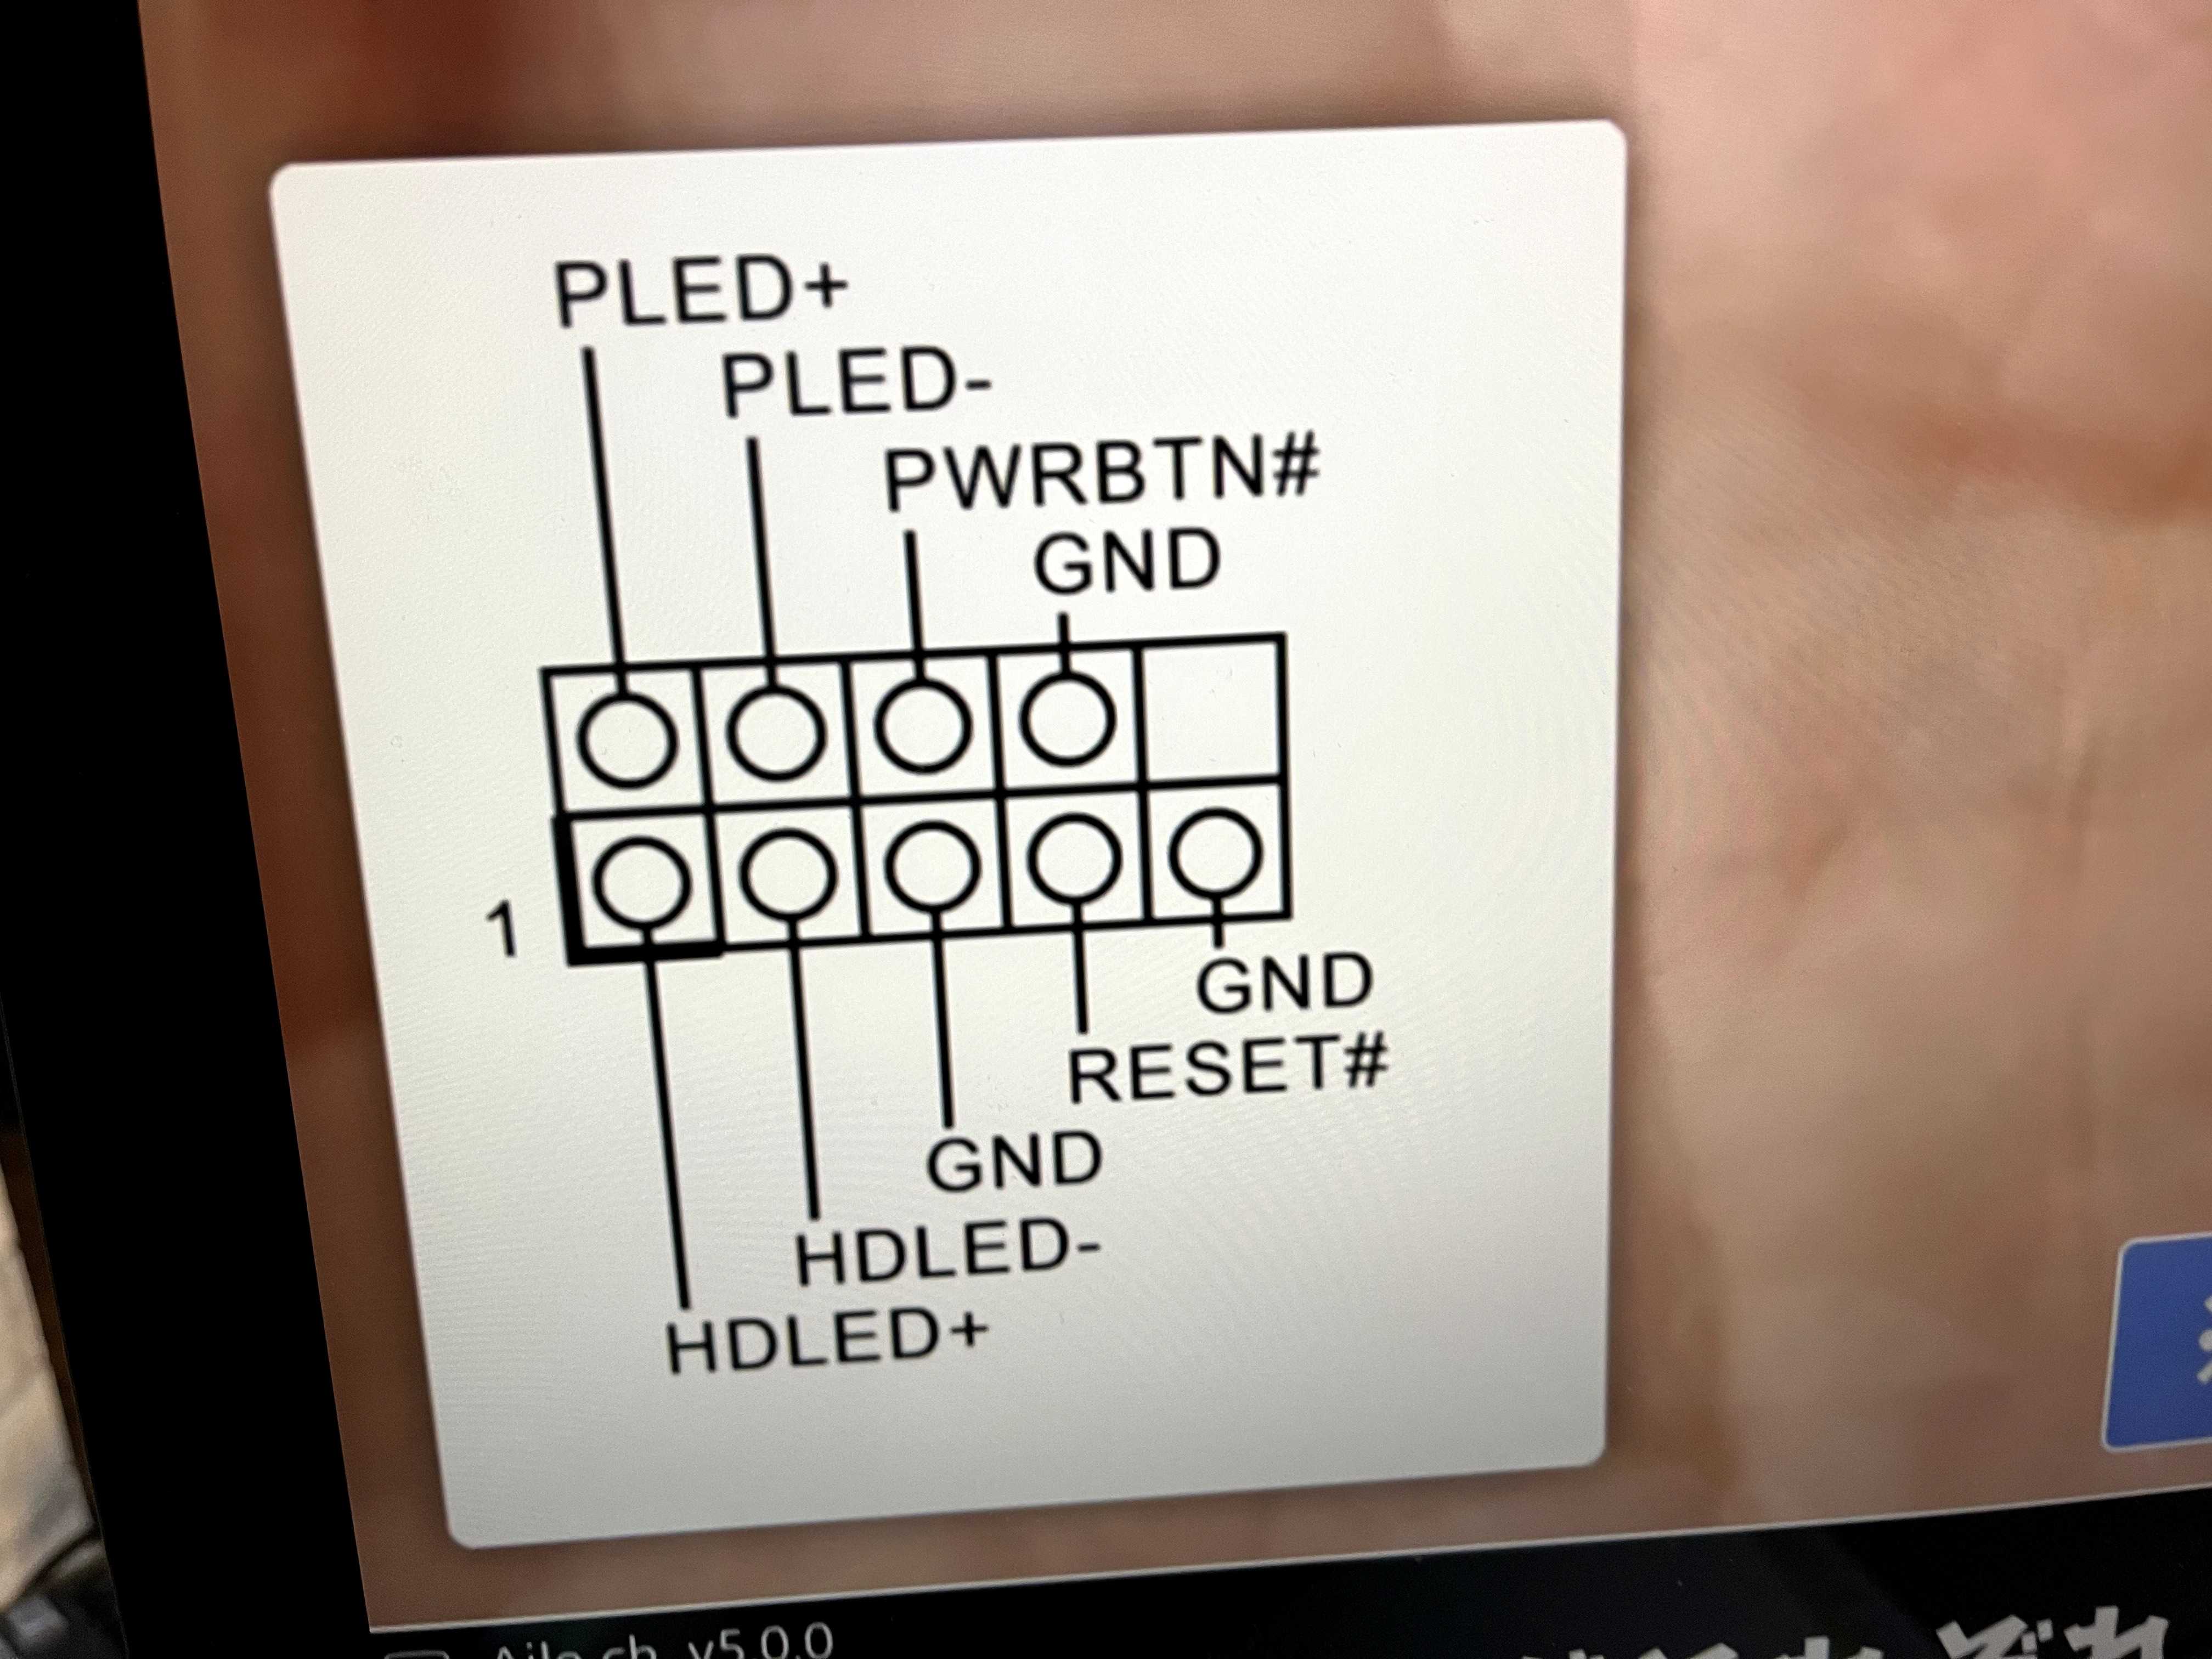
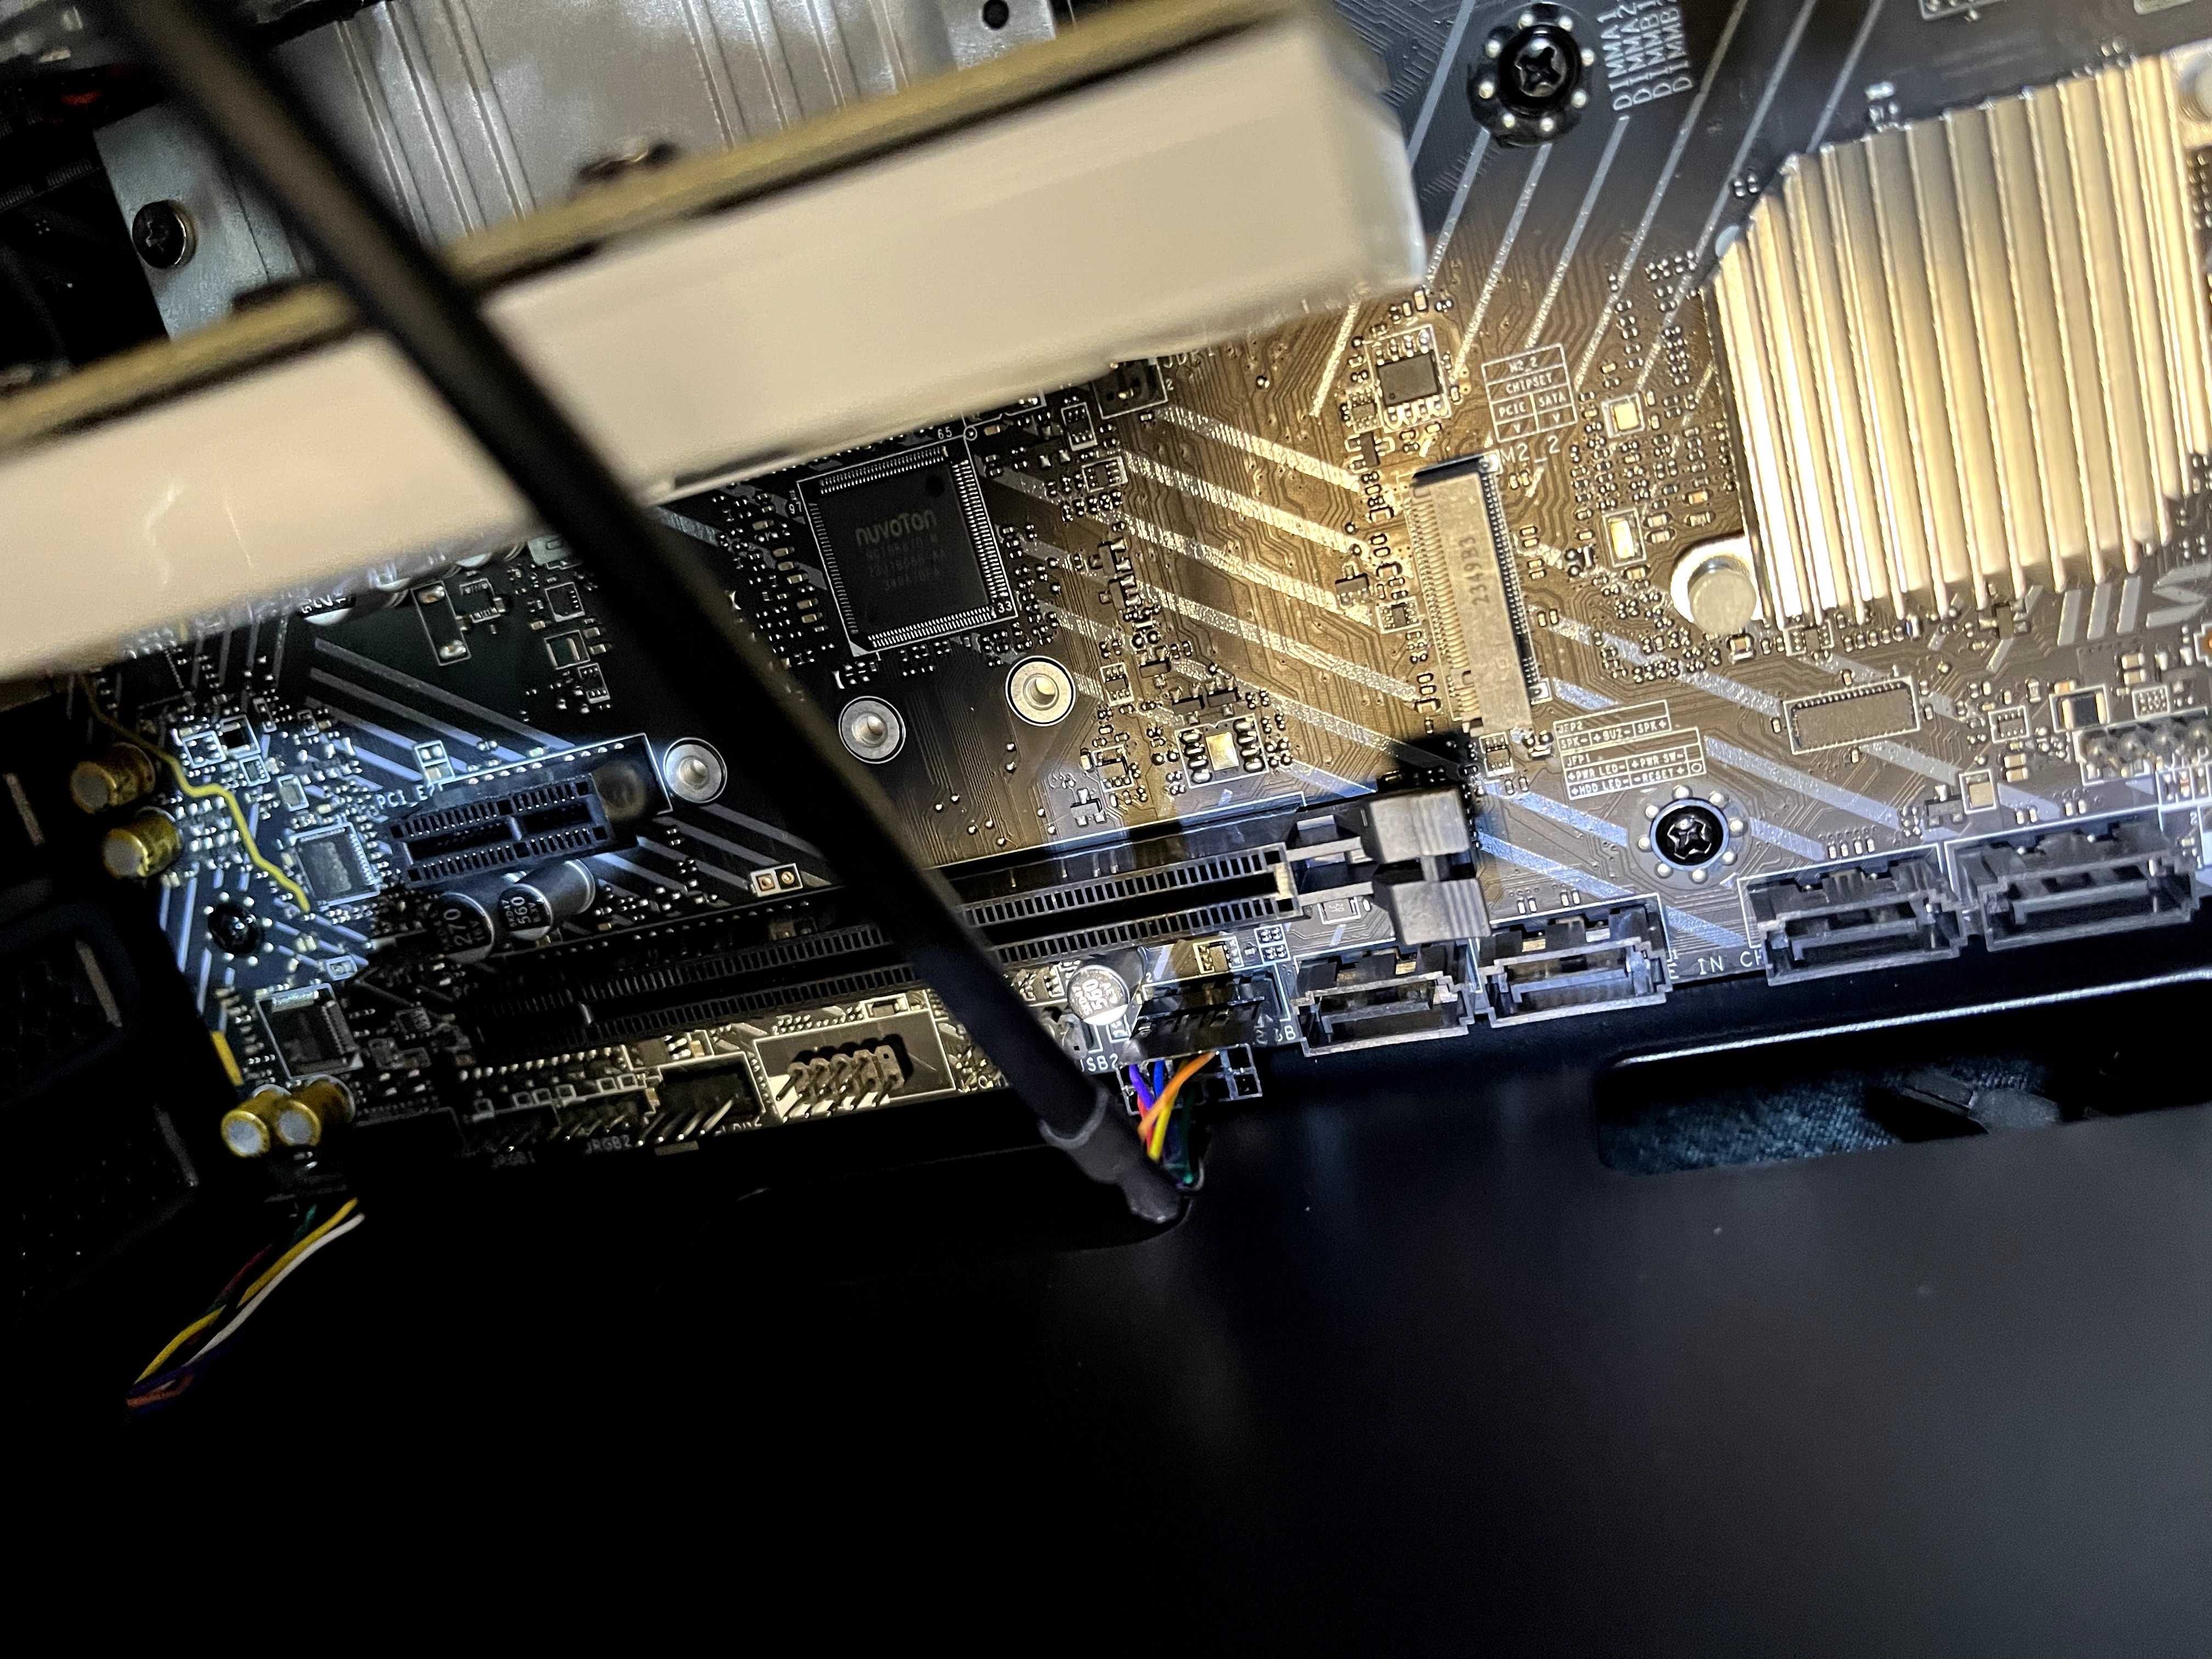
Wiring
Wiring includes USB3, USB2, Audio, Front Panel, and RGB from the case to the motherboard.
USB3 next to memory
Audio port (bottom left)
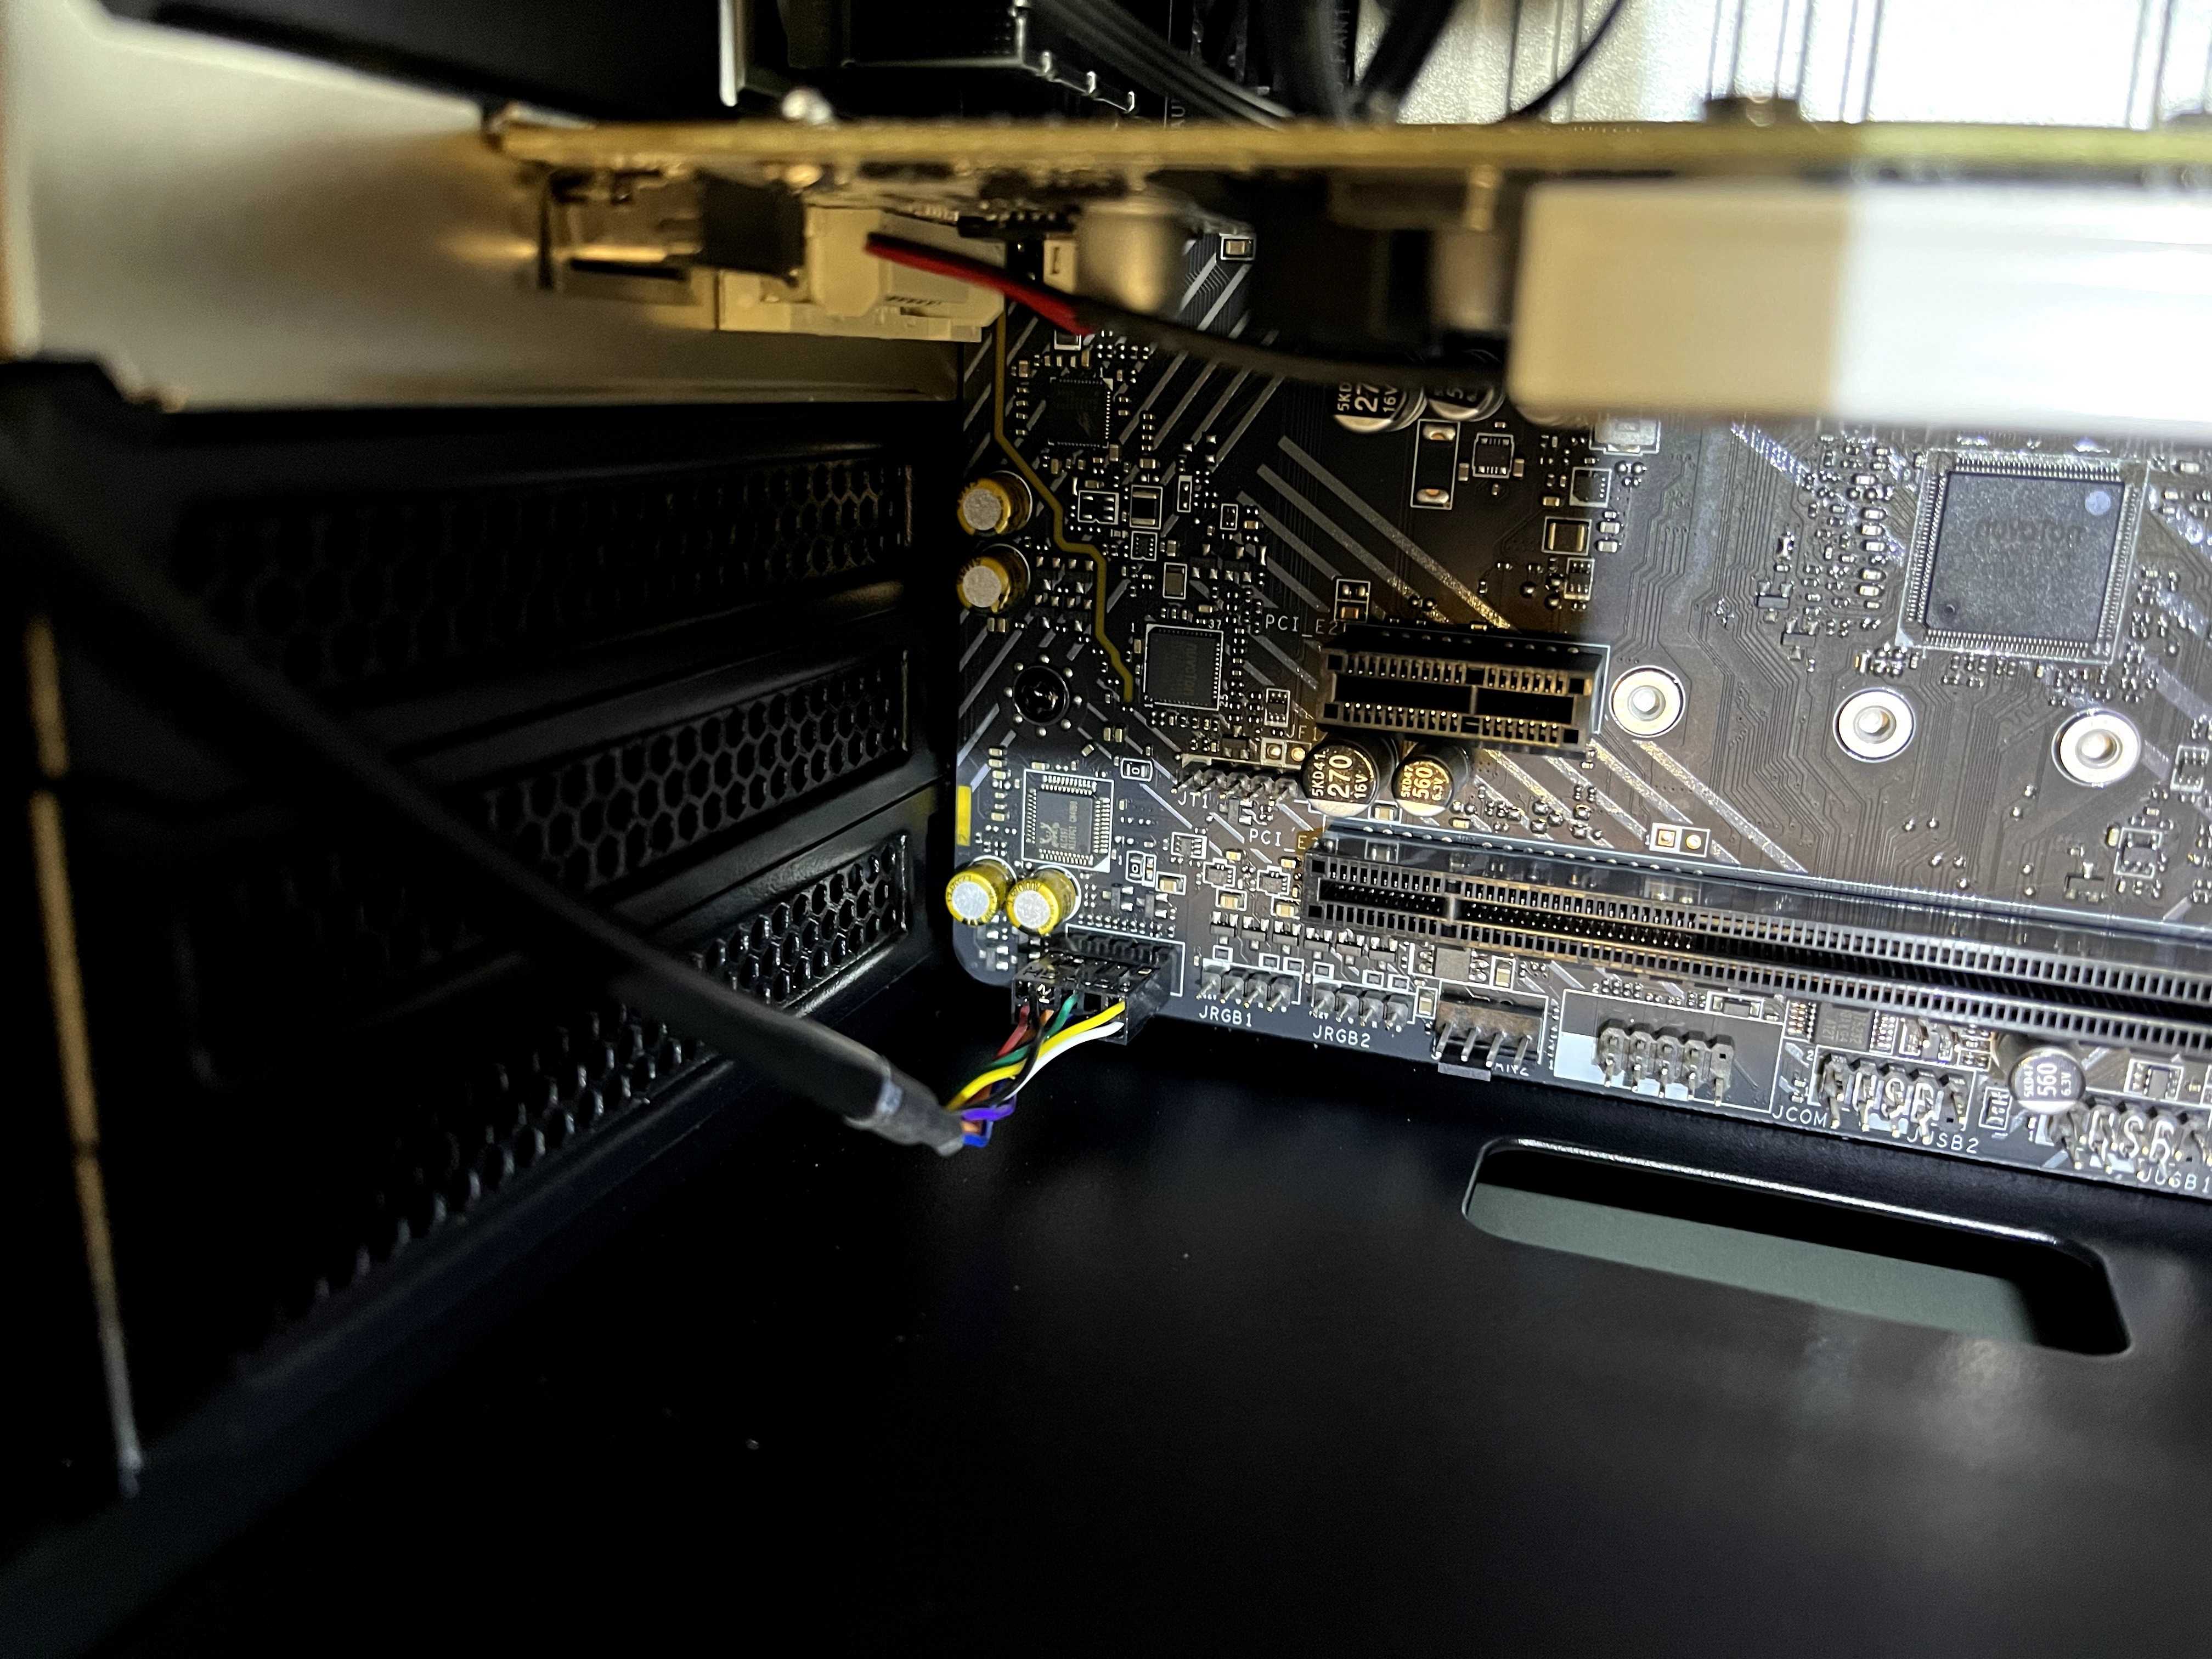
Front panel (bottom right) – tricky one
USB2 under the GPU
RGB goes to the top, hidden by the cooler
Done! Closed the case and booted it up.

Subsequent Settings
Modern PCs tend to default to power-saving settings, so I made some adjustments.
The following video was incredibly comprehensive and helpful:
- Change the display refresh rate in the system settings.
- Adjust the resolution and refresh rate in the Nvidia Control Panel.
- Disable “Enhance pointer precision.”
- In the Nvidia Control Panel, under "Manage 3D Settings":
- Set "Power management mode" to "Prefer maximum performance"
- Set "Low latency mode" to "Ultra"
- Set the system power plan to "High performance"
Other settings were either left at default or matched what was shown in the video.
Reasons for Choosing Each Part and Tips for First-Time PC Builders
Motherboard

This is the motherboard I used, and you can find its specifications here.
You must choose a motherboard that matches the specifications of the other components, so careful research is essential.
There’s no compatibility between Intel and AMD (Ryzen) CPUs.
For Intel, supported socket types include:
- LGA1200 (10th/11th Gen)
- LGA1700 (12th/13th/14th Gen)
Since this build uses the Intel Core i5 14100F, which is a 14th Gen CPU, a motherboard compatible with LGA1700 is required.
For Ryzen, the sockets are:
- Socket AM4 (Ryzen 1000–5000 series)
- Socket AM5 (Ryzen 7000 series and later)
As for the GPU, although PCIe5 is the latest standard, PCIe4 offers more than enough performance and they’re compatible with each other, so there shouldn’t be any issues with expandability.
- Installing a PCIe 5.0 GPU into a PCIe 4.0 slot → OK (will work)
- Installing a PCIe 4.0 GPU into a PCIe 5.0 slot → OK (will work)
You can install up to 4 sticks of memory. Standards like DDR4 and DDR5 are not compatible—their shapes are different and they won’t fit.
I went with DDR4 this time because it’s cheaper, and I didn’t feel a strong need for DDR5.
CPU

After watching this video, I realized that it’s better to prioritize the GPU over a high-end CPU. I chose the newer 14100F, assuming it would be good enough.
If the CPU ever becomes a bottleneck, it can be swapped easily as long as the power supply is sufficient and you're staying within the 12th to 14th Gen range.
By the way, the “F” means the CPU does not have integrated graphics. So if your GPU breaks, your display won’t work until it’s replaced.
Also, more cores isn’t always better. There are P-cores and E-cores, and E-cores are weaker. So the number and performance of P-cores matter more.
Beginner-Friendly Explanation of P-cores and E-cores in Core i Series
Instead of guessing performance based on core count, it’s better to check benchmark results.
GPU (Graphics Card)

The last two digits indicate performance, and the first two represent the generation.
So something like 3090 > 4060 is possible, but benchmarks and comparison videos from YouTubers can help clarify things.
As long as you have enough power and case space, you can consider most GPUs.
GPUs are compatible across brands, so even if you have an Intel CPU, you can choose a Radeon GPU.
I used the following site to choose a GPU with good performance per watt:
PC Freebook - GPU Comparison Table (2025 Edition)
I got mine for around ¥10,000–¥15,000 on Mercari, and I figured I could live with it even if I got unlucky and ended up with a dud.
If you're spending more than that, a new unit might be a safer bet.
Other possible options:
- Radeon RX 6600
GeForce RTX 4060 or Radeon RX 7600GeForce RTX 4060 Ti- RX 9060 XT
In the mid-range segment, AMD has released the
RX 9060 XT
is now available and appears to be significantly more cost-effective than the strikethrough line above that I initially wrote about.

Although the budget will increase drastically, if you want to play various games, I think it's a better option than a “yes” option (although you will want to use a CORE i-5 14400F CPU if that happens).
A really helpful reference is the GPU usage rankings on Steam.
The GTX 1660 series, which I chose, is still very popular and offers great value.
Steam - Hardware & Software Survey: March 2025
SSD

Make sure to buy an M.2 NVMe SSD.
These provide high-speed data transfer.
The PCIe generation is backward compatible, so when choosing an SSD, just make sure it’s M.2 NVMe.
Memory (RAM)

Memory has different standards such as DDR5 and DDR4. You must choose the one compatible with your motherboard.
DDR5 is faster, but still expensive. I went with the more affordable DDR4.
Apparently, dual-channel (2 sticks) is the most stable setup, especially for AMD CPUs, where using 4 sticks can reduce performance.
kuriPEblog - Upgrading RAM on a Ryzen PC: 4 Sticks May Lower Frequency
In terms of speed + stability:
2 sticks > 4 sticks > 1 stick
Using at least 2 sticks enables dual-channel mode, which increases speed. Unless there’s a specific reason, avoid using just one stick.
So if your budget allows, I recommend getting 2 sticks of 16GB.
CPU Cooler

I originally used the stock CPU cooler, but the fan noise was too loud, so I replaced it.
This one is made in Japan, affordable, and seems compatible up to Core i5 14600, so I chose it.
In this build, it keeps the CPU at 50°C with the fan barely needing to ramp up, making it very quiet.
Power Supply

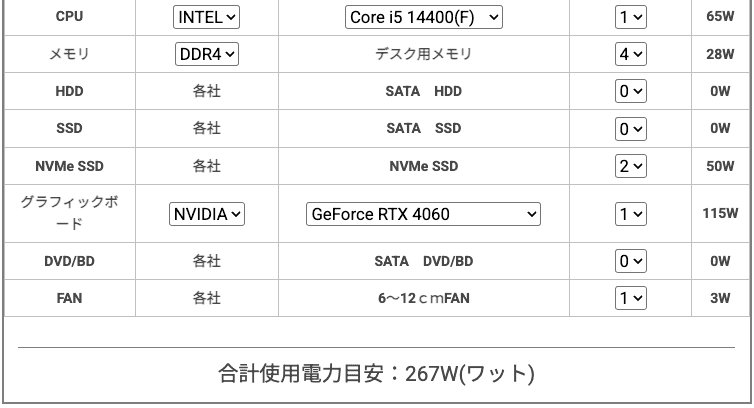
It’s generally safe to choose a power supply rated at twice the total system power consumption.
You can calculate power consumption using this site:
Dospara - Power Supply Calculator
I went with 600W, considering future upgrades to the GPU and CPU.
It probably doesn’t need to be exactly double, so I think RTX 4060Ti or Core i5 14600F would also work.
Case

I chose what looked like the best mini tower option.
The three USB ports on the front are very convenient, and the rear fan noise is hardly noticeable—great value for the price.
Windows 11 (OS)

This wasn’t included in the main budget, but the OS does cost a fair bit.
There are cheap options selling just the product key, but use those at your own risk.
Choosing one sold directly by Amazon is the safest bet.

Mistakes Made
I Should’ve Chosen a Motherboard with Built-in Wi-Fi
This was my biggest mistake.
Serious gamers may prefer wired connections, but I’m used to using Macs and often reuse devices, so built-in Wi-Fi would’ve been really convenient.
You can fix this with a USB Wi-Fi adapter, but I wish I had chosen a motherboard with Wi-Fi from the start.
I Should’ve Gone with a Stronger GPU from the Start
Buying a GT1030 was a real mistake.
If you’re building a PC for gaming, it’s clear you should allocate ¥30,000–¥40,000 for the graphics card.
I aimed for a GTX 1660 Ti or GTX 1660 Super on Mercari, and I think that was a very good choice.
Final Thoughts
That wraps up my experience and takeaways from building a custom PC.
I was able to build the PC parts (excluding OS) for ¥80,000, and I gained a lot of knowledge about hardware, so it was totally worth it.
I’d like to include quantitative data like benchmarks and Docker build times in the future, but I ran out of steam this time—maybe next time.


