How to Deploy a Laravel Project to AWS EC2 [Amazon Linux 2023 Edition]
Thank you for your continued support.
This article contains advertisements that help fund our operations.
Table Of Contents
Guide on deploying a Laravel project to AWS EC2 with the new version setup, including Amazon Linux 2023.
関連動画
Related Video
This is a video where we actually tried out the content from the article! If anything is unclear in the article, please check out the video.
The video provides further explanations and demonstrations, so it should be helpful.
Subscribe to Our Channel
If you found this video helpful, please consider subscribing to our channel or giving it a thumbs up! It really motivates us to create more content.
Questions and Feedback
If you have any questions or feedback regarding this article or the video, feel free to leave them in the comment section of the video. Your input is greatly appreciated and will help us improve our content in the future!

Versions and Tools Used
- Amazon Linux 2023
- Laravel 11
- PHP 8.3
- Node.js LTS
- Apache 2.4
- AWS EC2
- AWS RDS
Launch the EC2 Instance
Go to the AWS console and type “EC2” in the top-left search bar.
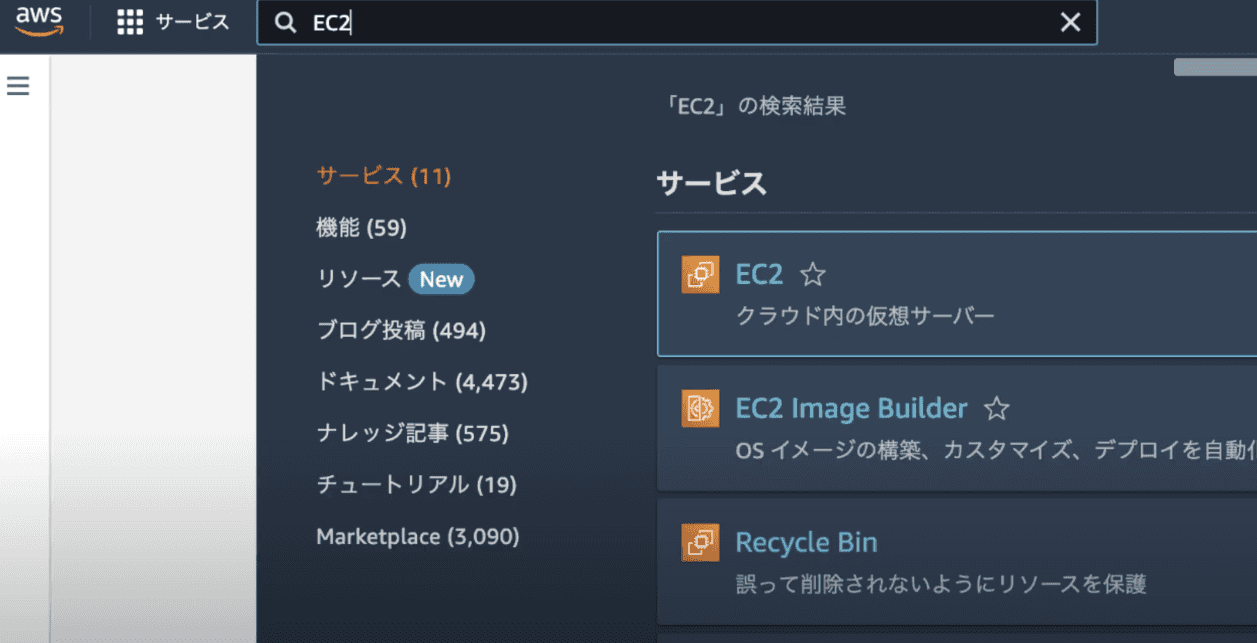
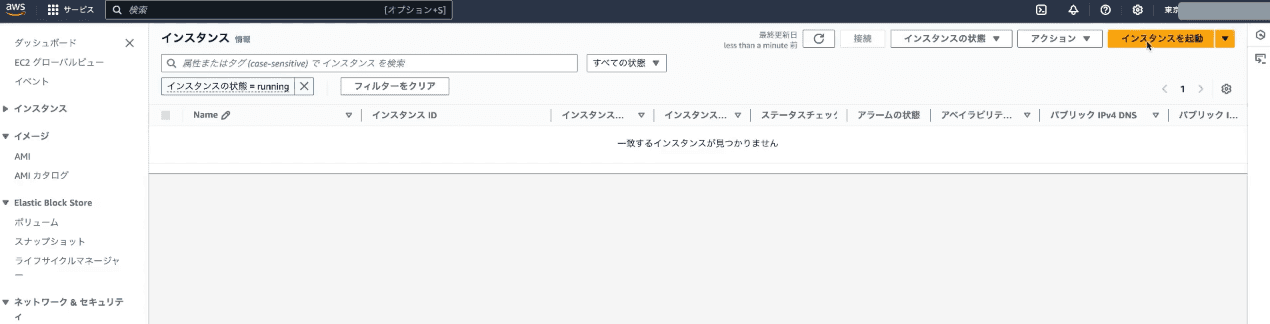
Press the orange "Launch Instance" button on the upper right of the dashboard.
Input Settings
(These are the values used in this setup)
- Name: Any (e.g., laravel-deploy)
- Amazon Machine Image: Amazon Linux 2023 AMI
- Instance Type: t2.micro (Free Tier)
- Key Pair: Leave blank
- Security Group: Create a new security group, allow SSH traffic (my IP), allow HTTPS traffic, and allow HTTP traffic
- Storage: 8GiB gp3
- No other changes
Click the "Launch Instance" button.
A key pair creation modal will appear: select "Create a new key pair" and set the name to any desired name (e.g., laravel-deploy). Then, press "Launch Instance" again.
The instance will now start.
Notes
The key pair is not required for the method below.
If connecting to EC2 via your PC terminal, you’ll need the key pair, but it’s not required if you use Instance Connect.
Using EC2 Instance Connect
Allow IP for Instance Connect
To enable command-line access to EC2, configure permissions for EC2 Instance Connect.
Edit the inbound rules.

- Type: SSH
- IP: 3.112.23.0/29
- Port Range: 22
Note: The IP may vary by region. This setup uses the Tokyo region.
Connect with Instance Connect
On the EC2 dashboard, press the "Connect" button.
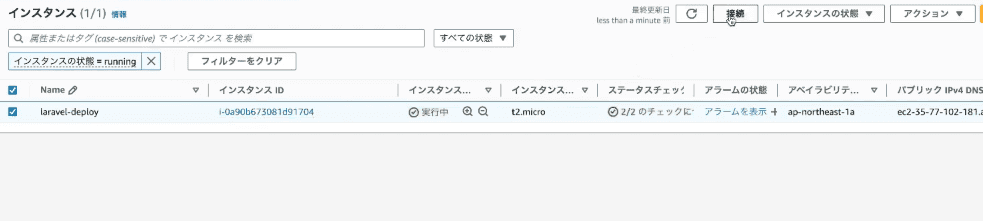
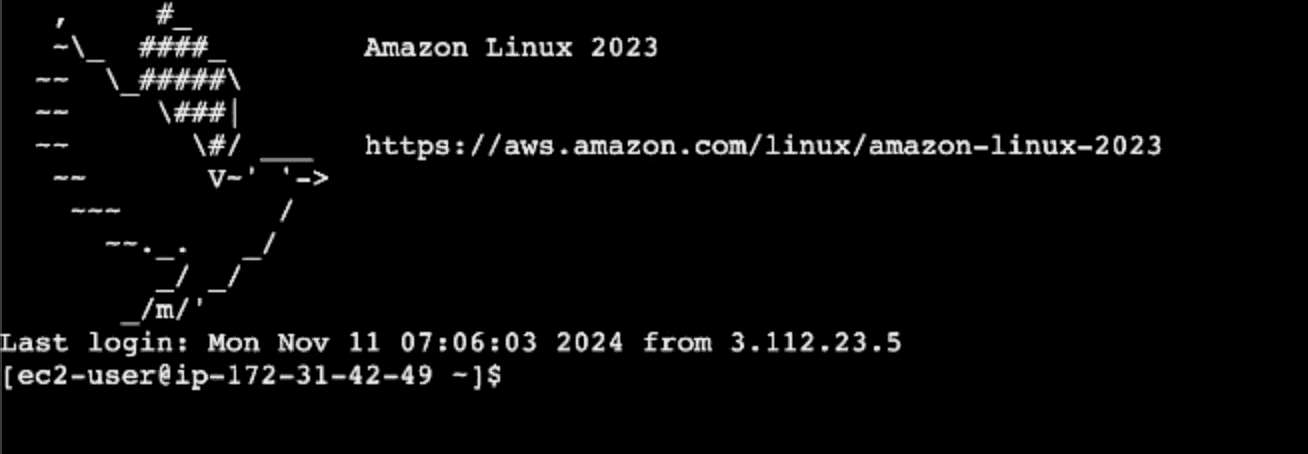
On the leftmost tab, select "EC2 Instance Connect," then press the orange "Connect" button.
If successful, you should see a screen like the one below.
Install Required Packages via Command Line
sudo dnf update -y
sudo dnf install -y php8.3
php -v
sudo dnf install -y php-mysqlnd

curl -sS https://getcomposer.org/installer | php
sudo mv composer.phar /usr/local/bin/composer
composer -V

sudo dnf install -y git
git -v

sudo dnf -y localinstall https://dev.mysql.com/get/mysql80-community-release-el9-1.noarch.rpm
sudo dnf -y install mariadb105

curl -o- https://raw.githubusercontent.com/nvm-sh/nvm/v0.39.7/install.sh | bash
source ~/.bashrc
nvm install --lts
These commands install:
- PHP
- Composer
- Git
- MySQL
- Node.js
Note that MySQL is set up only to connect to an RDS server, so mysql -v or similar commands will return errors.
Clone from GitHub Repository
Operations on EC2
cd ~/.ssh
ssh-keygen -t rsa -b 4096
When prompted:
- Press
Enterto skip - Enter a password of choice (e.g., password)
- Confirm the same password
This generates two keys. Copy the contents of the public key with the following command:
cat id_rsa.pubOperations on GitHub
Navigate to your repository page.
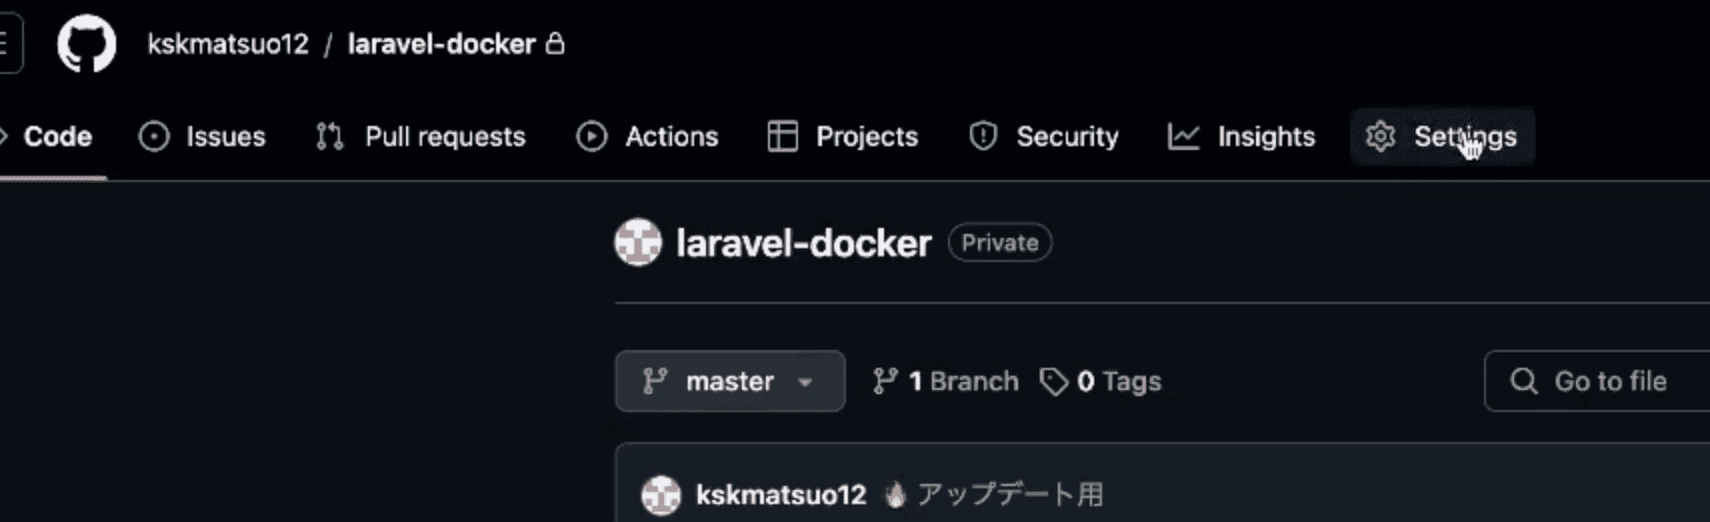
Go to:
- Settings
- Deploy keys
- Add deploy key
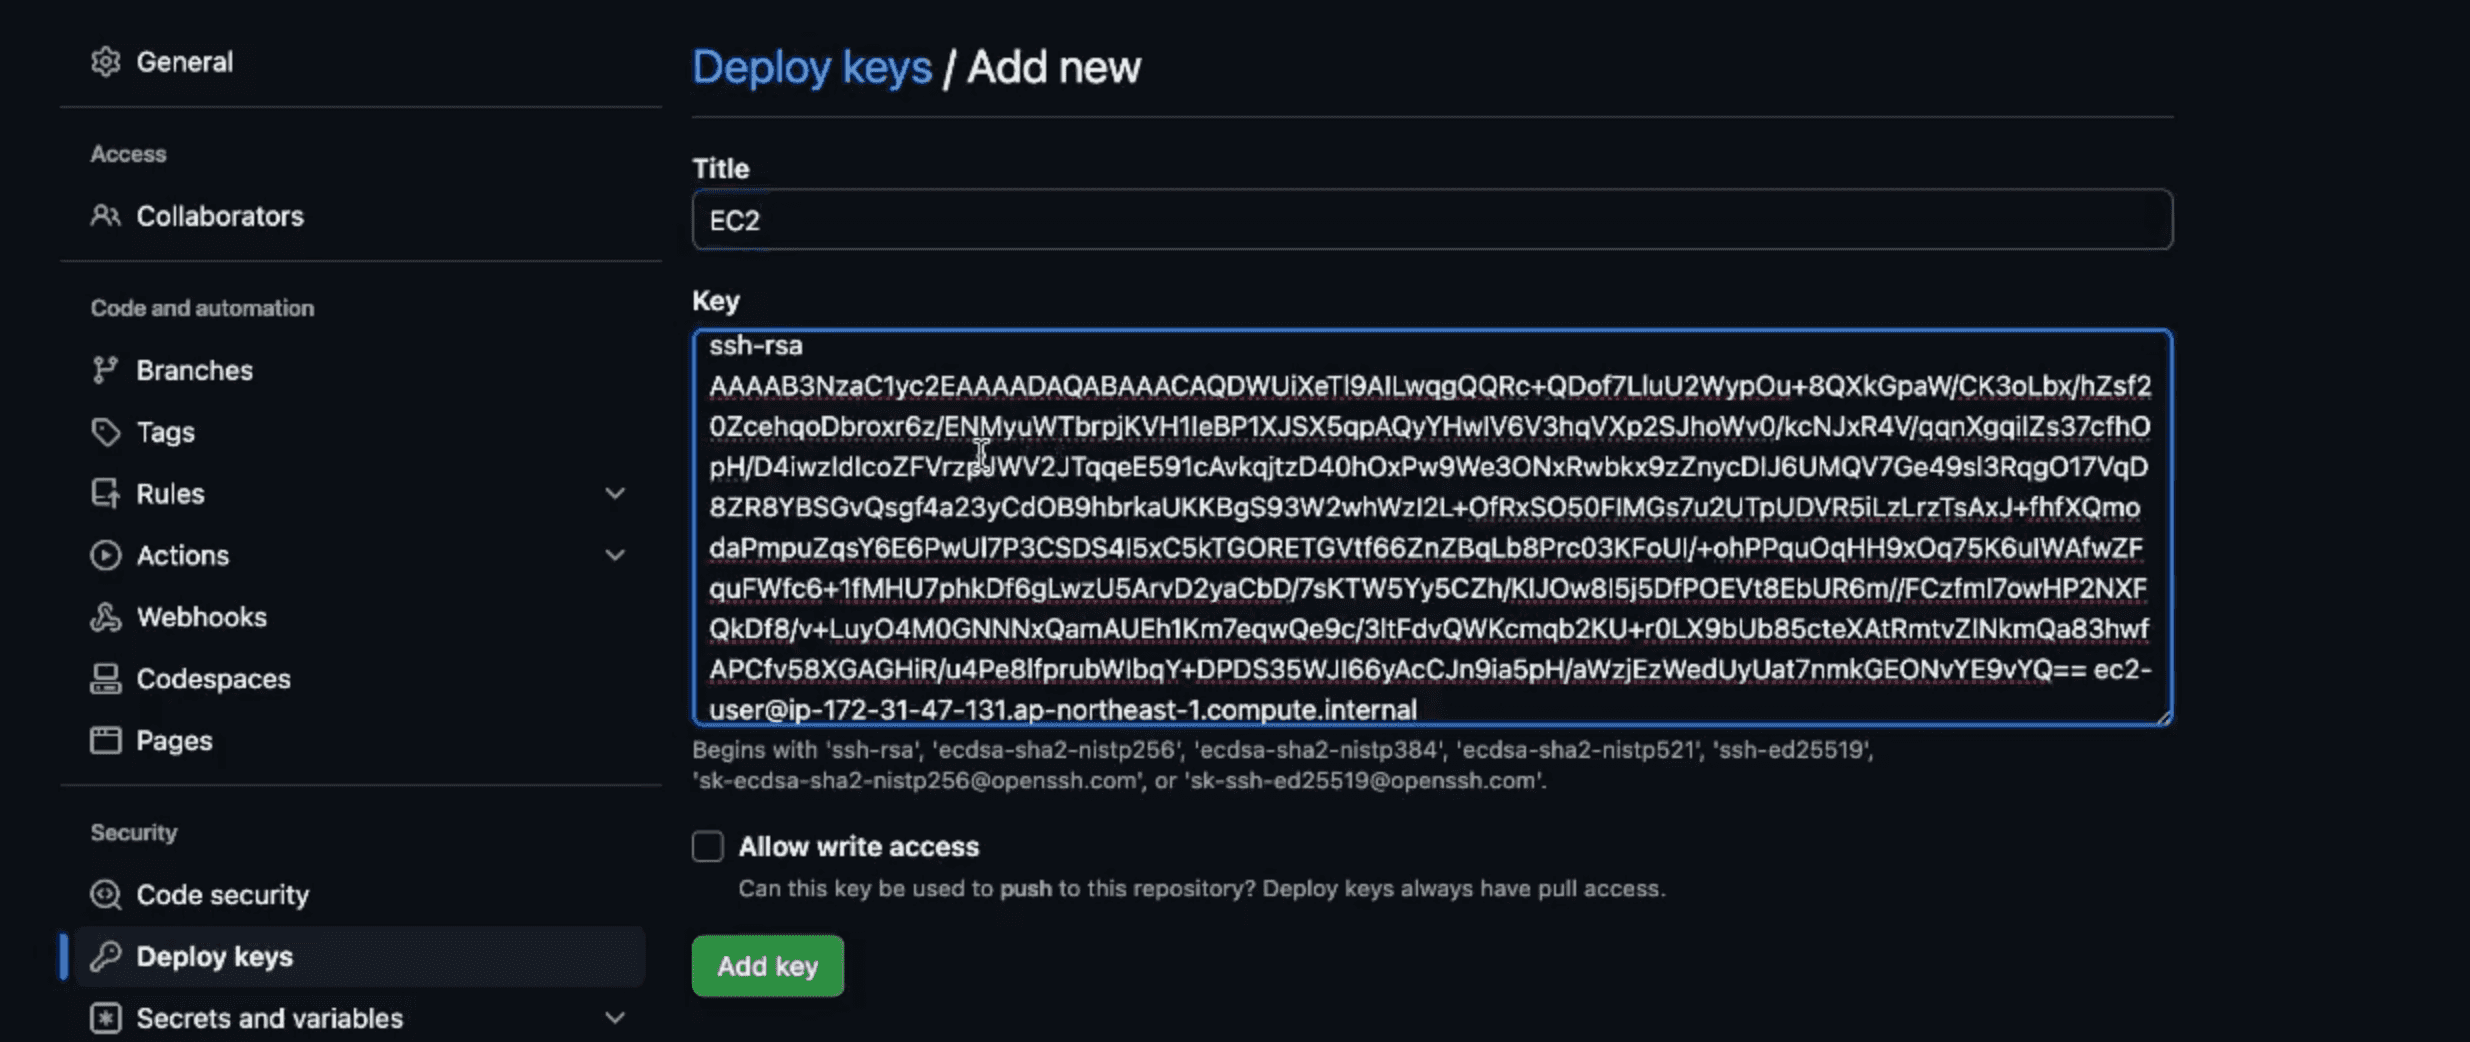
- Title: Any (e.g., EC2)
- Key: Paste the public key
- Press "Add Key" to save
Return to EC2 and Connect
ssh -T [email protected]When prompted:
- Enter "yes"
- Enter the password you set during key generation
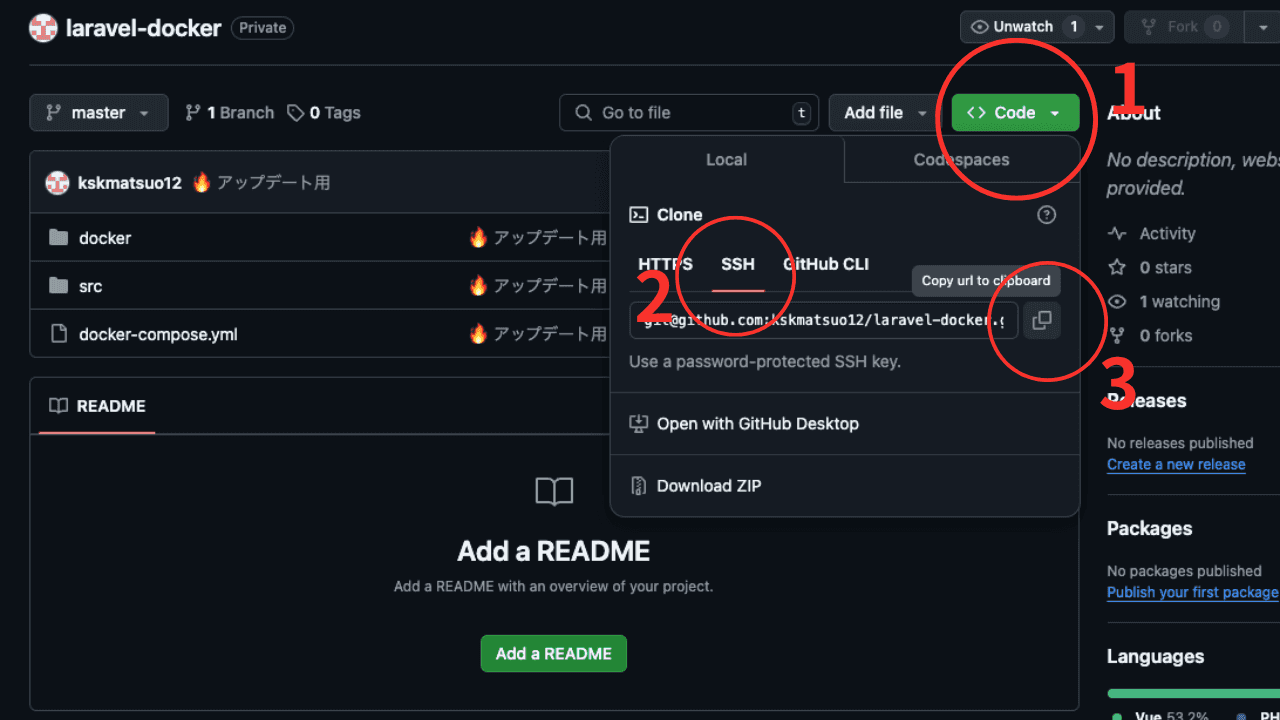
Clone the Repository
cd /var/www/html
sudo chmod 0777 /var/www/html
git clone URL
Replace URL with your repository clone URL:
Modifying Apache Settings
Create a Backup for Safety
sudo cp /etc/httpd/conf/httpd.conf /etc/httpd/conf/httpd.conf.backup20241111Edit Configuration File Using vim Command
sudo vim /etc/httpd/conf/httpd.confEdit the Following Three Lines
Around line 119:
DocumentRoot "/var/www/html"
↓
DocumentRoot "/var/www/html/your-laravel-project-name/public"
Around line 131:
<Directory "/var/www/html">
↓
<Directory "/var/www/html/your-laravel-project-name/public">
Around line 151:
AllowOverride None
↓
AllowOverride All
After making the changes, restart Apache to apply them:
sudo systemctl restart httpdLaravel Project Setup
Move to your project directory and enter the following commands:
cd laravel-docker
sudo cp .env.example .env
composer install
sudo chmod -R 777 storage
sudo chmod 777 .env
php artisan key:generate
At this point, connecting to the public IP might result in a database-related error.
Connecting to the Database Server and Creating a Database
Create a New Database in AWS RDS
In the AWS Management Console:
- Go to RDS.
- Select "Create Database."
In the database creation screen, modify the following:
- Standard Create
- MySQL
- Free Tier
- DB Instance: Use the free-tier micro instance.
- DB Instance Identifier: Your choice (e.g., laravel-deploy)
- Master Password: Your choice (e.g., password)
- Confirm Password: Same as above (e.g., password)
After setup, copy the RDS Endpoint displayed in the management console.
Create the Database on EC2
Use the mysql command to connect to the RDS database server you created:
mysql -h laravel-deploy.c0l60w30treo.ap-northeast-1.rds.amazonaws.com -P 3306 -u admin -pReplace laravel-deploy.c0l60w30treo.ap-northeast-1.rds.amazonaws.com with your RDS Endpoint. admin is your master username.
Once connected:
CREATE DATABASE laravel_deploy;
show databases;
The database named laravel_deploy has been created.
Update the .env File for Laravel Project
sudo vim .envDB_CONNECTION=mysql
DB_HOST=laravel-deploy.c0l60w30treo.ap-northeast-1.rds.amazonaws.com
DB_PORT=3306
DB_DATABASE=laravel_deploy
DB_USERNAME=admin
DB_PASSWORD=passwordDB_HOST: Your RDS Endpoint
DB_DATABASE: The name of the database created with CREATE DATABASE
DB_USERNAME and DB_PASSWORD: The master username and password.
Run the migration command to ensure everything is connected:
php artisan migrateThe database connection is now complete.
If you're using Vite, run the following commands as needed:
npm install
npm run build
Summary
This guide covered deploying a Laravel project on Amazon Linux 2023.
If any steps are unclear, feel free to check the video or leave a comment for further clarification.


