How to Use the Password Confirmation Feature in Laravel
Thank you for your continued support.
This article contains advertisements that help fund our operations.
Table Of Contents
A guide on how to use the password confirmation feature in Laravel.

Introduction
The password confirmation feature requires users to re-enter their password after a certain amount of time before accessing specific features. This adds an extra layer of security when handling sensitive user data.
For example, you might want to implement this feature for updating personal information or managing credit card details—cases where additional security is crucial.
This feature is included by default in Breeze and Jetstream, making it relatively easy to set up with some minor adjustments.
Environment
Laravel 11
Breeze
Implementation
Password Confirmation Page
By default, the password confirmation page is available at the /confirm-password URL.
In routes/auth.php, the following routes define the behavior:
Route::get('confirm-password', [ConfirmablePasswordController::class, 'show'])
    ->name('password.confirm');

Route::post('confirm-password', [ConfirmablePasswordController::class, 'store']);
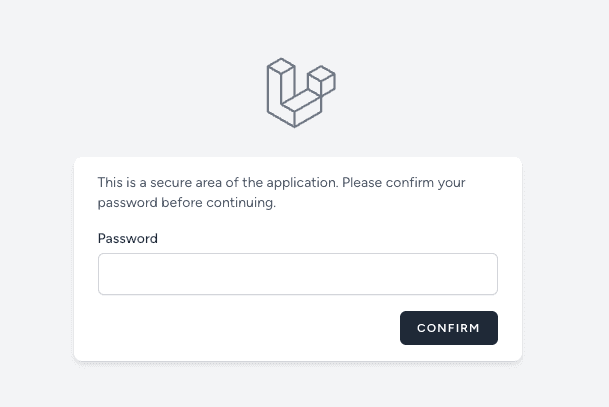
On this page, users can re-enter their password, which will record the confirmation time. Within the valid time period, users can access the protected features.
Modifying the Password Confirmation Timeout
The timeout for password confirmation is set in config/auth.php:
'password_timeout' => env('AUTH_PASSWORD_TIMEOUT', 10800),By default, the timeout is 3 hours. To change it, update the .env file as follows:
AUTH_PASSWORD_TIMEOUT=7200This will adjust the timeout to 2 hours (7200 seconds).
Changing the Redirect Destination
The redirect destination after password confirmation is defined in:
Route::post('confirm-password', [ConfirmablePasswordController::class, 'store']);Specifically, in app/Http/Controllers/Auth/ConfirmablePasswordController.php, within the store() method:
return redirect()->intended(route('dashboard', absolute: false));To redirect back to the original request, you can modify it as follows:
return redirect()->intended(); // Redirects to the original requestThis approach is flexible and works for multiple features.
Defining Routes with Password Confirmation
To apply password confirmation to specific features or pages, use the password.confirm middleware as shown below:
Route::middleware('auth')->group(function () {
    //
    Route::middleware('password.confirm')->group(function () {
        Route::get('/secure', [SecureController::class, 'index'])->name('secure.index');
    });
});
Conclusion
Adding a password confirmation feature is straightforward with Laravel. This is a highly valuable feature that enhances security for sensitive operations.
I hope this guide is helpful to someone. Happy coding!


